This article provides a comprehensive guide on effectively mounting an action camera on a jet ski or boat, ensuring safety, stability, and optimal filming angles for thrilling water adventures.
Action cameras are designed to capture high-quality footage in dynamic environments, making them ideal for documenting thrilling rides on jet skis or boats. Their compact size and durability allow for versatile usage in water activities, enabling users to record every exhilarating moment.
Selecting the appropriate action camera is crucial for capturing stunning footage. Consider factors such as waterproofing, image stabilization, and battery life to enhance your filming experience on the water. Popular choices include models from GoPro and DJI, known for their reliability and performance.
Using the right accessories can significantly impact how securely your action camera is mounted. Explore various mounts, straps, and cases specifically designed for water sports:
- Adhesive mounts for flat surfaces
- Chest harnesses for immersive first-person perspectives
- Floating hand grips to prevent loss in water
Identifying the optimal mounting location on a jet ski is key to capturing the best angles. Consider stability, visibility, and safety when choosing a spot for your camera. Common locations include:
- On the handlebars for a rider’s view
- On the rear for capturing the wake
- On the sides for lateral shots
Mounting locations on a boat differ from those on a jet ski. Here are some effective spots to ensure your action camera captures the action while remaining secure:
- Bow of the boat for scenic shots
- Transom for wake and water action
- Side rails for unique angles
Follow this detailed step-by-step guide to securely mount your action camera on your jet ski or boat:
1. Choose the right mount based on location.2. Clean the surface thoroughly.3. Attach the mount securely, allowing it to cure if adhesive.4. Position your camera and tighten all screws.5. Conduct a test run to ensure stability.
Safety is paramount when mounting action cameras. To prevent loss or damage during high-speed rides or rough waters, ensure:
- All mounts are tightly secured
- Use safety tethers as a backup
- Regularly check equipment before use
Capturing stunning footage requires strategic camera angles. Here are some tips:
- Experiment with different heights
- Use wide-angle settings for expansive views
- Adjust angles based on speed and water conditions
Post-production is essential for enhancing the quality of your action camera footage. Consider using editing software like Adobe Premiere Pro or Final Cut Pro to:
- Add transitions and effects
- Stabilize shaky footage
- Incorporate music and sound effects
Avoiding common pitfalls can save you time and frustration. Here are frequent mistakes to steer clear of:
- Neglecting to secure mounts properly
- Placing the camera in a position that blocks the rider
- Forgetting to check battery levels before filming
Understanding the legalities of filming on water is crucial. Familiarize yourself with local regulations and guidelines to ensure compliance while enjoying your action camera experience. Always check for:
- Permits required for filming in certain areas
- Restrictions on drone usage over water
- Local laws regarding personal privacy while filming
Why Use an Action Camera on a Jet Ski or Boat?
When it comes to capturing breathtaking moments on the water, action cameras stand out as the perfect choice. These compact devices are designed to endure the rigors of dynamic environments, making them exceptional for documenting exhilarating rides on jet skis and boats. But why exactly should you consider using an action camera for your aquatic adventures? Let’s delve into the numerous advantages these cameras offer.
- High-Quality Footage: Action cameras are equipped with advanced technology that allows them to capture high-definition video and stunning still images. This ensures that every twist, turn, and splash is recorded with crystal clarity, preserving the thrill of your experience.
- Durability and Waterproofing: One of the standout features of action cameras is their rugged design. Many models are built to withstand harsh conditions, including being waterproof up to certain depths. This means you can confidently film your adventures without worrying about damaging your device.
- Versatility: Action cameras are incredibly versatile, allowing you to mount them in various locations on your jet ski or boat. Whether you want a front-facing view to capture the horizon or a side angle to showcase your friends, these cameras can adapt to your creative vision.
- Compact Size: Unlike traditional camcorders or DSLRs, action cameras are lightweight and compact. This makes them easy to transport and mount, ensuring they won’t take up much space while you enjoy your day on the water.
- Image Stabilization: Many modern action cameras come equipped with image stabilization technology. This feature is crucial for filming on the move, as it reduces the shakiness of your footage, resulting in smooth and professional-looking videos.
In addition to these benefits, action cameras often feature a range of settings and modes tailored for different filming scenarios. For instance, you can switch to slow-motion to capture those heart-pounding jumps or use time-lapse to condense your day into a few captivating seconds.
Moreover, the ability to connect to smartphones and other devices via Wi-Fi or Bluetooth allows for easy sharing of your footage. You can quickly upload your adventures to social media or edit them on the go, making it simpler than ever to showcase your thrilling experiences.
In summary, using an action camera on a jet ski or boat elevates your filming game. With their durability, versatility, and ability to capture stunning visuals, action cameras are the ideal companion for any aquatic adventure. Whether you are a seasoned pro or a casual rider, these devices ensure that every moment spent on the water is documented in style.
Choosing the Right Action Camera for Water Sports
When it comes to capturing breathtaking moments during water sports, choosing the right action camera is essential. The right camera can transform your thrilling adventures on jet skis or boats into stunning visual stories. Let’s delve deeper into the critical factors to consider when selecting an action camera, ensuring you make an informed decision.
- Waterproofing: Ensure your camera is rated for underwater use. Look for models that can withstand depths of at least 30 meters (100 feet) without a housing. This feature is vital for capturing underwater footage while jet skiing or boating.
- Image Stabilization: Smooth footage is crucial, especially in choppy waters. Cameras with advanced image stabilization technology will help eliminate shaky videos, making your adventures look professional.
- Battery Life: Long battery life is essential for extended filming sessions. Opt for cameras that offer at least 2 hours of continuous recording, and consider carrying extra batteries for longer trips.
- Field of View: A wide field of view allows you to capture more of the action. Look for cameras with adjustable settings to switch between wide-angle and standard views, providing versatility in your shots.
- Durability: Your camera should be rugged enough to withstand harsh conditions. Look for shockproof features and reinforced designs to ensure it can handle rough water and potential impacts.
The resolution of your action camera significantly impacts the quality of your footage. Most modern cameras offer at least 1080p Full HD recording, while many now support 4K resolution. Higher resolution means clearer, more detailed videos, which are especially important for capturing fast-moving scenes on the water.
Yes, connectivity features such as Wi-Fi and Bluetooth can enhance your filming experience. These features allow you to connect your camera to smartphones or tablets for easy sharing and remote control. Some cameras even offer live streaming capabilities, which can be a fun way to share your adventures in real time.
Accessories can greatly enhance your action camera experience. Consider investing in:
- Mounts: Various mounts can help you secure your camera in different locations, providing unique angles and perspectives.
- Protective Cases: While many cameras are waterproof, protective cases can offer additional safety against impacts and scratches.
- Filters: Polarizing filters can reduce glare from the water, improving the overall quality of your footage.
When comparing different action camera models, read reviews and watch sample footage to gauge quality. Consider the brand reputation and warranty offered. It’s also wise to check for firmware updates, as manufacturers often release improvements that enhance camera performance.
In conclusion, selecting the right action camera for water sports is a vital step in ensuring you capture stunning footage. By focusing on features such as waterproofing, image stabilization, battery life, and resolution, you can enhance your filming experience. Remember to explore accessories that can further improve your setup, and always compare models to find the best fit for your adventures.
Essential Accessories for Mounting Action Cameras
When it comes to capturing thrilling moments on the water, having the right accessories for your action camera is crucial. The quality of your footage can significantly improve with the proper mounting solutions. Whether you’re riding a jet ski or cruising on a boat, understanding the various options available will help you secure your camera effectively and ensure stunning results.
Accessories play a vital role in enhancing the usability and functionality of your action camera. They provide stability, security, and versatility in mounting your camera in different environments, especially in dynamic water sports. Utilizing the right accessories can prevent accidents and ensure that your camera remains intact while capturing breathtaking footage.
- Helmet Mounts: Ideal for hands-free shooting, helmet mounts allow you to capture immersive angles as you navigate through waves.
- Chest Mounts: These provide a unique perspective, putting viewers right in the action, making it feel like they’re riding along with you.
- Handlebar Mounts: Perfect for jet skis, these mounts can be attached to various surfaces, providing stable shots.
- Floaty Mounts: Essential for water sports, floaty mounts ensure that if your camera falls into the water, it will stay afloat, preventing loss.
In addition to mounts, using straps and harnesses can enhance the security of your action camera. These accessories help keep your camera attached to you or your equipment, reducing the risk of loss during high-speed activities. Consider the following:
- Wrist Straps: These allow for easy access and prevent drops, especially when you’re maneuvering on a jet ski.
- Chest Harnesses: They provide a secure fit while allowing for a full range of motion, making them ideal for dynamic filming.
Protective cases are essential for safeguarding your action camera from water, dirt, and impact. Look for cases that are:
- Waterproof: Ensure your camera can withstand submersion, especially in saltwater.
- Shockproof: A durable case can protect against drops and bumps while riding.
When selecting accessories, consider the type of water sports you engage in. For instance, if you frequently ride in rough waters, prioritize mounts that offer maximum stability and protection. Researching user reviews and expert recommendations can also help you make informed decisions.
In conclusion, the right accessories can dramatically impact your action camera experience on the water. By investing in quality mounts, straps, and protective cases, you can ensure that your camera captures every exhilarating moment while remaining secure and safe.
Best Mounting Locations on a Jet Ski
When it comes to capturing breathtaking footage while riding a jet ski, identifying the optimal mounting location for your action camera is essential. The right spot can significantly enhance the quality of your videos, allowing you to showcase the thrill of your water adventures. In this guide, we will explore the best mounting locations on a jet ski, considering factors such as stability, visibility, and safety.
The location where you mount your camera can make or break your filming experience. A well-chosen spot not only ensures stability during high-speed rides but also provides an unobstructed view of the action. Additionally, safety is a paramount concern; a secure mount will prevent your camera from falling off or getting damaged in rough waters.
- Handlebar Mount: One of the most popular locations, the handlebar offers a forward-facing view that captures the rider’s perspective. Ensure the mount is secure to avoid vibrations affecting your footage.
- Rear Deck Mount: Mounting your camera on the rear deck allows for a unique angle that captures the waves and the jet ski’s wake. This position can create dynamic shots that showcase speed and movement.
- Side Mount: Attaching your camera to the side of the jet ski can provide a thrilling side view of the rider and the surrounding scenery. This angle adds depth to your footage and can highlight the excitement of sharp turns.
- Chest Mount: A chest mount provides a first-person perspective, giving viewers a sense of immersion. This position captures the rider’s movements and can convey the adrenaline rush of riding.
- Helmet Mount: If you wear a helmet, consider mounting your camera on it. This location captures a panoramic view and allows for a more personal perspective of your riding experience.
When selecting the best mounting location for your action camera, keep the following factors in mind:
- Stability: Ensure that the camera is mounted securely to avoid shaky footage.
- Visibility: Choose a location that offers an unobstructed view of the action.
- Safety: Make sure the mount does not interfere with the operation of the jet ski and is unlikely to detach during your ride.
Before heading out on the water, it’s crucial to test your mounting setup. Take your jet ski out on a calm day and perform a few test runs to check the stability and angle of your camera. Adjust the position as needed to achieve the best results. Remember, the goal is to capture thrilling footage while ensuring your camera remains safe and secure.
In conclusion, finding the best mounting locations on a jet ski is vital for capturing high-quality action footage. By considering factors like stability, visibility, and safety, you can enhance your filming experience and create stunning videos of your water adventures.
Best Mounting Locations on a Boat
When it comes to capturing breathtaking moments on the water, choosing the right mounting locations for your action camera on a boat is essential. Unlike jet skis, where speed and agility dictate camera placement, boats offer more stability but require careful consideration of their structure and movement. Below, we delve into the best spots to mount your action camera, ensuring it captures the action while remaining secure and unobtrusive.
- Bow of the Boat: The front area of the boat is an excellent location for action shots. Mounting the camera here allows for stunning footage of the water splashing and the horizon stretching out ahead. Ensure the mount is secure to avoid vibrations.
- Gunwales: The sides of the boat, known as gunwales, provide a unique perspective. Mounting your camera here can capture the thrill of the waves and the boat’s interaction with the water. It’s crucial to use a mount that can withstand the lateral motion of the boat.
- Transom: The rear of the boat is another fantastic location. This spot can capture the wake created by the boat, providing dynamic footage of your adventure. Ensure the camera is positioned high enough to avoid water splashes.
- Dashboard: For a more stable shot, consider mounting your camera on the dashboard. This location is ideal for capturing the captain’s perspective and can provide a great view of the controls while still showcasing the scenery.
- Inside the Cabin: If your boat has a cabin, consider mounting your camera inside for shots of the crew during downtime or while navigating. This can add a personal touch to your video.
Stability is key when filming on a boat, as the movement of the water can lead to shaky footage. To enhance stability:
- Use High-Quality Mounts: Invest in strong, reliable mounts designed for marine use. These mounts should be able to withstand the vibrations and movements of the boat.
- Check for Secure Attachment: Always double-check that your camera is securely attached to the mount. A loose camera can lead to loss or damage, especially in rough waters.
- Consider the Wind: Wind can impact your camera’s stability. If filming in windy conditions, consider using windshields or protective cases to minimize noise and vibrations.
While there are many great spots to mount your camera, there are also common mistakes to avoid:
- Avoid Obstructing Views: Ensure your camera does not obstruct the view of the captain or other passengers, as this can lead to safety issues.
- Don’t Overlook the Angle: Position your camera at an angle that captures the action effectively. Experiment with different angles to find the best perspective.
- Neglecting Waterproofing: Ensure your camera is adequately protected from water exposure. Use waterproof cases or mounts to safeguard your equipment.
By carefully selecting your mounting locations and ensuring stability, you can capture incredible footage of your boating adventures. Whether you’re filming exhilarating moments or serene views, the right setup will enhance your experience and allow you to relive those thrilling times.

Step-by-Step Guide to Mounting Your Camera
Mounting your action camera on a jet ski or boat can greatly enhance your filming experience, allowing you to capture breathtaking moments from unique angles. This step-by-step guide will help you securely mount your camera, ensuring a stable and safe setup for your aquatic adventures.
Before you begin, make sure you have all the necessary equipment:
- Action Camera: Choose a model that is waterproof and has good stabilization features.
- Mounting Accessories: Look for mounts designed for water sports, such as suction cups or adhesive mounts.
- Safety Tether: Consider using a safety tether to prevent loss during high-speed rides.
- Tools: Some mounts may require tools for installation, so have a screwdriver or wrench handy.
Identifying the best location for your camera is crucial. Here are some recommended spots:
- On the Hull: A hull mount can provide a low angle that captures the water splashes beautifully.
- On the Handlebar: This position offers a first-person perspective, making your viewers feel like they’re riding along.
- On the Rear of the Jet Ski: This angle captures the wake and gives a sense of speed.
Once you’ve chosen your location, it’s time to secure the mount:
1. Clean the surface where you’ll attach the mount to ensure a strong bond.2. Follow the manufacturer's instructions for attaching the mount securely.3. If using an adhesive mount, allow it to cure for the recommended time before use.
With the mount securely in place, attach your action camera:
- Align the camera with the mount and ensure it clicks into place.
- Double-check that the camera is locked in and can’t be easily removed.
Before hitting the water, perform a stability test:
- Gently shake the camera to ensure it is firmly secured.
- Check for any loose parts that may need tightening.
To prevent losing your camera in the water, implement these safety measures:
- Use a Safety Tether: Attach a tether to your camera and a secure point on your jet ski or boat.
- Perform Regular Checks: Periodically check the mount and tether during your ride.
With your camera securely mounted, you’re ready to capture stunning footage. Remember to adjust the camera settings for optimal results, such as resolution and frame rate, based on your filming needs.
By following these steps, you can mount your action camera safely and securely, allowing you to focus on enjoying your water adventures while capturing incredible footage. Happy filming!
How to Secure Your Camera for Safety
When embarking on thrilling water adventures, ensuring the safety of your action camera is absolutely crucial. High-speed rides on jet skis or navigating rough waters on a boat can pose significant risks to your equipment. Therefore, understanding how to effectively secure your camera can prevent loss or damage, allowing you to focus on capturing stunning footage.
Why is Camera Security Important?
During high-speed activities, vibrations and sudden movements can dislodge improperly secured cameras. Furthermore, water splashes and impacts can damage your equipment if it is not adequately protected. By prioritizing camera security, you not only safeguard your investment but also ensure that you don’t miss any exhilarating moments on the water.
Effective Mounting Techniques
- Use Quality Mounts: Invest in high-quality mounts that are specifically designed for action cameras. Look for mounts that offer stability and are made from durable materials.
- Secure Straps: Utilize safety straps or tethers that can attach your camera to the mount or the vehicle. This additional layer of security can prevent the camera from falling into the water.
- Check Compatibility: Ensure that the mount is compatible with your specific action camera model. Mismatched mounts can lead to instability and increased risk of detachment.
Choosing the Right Location
Identifying the optimal mounting location is vital for both safety and capturing the best angles. Here are a few tips:
- Stable Surfaces: Mount your camera on flat and stable surfaces to minimize vibrations. Avoid areas that are prone to excessive movement.
- Visibility: Ensure that the camera has a clear view of the action while being securely mounted. This balance is essential for effective filming.
- Consider Wind Resistance: Position your camera in a way that reduces wind resistance, which can cause instability and vibrations during high-speed rides.
Testing Your Setup
Before hitting the water, conduct a thorough test of your camera setup. This includes:
- Pre-ride Checks: Before each ride, double-check that all mounts and straps are secure. A simple tug can reveal if anything is loose.
- Trial Runs: If possible, take a short trial run to see how well the camera holds up against the speed and motion of the ride.
Utilizing Waterproof Cases
For added protection, consider using waterproof cases. These cases not only provide a barrier against water but also offer extra security during rough rides. Make sure the case is rated for the conditions you expect to encounter.
Conclusion
Securing your action camera effectively is essential for capturing the best moments during your water adventures. By using quality mounts, ensuring proper placement, and testing your setup, you can enjoy peace of mind while filming. Remember, a well-secured camera not only enhances your filming experience but also protects your equipment from potential loss or damage.
Tips for Achieving the Best Camera Angles
Capturing breathtaking footage while riding a jet ski or boat can be an exhilarating experience, but it requires careful consideration of camera angles. Strategic positioning of your action camera can make all the difference in achieving dramatic shots and immersive perspectives. Here are some essential tips to help you master the art of camera angles while enjoying your water adventures.
Before you mount your camera, take a moment to assess your surroundings. The water’s surface, the movement of the vehicle, and the direction of the sun all play a crucial role in determining the best angles. Consider the lighting conditions and how they can enhance or detract from your footage.
- Low Angles: Mounting your camera close to the water can create a dramatic effect, showcasing the speed and excitement of the ride.
- High Angles: Positioning the camera above the rider can provide a unique perspective, capturing the vastness of the water and the thrill of the journey.
- Side Shots: Attaching the camera to the side of the jet ski or boat can offer a dynamic view of the action, perfect for showcasing maneuvers and splashes.
Many modern action cameras come equipped with advanced image stabilization technology. Make sure to enable this feature to minimize shaky footage, especially during high-speed rides. A stable shot not only looks professional but also enhances the viewer’s experience.
The type of mount you choose can significantly impact your camera angles. Adhesive mounts are ideal for flat surfaces, while clamp mounts can provide versatility for various locations. Experiment with different mounts to find the best fit for your shooting style.
Before hitting the water, create a shot list of the angles you want to capture. This planning can help you stay focused and ensure you don’t miss any key moments during your ride. Think about transitions between shots to create a seamless narrative in your final video.
Static shots can become monotonous, so consider incorporating movement into your footage. Panning the camera as you ride can add a sense of dynamism and excitement. Additionally, try to capture the motion of the water, which can enhance the overall feel of your video.
Safety should always come first. Make sure your camera is securely mounted and that you are wearing a life jacket. Avoid distractions while riding and focus on the water and your surroundings to ensure a safe filming experience.
After your ride, take the time to review the footage. Analyze what worked and what didn’t. This reflection will help you improve your technique for future outings. Don’t hesitate to make adjustments to your setup based on your observations.
By following these tips, you can elevate your filming game and capture stunning footage that truly reflects the thrill of your water adventures. Remember, practice makes perfect, so keep experimenting with different angles and techniques to find your unique style.
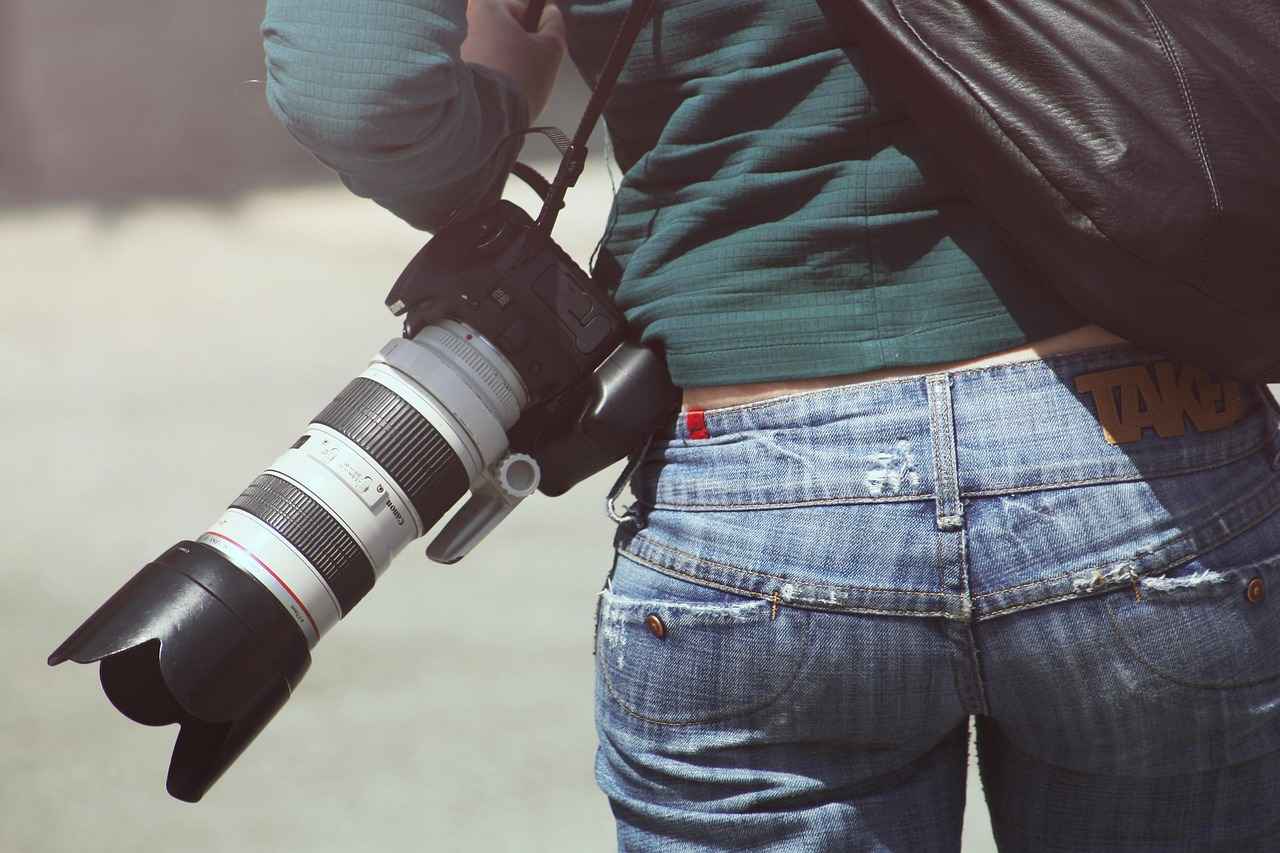
Editing Your Action Camera Footage
Editing your action camera footage is a crucial step in transforming raw clips into captivating videos that showcase your thrilling water adventures. In this section, we will delve into various editing techniques that can enhance your footage, making it more engaging and enjoyable for viewers.
Editing is essential because it allows you to refine your content, ensuring that the final product accurately represents your experiences. By cutting out unnecessary footage, adjusting colors, and adding effects, you can create a more polished and professional-looking video. Moreover, effective editing can help convey the excitement of your adventures, making your audience feel as if they are right there with you.
When it comes to editing your action camera footage, selecting the right software is vital. Many options are available, ranging from beginner-friendly tools to advanced editing suites. Popular choices include:
- Adobe Premiere Pro: Ideal for professionals, offering extensive features and flexibility.
- Final Cut Pro: A favorite among Mac users, known for its intuitive interface and powerful capabilities.
- iMovie: Great for beginners, providing basic editing tools without overwhelming complexity.
- DaVinci Resolve: A free option that offers advanced color correction and editing features.
To create compelling videos, consider the following editing techniques:
- Cutting and Trimming: Remove any dull or repetitive sections to maintain viewer interest.
- Transitions: Use smooth transitions between clips to create a seamless viewing experience.
- Speed Adjustment: Experiment with slow-motion and fast-motion effects to emphasize thrilling moments.
- Color Grading: Enhance the visual appeal by adjusting brightness, contrast, and saturation.
- Sound Design: Incorporate background music and sound effects to elevate the emotional impact of your footage.
Adding text and graphics can provide context and enhance storytelling. Consider including:
- Titles and Captions: Introduce your video or provide additional information about specific clips.
- Logos and Watermarks: Brand your content to promote your channel or personal brand.
- Graphics: Use overlays to highlight important moments or statistics during your adventure.
Once your editing is complete, it’s time to export your video. Choose the right format and resolution based on your intended platform. For example, 1080p is ideal for YouTube, while lower resolutions may suffice for social media platforms like Instagram.
After exporting, sharing your video with the world is the final step. Utilize social media platforms, video-sharing sites, and even personal blogs to showcase your work. Engaging with your audience through comments and feedback can also help improve future videos.
In conclusion, is a vital process that enhances the quality and appeal of your videos. By utilizing the right software, techniques, and creative elements, you can transform your raw footage into captivating narratives that resonate with your audience.
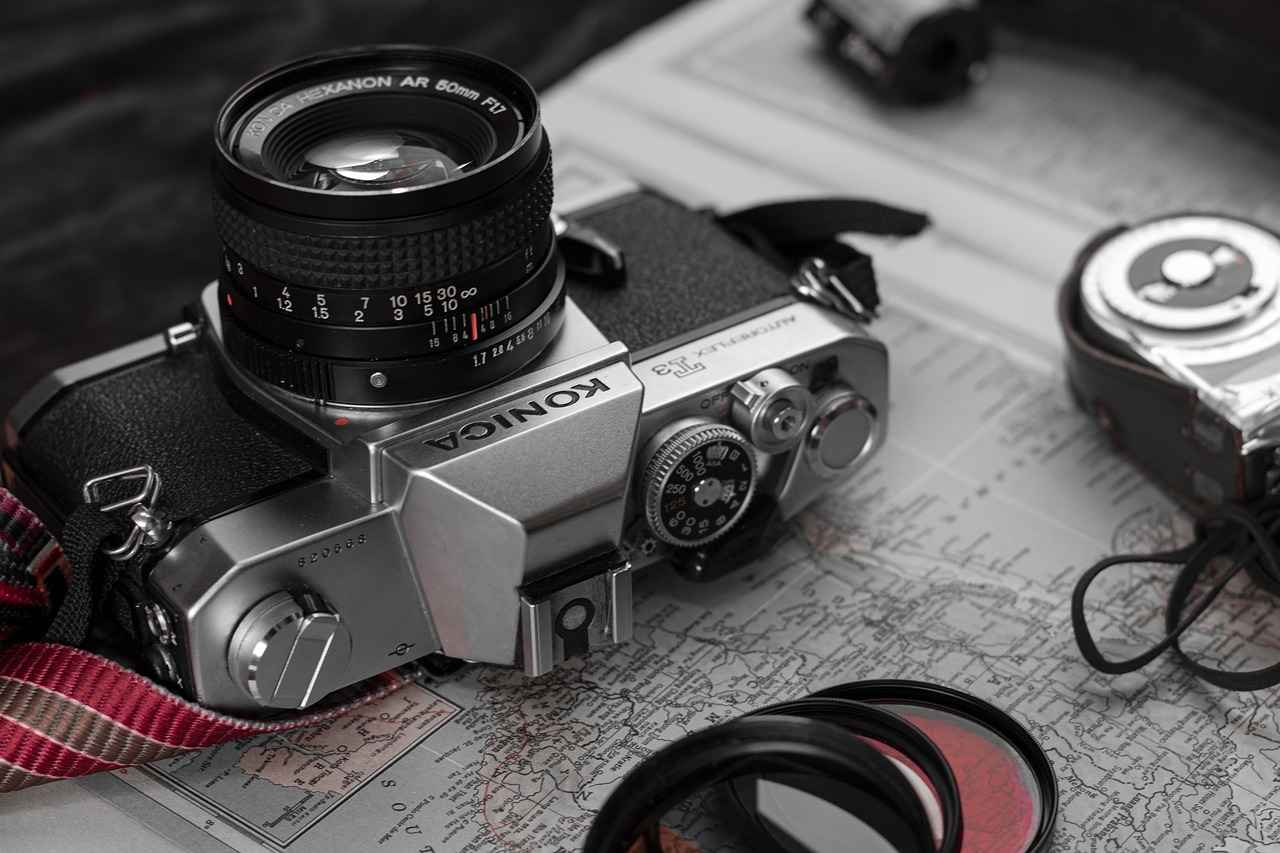
Common Mistakes to Avoid When Mounting Action Cameras
When it comes to capturing thrilling moments on the water, mounting an action camera correctly is crucial. However, many enthusiasts make common mistakes that can lead to frustrating results. Understanding these pitfalls can save you time, effort, and potentially costly damage to your equipment. Here’s a detailed look at frequent errors and how to avoid them.
Properly mounting your action camera ensures stability and optimal footage quality. A poorly mounted camera can lead to shaky videos or even loss of the camera itself. It’s essential to recognize the significance of secure and strategic placements.
One of the biggest mistakes is neglecting to assess the mounting surface. Surfaces that are not flat or stable can cause the camera to vibrate or fall off. Always choose a smooth and secure location for mounting your camera, whether on a jet ski or a boat.
Failing to utilize the appropriate mounts and accessories can compromise your camera’s safety. Always opt for water-resistant mounts and ensure that they are compatible with your camera model. Using subpar accessories can lead to equipment failure.
Weather plays a significant role in the performance of your action camera. Mounting your camera without considering wind, waves, or rain can lead to poor footage or damage. Always check the weather forecast and adjust your mounting strategy accordingly.
Another frequent mistake is not positioning the camera at the right angle. A camera that is too high or too low can miss the action or create unflattering shots. Take the time to experiment with different angles to find the one that captures the best perspective.
Not securing the camera adequately is a recipe for disaster. Always use multiple points of attachment and double-check that everything is tight and secure before heading out. A camera that comes loose can result in loss or damage.
Before embarking on your adventure, it’s crucial to test your setup. Take a few moments to record short clips and check the footage for stability and angle. This step can save you from discovering issues during your ride.
Finally, many forget to check local laws regarding filming on the water. Some areas may have restrictions on where you can film or require permits. Always research and comply with local regulations to avoid fines or equipment confiscation.
By steering clear of these common mistakes, you can enhance your filming experience and ensure that your action camera captures the thrilling moments you seek. Proper planning and attention to detail will lead to stunning footage that you can cherish for years to come.
Legal Considerations for Filming on Water
Filming on water can be an exhilarating experience, but it also comes with its own set of legal considerations. Understanding these legalities is essential for both amateur and professional filmmakers. This guide will delve into the various regulations and guidelines that govern filming on water, helping you to navigate the complexities of compliance while enjoying your action camera experience.
Before you embark on your filming adventure, it is crucial to familiarize yourself with local regulations. Various jurisdictions have different laws regarding water filming, which may include:
- Permits: Some areas require permits for filming, especially in public waterways or protected environments.
- Safety Regulations: Adhering to safety guidelines is essential. This may include wearing life jackets or ensuring your equipment is securely mounted.
- Environmental Protections: Be aware of local wildlife and ecosystems. Filming in sensitive areas may be restricted to protect natural habitats.
Ensuring compliance with local regulations is not just a legal obligation; it is also a matter of responsibility. Non-compliance can lead to hefty fines, confiscation of equipment, or even legal action. Additionally, following regulations helps to maintain a positive relationship with local authorities and the community.
Researching local laws can seem daunting, but there are several effective strategies:
- Consult Local Authorities: Contact local government offices or parks and recreation departments for specific guidelines.
- Online Resources: Many regions have websites dedicated to filming regulations, making it easier to find the information you need.
- Join Filmmaker Communities: Engage with local filmmaker groups or forums where you can share experiences and gather insights about legal considerations.
Liability is another critical aspect of filming on water. Accidents can happen, and it is vital to protect yourself and your equipment. Consider the following:
- Insurance: Look into obtaining liability insurance that covers filming activities. This can safeguard you against potential claims.
- Waivers: If you are filming with others, having participants sign waivers can provide an additional layer of protection.
Beyond legal compliance, ethical considerations also play a significant role in filming on water. Respect for the environment and other water users is paramount. Here are some ethical tips:
- Leave No Trace: Always clean up after yourself and ensure that your filming does not disturb the natural surroundings.
- Respect Privacy: Be mindful of the privacy of others who may be present in the filming area.
In conclusion, understanding the legalities of filming on water is essential for a successful and enjoyable experience. By familiarizing yourself with local regulations, ensuring compliance, and considering both liability and ethical responsibilities, you can focus on capturing stunning footage while respecting the environment and community. Always remember that preparation is key to a seamless filming adventure.
Frequently Asked Questions
- What type of action camera is best for water sports?
When choosing an action camera for water sports, look for features like waterproofing, image stabilization, and a long battery life. Cameras like the GoPro HERO series or DJI Osmo Action are popular choices due to their durability and high-quality footage.
- How do I secure my action camera while riding?
To secure your action camera, use strong mounts designed for water activities, such as suction cups or strap mounts. Ensure everything is tightly fastened, and consider using a safety tether to prevent loss if the camera becomes detached.
- Where are the best mounting locations on a jet ski?
The best mounting locations on a jet ski include the front, sides, or rear, depending on the angle you want to capture. Always prioritize stability and visibility while ensuring the camera is out of the way of any moving parts.
- Can I edit my action camera footage easily?
Yes! Most action cameras come with user-friendly editing software or apps. You can enhance your footage with transitions, music, and effects to create exciting videos of your water adventures.
- Are there any legal issues I should be aware of when filming on water?
Absolutely! Before filming, check local regulations regarding drone usage and filming in public waterways. Always respect privacy and adhere to any restrictions to avoid legal troubles.
