This article provides comprehensive insights into correcting overexposed and underexposed videos from action cameras, offering practical tips and techniques for achieving optimal video quality.
Overexposure often occurs due to excessive light hitting the camera sensor, leading to a loss of detail in bright areas. Common factors include:
- Bright sunlight or reflective surfaces
- Improper camera settings
- Incorrect use of automatic exposure modes
Understanding these factors can help you prevent overexposure in future recordings, significantly improving your video quality.
Underexposed videos typically appear dark, lacking detail in shadowed areas. Signs of underexposure include:
- Loss of detail in dark scenes
- Increased noise in low-light conditions
- Overall dim appearance of the footage
Recognizing these signs is crucial for making necessary adjustments during filming and editing.
Adjusting your camera settings can prevent exposure issues before they occur. Here are some tips:
- Use manual mode to control shutter speed, aperture, and ISO.
- Set the right white balance for the shooting environment.
- Utilize spot metering to focus on specific areas of the scene.
These techniques ensure your videos are well-lit and visually appealing.
Neutral Density (ND) filters are essential tools for managing light entering the lens. They help reduce overexposure in bright conditions by:
- Allowing for slower shutter speeds without overexposing the image.
- Enabling wider apertures for a shallow depth of field.
Incorporating ND filters into your gear can make a significant difference in your video quality.
Choosing the right editing software is vital for correcting exposure issues. Popular options include:
- Adobe Premiere Pro – Offers advanced color correction tools.
- Final Cut Pro – Known for its user-friendly interface and powerful features.
- DaVinci Resolve – Excellent for color grading and exposure adjustments.
These programs provide various tools tailored for exposure correction.
Understanding how to read and utilize the histogram can significantly improve your ability to assess and adjust exposure levels accurately. A well-balanced histogram indicates proper exposure, while clipped highlights or shadows signal areas needing adjustment.
Being aware of common pitfalls can help you achieve better results. Avoid:
- Relying solely on automatic settings.
- Making drastic adjustments without gradual testing.
- Neglecting to review footage before finalizing edits.
These mistakes can lead to frustrating errors during the editing process.
Adapting your shooting techniques to varying lighting conditions is essential. Consider:
- Using reflective surfaces to bounce light in low-light situations.
- Adjusting your camera settings based on the time of day.
These strategies can help you capture better footage and minimize exposure issues from the outset.
Switching to manual mode gives you greater control over exposure settings, allowing for precise adjustments tailored to your shooting environment. Experiment with different settings to find the optimal balance for your videos.
Recognizing when to seek professional assistance can save you time and ensure your videos meet high-quality standards, especially for important projects. If you find exposure issues too complex to fix on your own, consider consulting an expert.
What Causes Overexposure in Action Camera Videos?
Overexposure in action camera videos can be a frustrating issue for both amateur and professional videographers. Understanding the common factors that lead to overexposure is essential for improving your video quality significantly. In this section, we will explore the primary causes of overexposure, providing you with the insights needed to prevent this problem in your future recordings.
- Bright Lighting Conditions: One of the most common causes of overexposure is filming in bright sunlight or reflective environments. When the camera sensor is overwhelmed by too much light, it results in washed-out images where details are lost.
- Improper Camera Settings: Using automatic settings can often lead to overexposure, especially if the camera does not correctly assess the lighting conditions. Adjusting the ISO, shutter speed, and aperture can help maintain proper exposure levels.
- Lack of ND Filters: Neutral Density (ND) filters are essential tools for managing light entry into the lens. Without them, bright conditions can easily cause overexposure, particularly in action shots where motion is involved.
- High Dynamic Range Scenes: Scenes with a high dynamic range, such as those featuring both very bright and very dark areas, can confuse the camera’s metering system, leading to overexposure in the brighter areas.
- Incorrect White Balance Settings: If the white balance is set incorrectly, it can affect how the camera perceives light, which may inadvertently lead to overexposure.
By recognizing these factors, you can make informed decisions during filming to prevent overexposure. For instance, consider adjusting your shooting schedule to avoid the harsh midday sun or utilizing ND filters to manage light intake effectively.
Additionally, always check your camera settings before shooting. Manually setting your ISO to a lower value or adjusting your shutter speed can significantly enhance your footage quality. Remember, the goal is to capture vibrant, detailed images without losing information in the highlights.
Lastly, it’s crucial to familiarize yourself with your camera’s metering modes. Understanding how your camera evaluates exposure can provide insights into how to adjust your settings for optimal results. By paying attention to these common causes of overexposure, you can significantly enhance your action camera videos and ensure a more enjoyable editing experience.
How to Identify Underexposed Action Camera Videos?
When filming with action cameras, achieving the right exposure is essential for capturing stunning visuals. Identifying underexposed footage can be challenging, but recognizing the signs early on is crucial for making necessary adjustments during filming and editing. This article delves into the key indicators of underexposure and how to address them effectively.
Underexposed videos often exhibit a dark and murky appearance, where details in shadows are lost, making it difficult to discern elements within the frame. One of the first signs of underexposure is the lack of detail in darker areas. If you notice that certain parts of your footage appear almost black or lack clarity, it’s likely that the exposure settings were not optimal during recording.
Another indication of underexposure is the color saturation. Underexposed footage tends to have muted colors, making the overall visual experience less engaging. If your video looks washed out or overly dull, it may be a sign that you need to adjust your exposure settings. Additionally, noise and graininess can become more pronounced in underexposed videos, particularly in low-light situations, detracting from the overall quality of your footage.
To effectively identify underexposure, consider utilizing the histogram feature available on most action cameras. A histogram provides a graphical representation of the exposure levels in your shot. If the histogram is heavily skewed to the left, indicating a concentration of dark pixels, this is a clear sign of underexposure. Aim for a balanced histogram that spreads evenly across the spectrum for optimal exposure.
When reviewing your footage, pay attention to visual cues such as contrast and brightness. Underexposed videos often lack contrast, making scenes appear flat. If you find that your footage lacks depth, it might be time to reassess your lighting conditions and camera settings.
In addition to visual cues, monitoring your camera settings during filming is essential. Ensure that your ISO, shutter speed, and aperture settings are appropriate for the lighting conditions you are shooting in. A common mistake is to rely solely on automatic settings, which may not always adjust correctly to varying light conditions.
Finally, remember that while underexposure can often be corrected in post-production, it is always best to capture as much detail as possible during the initial shoot. This approach minimizes the risk of losing important visual information, ensuring that your final product meets your quality standards.
In conclusion, recognizing the signs of underexposure is pivotal for enhancing your footage. By being vigilant during filming and utilizing tools like histograms, you can make informed adjustments that will elevate the quality of your videos. With practice and attention to detail, you’ll be able to create stunning action camera footage that captivates your audience.
Essential Tips for Proper Exposure Settings
When it comes to capturing stunning videos with your action camera, understanding how to adjust your exposure settings is vital. Proper exposure ensures that your footage is neither too bright nor too dark, making it visually appealing and enjoyable to watch. Here are some essential tips to help you achieve the perfect exposure settings for your videos.
Proper exposure settings can significantly enhance the quality of your videos. Overexposed footage appears washed out, losing detail in bright areas, while underexposed footage can look dark and grainy. By mastering your camera’s settings, you can prevent these issues and create videos that are both vibrant and clear.
The exposure triangle consists of three key components: aperture, shutter speed, and ISO. Balancing these elements is crucial for achieving the desired exposure:
- Aperture: This controls the amount of light entering the lens. A lower f-stop (e.g., f/2.8) allows more light, ideal for low-light conditions, while a higher f-stop (e.g., f/16) reduces light intake, suitable for bright environments.
- Shutter Speed: This determines how long the camera’s sensor is exposed to light. A faster shutter speed (e.g., 1/1000s) freezes motion, while a slower speed (e.g., 1/30s) captures motion blur, which can enhance the feeling of speed in action shots.
- ISO: This adjusts the camera’s sensitivity to light. A lower ISO (e.g., 100) is preferable in bright conditions, while a higher ISO (e.g., 1600) can be useful in darker settings, though it may introduce noise.
The histogram is a graphical representation of the tonal values in your image. Learning to read the histogram can help you assess your exposure more accurately. Aim for a balanced histogram where the data is evenly distributed without clipping at either end. This will ensure that you capture the full range of tones in your video.
Different lighting conditions require different exposure settings. For instance, shooting during the golden hour (shortly after sunrise or before sunset) can create beautiful, soft lighting. In contrast, shooting in harsh midday sunlight may require adjustments, such as using ND filters to reduce light intensity and prevent overexposure.
Switching your camera to manual mode gives you complete control over your exposure settings. This allows you to fine-tune each component of the exposure triangle according to your shooting environment. While it may take some time to get used to, manual mode can greatly enhance your video quality.
As you film, keep an eye on your exposure settings. Conditions can change rapidly, particularly in outdoor environments. Be ready to adjust your settings on the fly to maintain proper exposure throughout your shoot.
By following these essential tips for proper exposure settings, you can significantly improve the quality of your action camera videos. Remember to understand the exposure triangle, utilize the histogram, and adapt your settings to different lighting conditions. With practice and patience, you’ll be able to create visually stunning footage that captivates your audience.
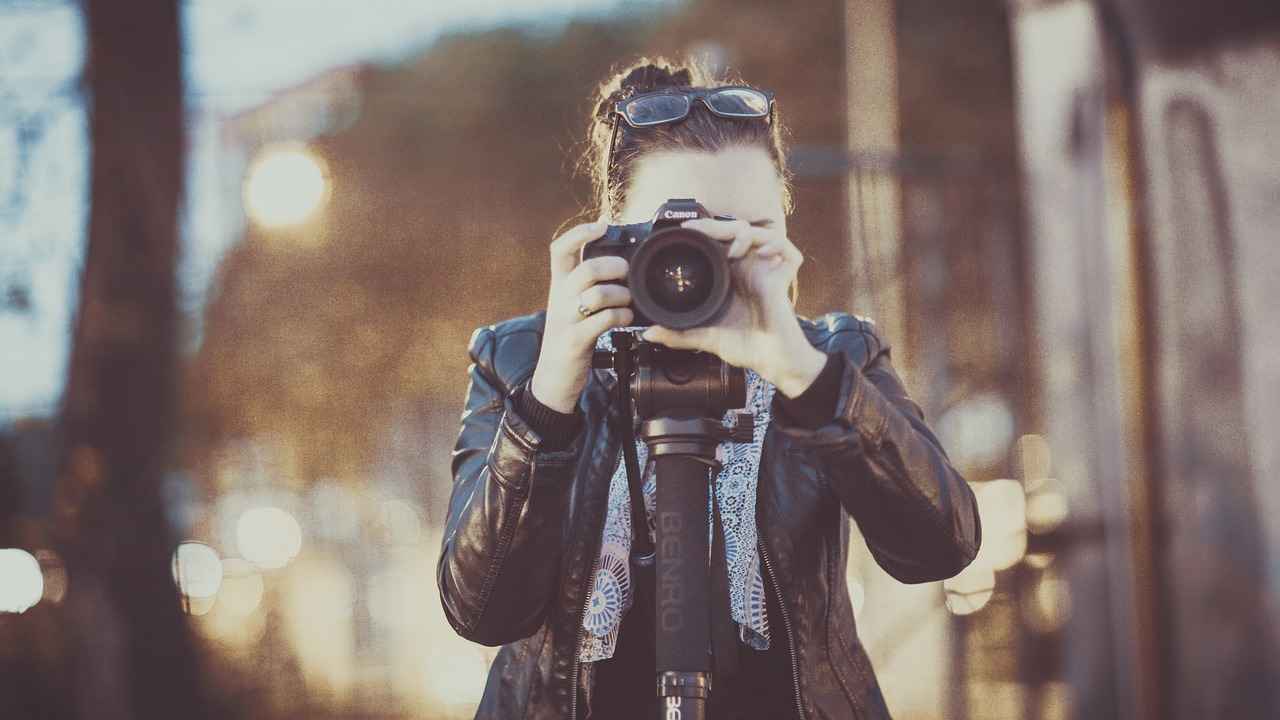
Using ND Filters to Balance Exposure
When it comes to capturing stunning videos with your action camera, achieving the right exposure is crucial. One effective solution that many videographers and photographers utilize is the Neutral Density (ND) filter. These filters are designed to manage the amount of light entering the lens, making them particularly beneficial in bright conditions.
What Are ND Filters?
ND filters are essentially sunglasses for your camera. They reduce the intensity of the light without affecting the color of the scene. This allows you to use wider apertures or slower shutter speeds, which can be particularly advantageous when shooting in bright sunlight.
Why Use ND Filters?
- Prevent Overexposure: In bright conditions, ND filters help to reduce the risk of overexposure, ensuring your footage retains detail in both highlights and shadows.
- Enhance Motion Blur: By allowing slower shutter speeds, ND filters create a natural motion blur, which can enhance the cinematic quality of your videos.
- Control Depth of Field: Using an ND filter enables you to open up your aperture even in bright light, achieving a shallow depth of field that beautifully blurs the background.
How to Choose the Right ND Filter?
Selecting the appropriate ND filter depends on your shooting conditions and desired effects. Here are some key considerations:
- Density Levels: ND filters come in various densities, measured in stops (e.g., ND4, ND8, ND1000). The higher the number, the more light is blocked. Choose based on how bright your environment is.
- Filter Size: Ensure you select a filter that fits your lens diameter. Some filters can be adapted to fit various lenses using step-up rings.
Practical Tips for Using ND Filters
1. Always check your exposure settings after attaching an ND filter.2. Experiment with different densities to find the right balance for your specific shooting conditions.3. Keep an eye on your shutter speed; a general rule is to keep it at double your frame rate for natural motion blur.
In bright conditions, ND filters can dramatically improve the quality of your action camera videos. By effectively managing light entry, they allow for greater creative control and enhance the overall visual appeal of your footage. Whether you’re shooting a fast-paced adventure or capturing scenic landscapes, investing in a good ND filter can elevate your video production quality.
Editing Software for Exposure Correction
When it comes to editing action camera videos, choosing the right editing software is essential for correcting exposure issues. Various programs come equipped with a range of tools and features specifically designed to tackle exposure problems, enabling you to enhance your footage efficiently. This article will delve into the key factors to consider when selecting software for exposure correction and highlight some popular options available in the market.
When searching for editing software, it’s crucial to prioritize features that cater to exposure correction. Look for programs that offer:
- Histogram Analysis: This tool helps you visualize exposure levels, allowing for precise adjustments.
- Color Correction Tools: Advanced color grading capabilities can assist in correcting both overexposure and underexposure.
- Adjustment Layers: These layers enable you to make non-destructive edits, maintaining the integrity of your original footage.
- Batch Processing: If you have multiple videos to edit, batch processing can save you significant time.
There are several popular editing software options that cater to varying skill levels and requirements:
- Adobe Premiere Pro: This industry-standard software offers comprehensive tools for exposure correction, including color wheels and curves.
- Final Cut Pro: Renowned for its user-friendly interface, it provides powerful features for adjusting brightness and contrast.
- DaVinci Resolve: Known for its advanced color grading capabilities, it is a favorite among professionals for correcting exposure issues.
- Filmora: A great option for beginners, it offers simple tools for basic exposure adjustments without overwhelming complexity.
Once you’ve chosen your editing software, familiarize yourself with basic techniques for exposure adjustment:
1. Use the histogram to identify exposure levels.2. Adjust brightness and contrast sliders to correct exposure.3. Utilize color grading tools for finer adjustments.4. Apply LUTs (Look-Up Tables) for quick color corrections.
While editing, it’s easy to make mistakes that can worsen your footage. Here are some common pitfalls to avoid:
- Over-correcting: Avoid making drastic adjustments that can lead to unnatural-looking footage.
- Ignoring the Histogram: Not utilizing the histogram can result in missed opportunities for correction.
- Neglecting Color Balance: Focusing solely on exposure without considering color balance can lead to unappealing results.
Prevention is better than cure. Here are some tips for capturing better footage in varying lighting conditions:
- Use ND Filters: These filters can help manage bright light, preventing overexposure.
- Adjust ISO Settings: Lowering the ISO can reduce noise and improve image quality in bright conditions.
- Monitor Lighting Changes: Be aware of how changing light conditions can affect your exposure and adjust settings accordingly.
By understanding the tools and techniques available for editing exposure issues, you can significantly improve the quality of your action camera videos. Remember, the right choice of editing software plays a crucial role in achieving the desired results.
Popular Video Editing Software Options
When it comes to video editing, having the right software is crucial for achieving professional results. Exploring popular video editing software can help you find the best fit for your needs, ensuring you have the right tools at your disposal. With a plethora of options available, it can be overwhelming to choose the right one. Below, we delve into some of the most popular video editing software options, highlighting their features, benefits, and ideal use cases.
Before diving into specific software options, it’s essential to understand the key features to look for:
- User-Friendly Interface: A simple and intuitive interface can significantly reduce the learning curve.
- Editing Tools: Look for software that offers a range of editing tools, including trimming, cutting, and color correction.
- Support for Multiple Formats: Ensure the software can handle various video formats to accommodate your projects.
- Export Options: The ability to export your videos in different resolutions and formats is crucial.
Here are some of the most popular video editing software options available today:
- Adobe Premiere Pro: A professional-grade software widely used in the industry, known for its robust features and flexibility.
- Final Cut Pro: Ideal for Mac users, this software offers powerful editing capabilities and seamless integration with other Apple products.
- DaVinci Resolve: Known for its advanced color correction tools, this software is a favorite among filmmakers and video professionals.
- iMovie: A great option for beginners, iMovie provides a user-friendly interface and essential editing tools.
- Filmora: This software is designed for novice editors, offering a simple interface with a variety of creative features.
Choosing the right video editing software depends on several factors:
- Experience Level: Beginners may prefer simpler software, while advanced users might need more complex tools.
- Budget: Consider whether you want a free option or are willing to invest in a premium software package.
- Specific Features: Identify which features are most important for your projects, such as 4K editing or motion graphics.
Investing time in finding the right video editing software can lead to numerous benefits:
- Improved Video Quality: High-quality editing tools can enhance the overall quality of your videos.
- Creative Control: With advanced features, you can express your creativity and produce unique content.
- Time Efficiency: Efficient software can help you edit your videos faster, allowing for quicker project turnaround.
In conclusion, selecting the right video editing software is a crucial step in enhancing your video production quality. By understanding your needs and exploring the available options, you can find the perfect fit that will empower you to create stunning videos.
Basic Editing Techniques for Exposure Adjustment
When it comes to video editing, mastering basic editing techniques for exposure adjustment is essential for any content creator. Whether you’re an amateur filmmaker or a seasoned professional, understanding how to correct exposure issues can dramatically enhance the quality of your videos. This section will explore various methods and tips that can empower you to make quick and effective adjustments to your footage.
Exposure plays a critical role in determining the overall look and feel of your video. Overexposed footage appears washed out, losing detail in the bright areas, while underexposed videos can look dark and murky, obscuring important elements. By learning how to adjust exposure effectively, you can ensure that your videos are visually appealing and convey the intended message clearly.
Familiarizing yourself with the tools available in your editing software is the first step towards effective exposure adjustment. Most video editing programs, such as Adobe Premiere Pro, Final Cut Pro, and DaVinci Resolve, offer a range of features for correcting exposure. Here are some fundamental tools you should know:
- Brightness and Contrast: These basic sliders allow you to adjust the overall lightness or darkness of your video.
- Gamma Correction: This tool helps refine mid-tones, enhancing the visibility of details in both light and dark areas.
- Curves: A more advanced tool that allows for precise adjustments to specific tonal ranges, providing greater control over exposure.
Here are some practical steps to follow when adjusting exposure:
- Import Your Footage: Begin by importing the video file into your editing software.
- Analyze the Video: Play through your footage to identify areas that are overexposed or underexposed.
- Use the Histogram: Utilize the histogram feature to assess the exposure levels more accurately. Aim for a balanced distribution across the spectrum.
- Make Adjustments: Use the basic editing tools mentioned earlier to correct the exposure. Start with brightness and contrast, then move on to curves if necessary.
- Preview Changes: Regularly preview your adjustments to ensure you’re achieving the desired effect without compromising quality.
When adjusting exposure, it’s important to avoid common pitfalls that can lead to poor results:
- Overcorrection: Be cautious not to over-adjust settings, as this can introduce noise and reduce video quality.
- Ignoring Color Balance: Exposure adjustments can affect color balance, so always check your colors after making changes.
- Neglecting the Context: Consider the overall mood and message of your video. Sometimes, a slightly underexposed or overexposed shot can add character.
The best way to become proficient in exposure adjustment is through practice. Experiment with different settings and techniques on various clips to see what works best for your style. With time and experience, you’ll be able to make quick and effective adjustments that enhance the quality of your videos.
In conclusion, mastering basic editing techniques for exposure adjustment is a valuable skill for anyone looking to improve their video editing capabilities. By understanding the tools available and following structured steps, you can ensure that your videos not only look good but also effectively communicate your intended message.
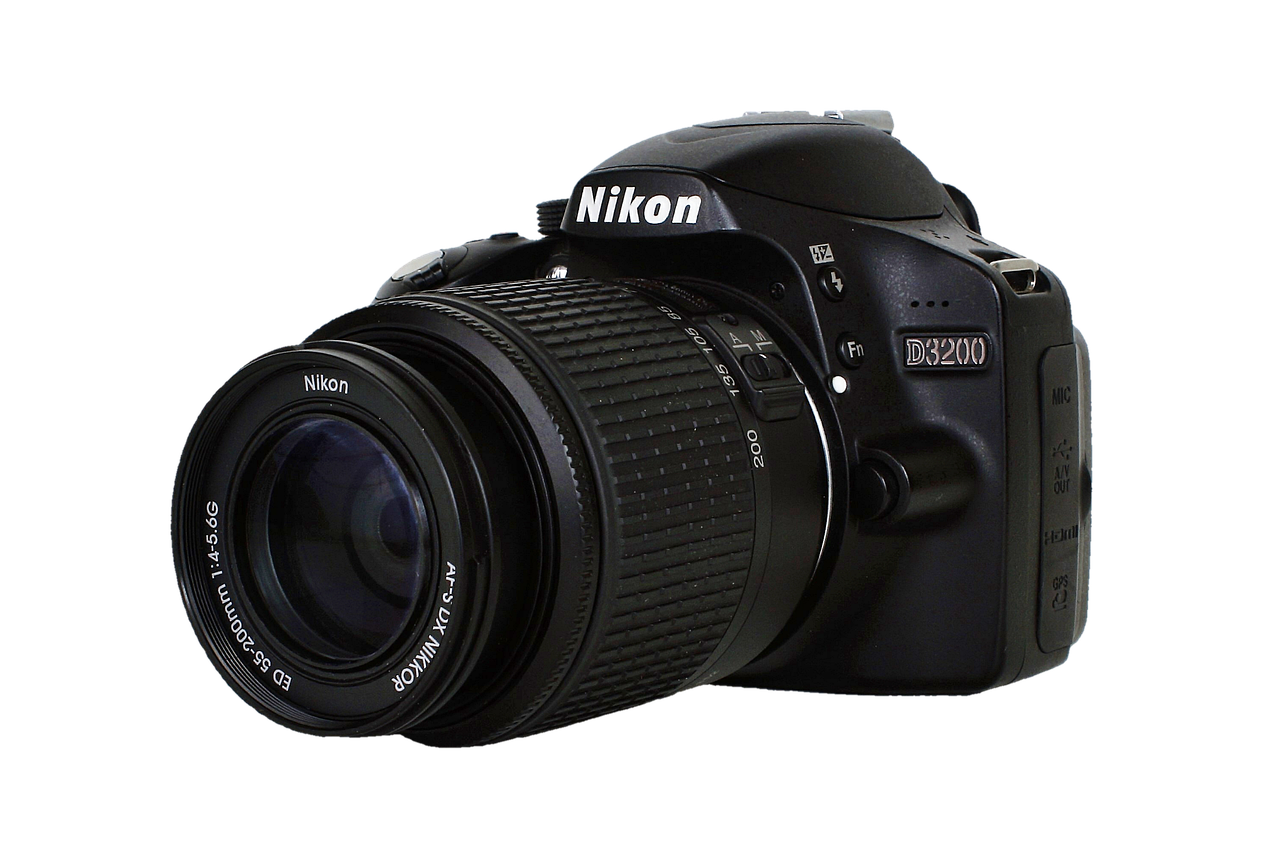
Using Histogram for Exposure Correction
When it comes to achieving the best possible video quality, understanding the histogram is essential for action camera users. A histogram is a graphical representation of the tonal values of your video, showing the distribution of light and dark areas. By learning how to read and utilize the histogram effectively, you can significantly enhance your ability to assess and adjust exposure levels accurately.
The histogram is divided into three main sections: shadows, midtones, and highlights. The left side of the histogram represents the shadows, the middle section indicates the midtones, and the right side showcases the highlights. When the histogram is skewed too far to the left, it indicates that your video is underexposed, while a skew to the right suggests overexposure. Ideally, you want your histogram to be balanced, with data spread across all three sections.
One of the key benefits of using a histogram is its ability to provide a more accurate representation of exposure than simply relying on your camera’s LCD screen. The screen can be misleading in bright conditions, making it difficult to determine if your footage is properly exposed. The histogram, on the other hand, offers a clear visual guide, allowing you to make informed adjustments before or during filming.
- Monitor Histogram During Shooting: Always keep an eye on the histogram while shooting. Adjust your camera settings as needed to ensure that the data is well-distributed across the histogram.
- Check Histogram in Editing: When editing your footage, utilize the histogram to identify any exposure issues that may not have been apparent during filming.
- Make Adjustments: Use editing software tools to correct exposure based on the histogram readings, ensuring a balanced final product.
In addition to helping with exposure correction, the histogram can also guide you in achieving the desired dynamic range in your videos. A well-balanced histogram indicates a rich range of tones, which enhances the overall visual appeal of your footage. Conversely, a histogram that is heavily concentrated on one side may result in a flat image lacking depth.
Moreover, understanding the histogram can aid in preventing common mistakes that many videographers make, such as clipping highlights or losing detail in shadows. By regularly consulting the histogram throughout the shooting and editing processes, you can maintain greater control over your video quality, ensuring that your final product meets your expectations.
In summary, the histogram is a powerful tool that can greatly enhance your video editing and shooting experience. By learning to read and utilize it effectively, you can achieve optimal exposure levels, resulting in stunning action camera videos that capture the moment perfectly.

Common Mistakes to Avoid When Adjusting Exposure
When it comes to video editing, particularly for action camera footage, understanding the can enhance your editing skills and improve your final product significantly. Many editors, whether novice or experienced, often fall into traps that can lead to frustrating results. By being aware of these pitfalls, you can streamline your editing process and achieve the high-quality videos you desire.
One of the most prevalent mistakes is not considering the lighting conditions under which the footage was shot. Different times of the day and various environments can drastically affect exposure. Always assess the lighting before filming and adjust your camera settings accordingly.
While automatic settings are convenient, they can often lead to inconsistent exposure. Relying solely on these settings may cause your footage to appear washed out or too dark. Instead, take the time to learn and utilize manual settings for greater control over your exposure.
The histogram is a powerful tool that many editors overlook. It provides a visual representation of the exposure levels in your footage. Not using the histogram can result in poor exposure adjustments. Always refer to it to assess whether your highlights and shadows are well-balanced.
After adjusting exposure, many forget the importance of color correction. Exposure adjustments can alter the color balance of your footage. Ensure that you follow up with color grading to maintain the integrity of your visuals.
Clipping occurs when the highlights or shadows lose detail due to overexposure or underexposure. Failing to check for clipping can lead to irreversible damage to your footage. Use your editing software’s tools to identify and correct these issues before finalizing your video.
It can be tempting to apply numerous filters and adjustments to enhance your video. However, over-editing can lead to unnatural results. Aim for balance and subtlety to keep your footage looking authentic.
Finally, many editors skip the testing phase before settling on their exposure settings. Take the time to experiment with different settings in various conditions. This practice will help you understand how to best achieve the desired exposure in your future projects.
In summary, by being aware of these common mistakes when adjusting exposure, you can enhance your editing process and create visually stunning action camera videos. Remember to consider lighting, utilize manual settings, refer to the histogram, and maintain a balanced approach to editing. With these strategies in mind, you’ll be well on your way to producing high-quality footage that captures your adventures beautifully.
Tips for Shooting in Different Lighting Conditions
When it comes to capturing stunning footage with your action camera, adapting your shooting techniques to varying lighting conditions is crucial. This adaptability not only enhances the quality of your videos but also minimizes exposure issues right from the start. Whether you’re shooting in bright sunlight, dimly lit environments, or mixed lighting scenarios, understanding how to adjust your approach can make a significant difference.
Understanding Lighting Conditions
- Bright Sunlight: Shooting in direct sunlight can often lead to overexposure. To combat this, consider using Neutral Density (ND) filters, which help reduce the amount of light entering the lens.
- Low Light: In dim conditions, you may encounter underexposure. Increase your camera’s ISO setting to allow more light, but be cautious of introducing noise into your footage.
- Mixed Lighting: When shooting in environments with both natural and artificial light, white balance adjustments are essential to ensure color accuracy.
Techniques for Different Conditions
1. **Use Manual Settings**: Switching to manual mode gives you control over shutter speed, aperture, and ISO, allowing for tailored adjustments based on the lighting conditions.2. **Monitor Your Histogram**: Regularly check your histogram while shooting. This tool helps you visualize exposure levels and avoid clipping highlights or shadows.3. **Adjust Frame Rate**: In bright conditions, a higher frame rate can help achieve better motion blur and exposure balance.
Practical Tips for Better Footage
- Always test your settings before starting your shoot to ensure optimal exposure based on the current lighting.
- Consider the time of day; the golden hour provides softer, more flattering light.
- Utilize reflectors or bounce cards to manage harsh shadows when shooting outdoors.
By integrating these techniques, you can significantly improve your action camera footage, regardless of the lighting conditions. Remember, the key is to remain adaptable and continuously evaluate your settings as conditions change. This proactive approach will help you capture the best possible footage while minimizing exposure issues.
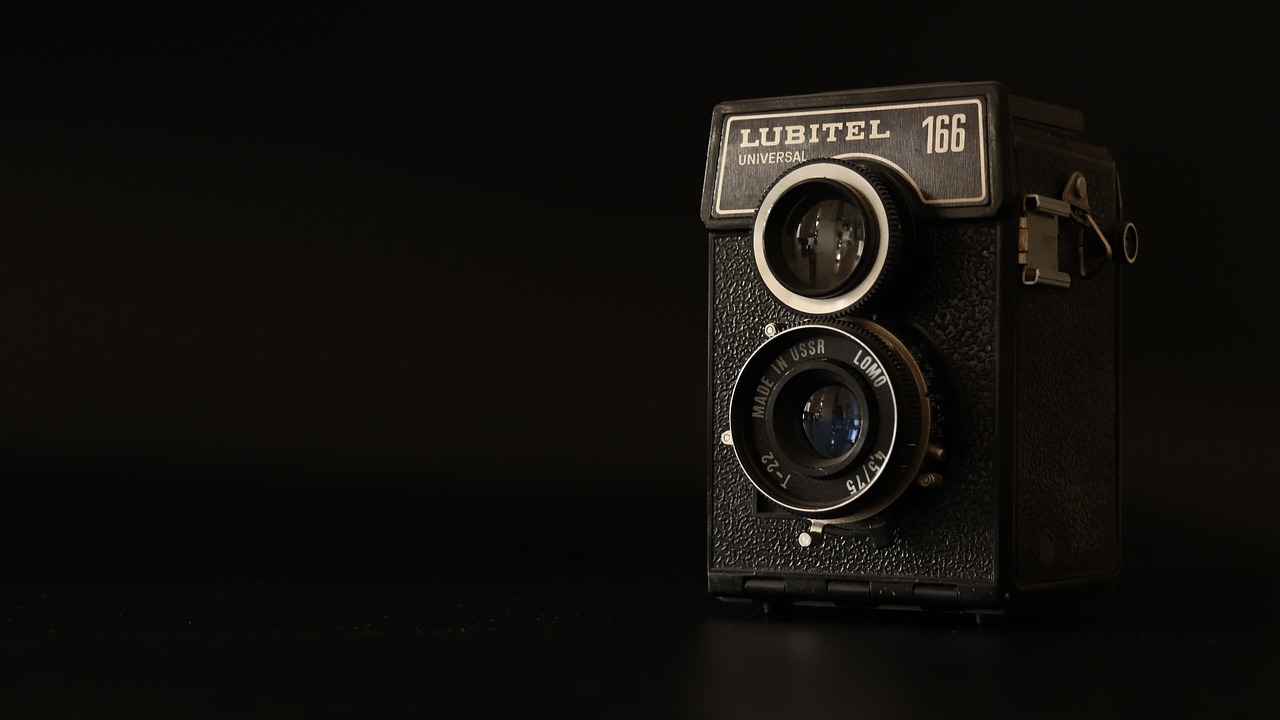
How to Use Manual Mode for Better Control
When it comes to capturing high-quality footage with your action camera, manual mode can be a game changer. By switching to this mode, you gain greater control over exposure settings, which allows for more precise adjustments tailored to your unique shooting environment. This flexibility is crucial, especially when facing challenging lighting conditions.
In automatic mode, your camera makes exposure decisions based on its built-in algorithms, which can often lead to inconsistent results. For instance, in bright sunlight, your camera might underexpose your subject to compensate for the bright background. By using manual mode, you can adjust the aperture, shutter speed, and ISO settings according to the specific conditions you are shooting in. This means you can ensure that your subject is well-lit and the overall exposure is balanced.
To effectively use manual mode, it’s essential to understand the relationship between these three settings:
- Aperture: Controls the amount of light entering the lens. A wider aperture (lower f-stop number) allows more light in, while a narrower aperture (higher f-stop number) reduces light.
- Shutter Speed: Determines how long the camera’s sensor is exposed to light. A faster shutter speed can freeze motion, while a slower speed can create motion blur.
- ISO: Adjusts the sensor’s sensitivity to light. A higher ISO can brighten your image but may introduce noise, while a lower ISO provides cleaner footage in brighter conditions.
When shooting in variable lighting conditions, such as during sunrise or sunset, manual mode allows you to adapt quickly. You can fine-tune your settings as the light changes, ensuring your videos maintain a consistent quality throughout the shoot. This adaptability is particularly beneficial for action sports or dynamic scenes where lighting can shift rapidly.
Another advantage of manual mode is the ability to utilize ND filters effectively. These filters reduce the amount of light entering the lens without affecting color balance, allowing you to use wider apertures or slower shutter speeds in bright conditions. This can result in smoother motion and a more cinematic look in your footage.
In summary, switching to manual mode is not just about control; it’s about enhancing your creative potential. By mastering the exposure triangle—aperture, shutter speed, and ISO—you can produce stunning videos that reflect your artistic vision. Whether you’re filming action sports, nature, or personal vlogs, manual mode equips you with the tools to achieve professional-quality results.
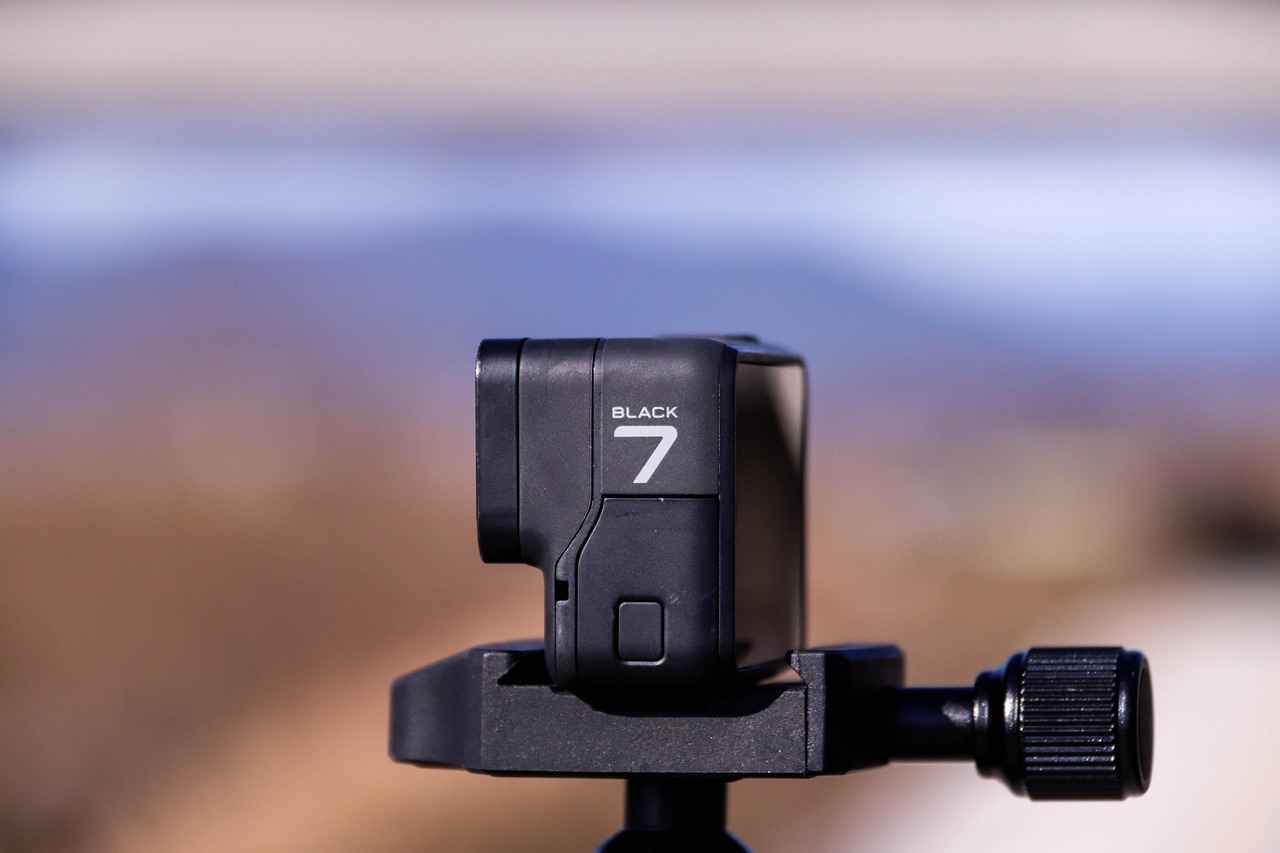
When to Seek Professional Help for Video Correction
When it comes to video production, especially for important projects, achieving high-quality results is essential. Recognizing when to seek professional help for video correction can save you both time and effort. Many creators may attempt to fix exposure issues on their own, but sometimes the expertise of a professional can make all the difference. Below, we explore the signs that indicate it might be time to consult a video editing expert.
- Persistent Exposure Issues: If you find that your videos consistently suffer from overexposure or underexposure despite your best efforts to adjust settings, it may be time to consult a professional. Experts can quickly identify and correct issues that may not be apparent to the untrained eye.
- Complex Projects: For significant projects, such as promotional videos or documentaries, the stakes are high. Professional video editors have the skills and tools necessary to ensure that your footage meets industry standards.
- Time Constraints: If you are under a tight deadline, hiring a professional can expedite the editing process. They can efficiently handle the intricacies of video correction, allowing you to focus on other aspects of your project.
- Inexperience with Editing Software: If you are not familiar with advanced editing software, it can be challenging to correct exposure issues effectively. Professionals are well-versed in various programs and can navigate them with ease, saving you frustration and time.
Engaging a professional can bring numerous advantages:
- Expertise: Professionals have a deep understanding of video correction techniques, including color grading and exposure adjustments, which can elevate your video quality.
- Access to Advanced Tools: Professional editors often use high-end software and hardware that may not be accessible to the average user, allowing for more precise corrections.
- Creative Input: A professional can provide valuable insights and suggestions that can enhance your project’s overall impact and effectiveness.
While hiring a professional may involve an upfront cost, consider it an investment in the quality of your project. The long-term benefits of presenting polished, high-quality videos can outweigh the expenses incurred. Additionally, many professionals offer various packages that can accommodate different budgets.
When searching for a video editor, consider the following:
- Portfolio Review: Look for editors whose previous work aligns with your vision and style.
- Client Testimonials: Reading reviews and testimonials can provide insight into the editor’s reliability and quality of work.
- Communication: Ensure that the editor communicates effectively and understands your project requirements.
In conclusion, knowing when to seek professional help for video correction can significantly impact the quality of your final product. By recognizing the signs and understanding the benefits, you can make informed decisions that enhance your video projects.
Frequently Asked Questions
- What is overexposure in action camera videos?
Overexposure occurs when too much light hits the camera sensor, resulting in washed-out images where details are lost. It’s like trying to take a photo during a bright sunny day without sunglasses—everything just looks too bright!
- How can I tell if my video is underexposed?
Underexposed videos appear too dark, lacking detail in shadows. You’ll notice that the colors look muted and the overall image lacks clarity. Think of it as trying to watch a movie in a dimly lit room—you can barely see what’s happening!
- What are ND filters and how do they help?
Neutral Density (ND) filters reduce the amount of light entering the lens without affecting color. They’re like sunglasses for your camera, perfect for bright conditions where you want to maintain a balanced exposure.
- Which editing software is best for correcting exposure?
There are many options like Adobe Premiere Pro, Final Cut Pro, and DaVinci Resolve. Each has unique tools for exposure correction, so it’s worth exploring to find what suits your style best.
- When should I consider professional help for video correction?
If your footage is critical—like for an event or a project—and you’re struggling to fix it yourself, seeking professional help can ensure your video meets high standards. It’s like calling in a chef for a fancy dinner—you want it to be perfect!
