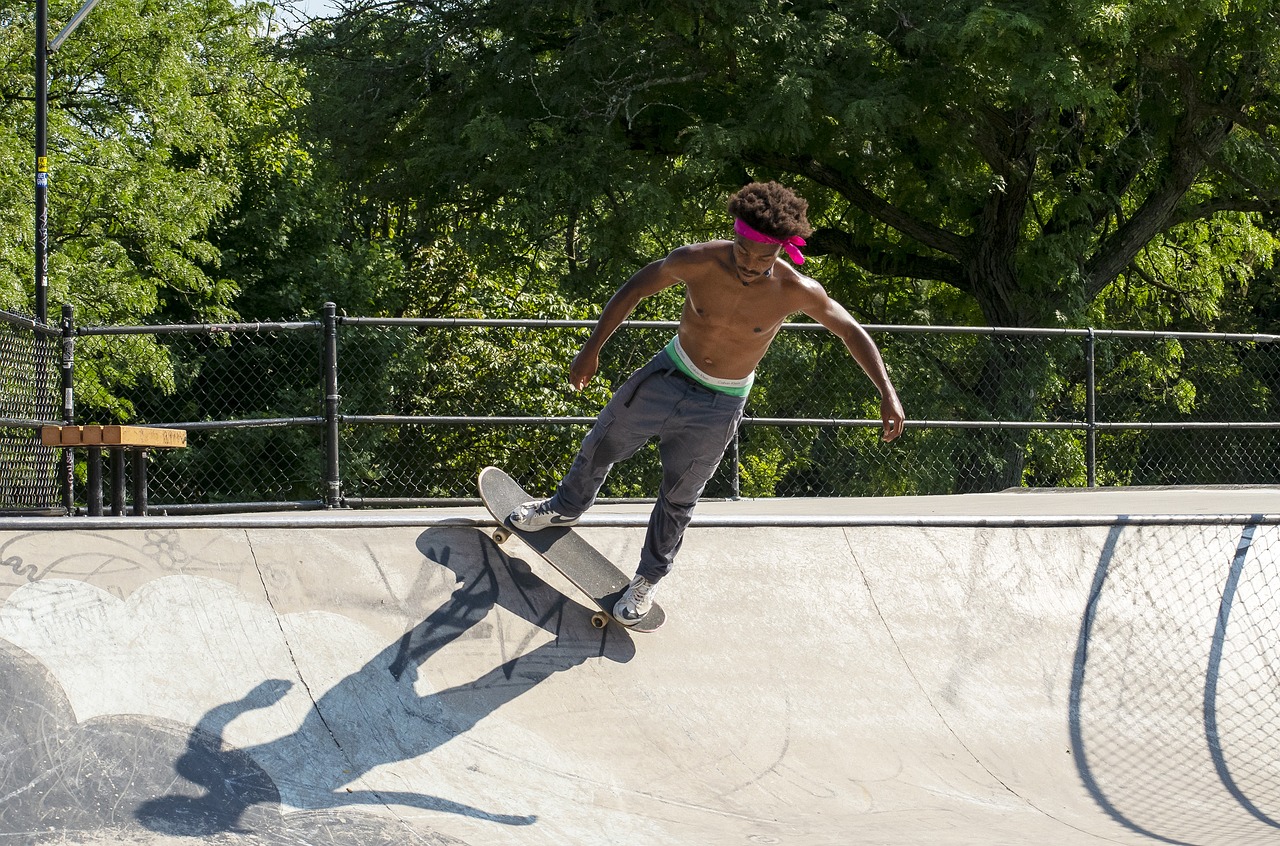
This article explores optimal action camera settings to capture stunning footage while snowboarding or skiing, ensuring you avoid shaky videos and enhance your overall experience on the slopes.
Choosing the right resolution is crucial for capturing high-quality footage. Higher resolutions, such as 4K, provide better clarity and detail, making your videos look more professional. However, keep in mind that higher resolutions may impact storage space and battery life. For most snow sports, a resolution of 1080p at 60fps is often a sweet spot, balancing quality and performance.
Frame rates determine how fluid your video appears. A higher frame rate, like 120fps or 240fps, is ideal for capturing fast movements, allowing you to slow down your footage in post-production without losing quality. This technique is especially useful for snowboarding tricks or high-speed descents, enhancing the visual experience.
White balance settings affect color accuracy in your footage. In snowy environments, improper white balance can lead to videos appearing too blue or washed out. Adjusting the white balance to a custom setting or using the daylight option can help maintain vibrant colors, ensuring your footage reflects the true beauty of the snowy landscape.
Image stabilization is key to reducing shaky footage, especially when navigating rough terrains. Most action cameras come equipped with electronic image stabilization (EIS). Make sure to enable this feature to achieve smoother recordings, making your skiing or snowboarding videos more enjoyable to watch.
Exposure settings influence how light is captured in your videos. In bright snowy conditions, using a lower ISO (100-200) can help prevent overexposure, while adjusting the shutter speed to match your frame rate can ensure clarity. For example, if shooting at 60fps, set your shutter speed to 1/120s.
The field of view (FOV) affects how much of the scene is captured. A wider FOV can create an immersive experience, showcasing the vastness of the slopes. However, a narrow FOV can help focus on specific actions or tricks. Experimenting with both settings can help you decide which best suits your filming style.
Polarizing filters can dramatically enhance the quality of your footage by reducing glare from the snow and improving color saturation. If you’re shooting on a bright day, consider using a polarizing filter to capture the vibrant blues of the sky and the sparkling whites of the snow.
Choosing the right mounting options is essential for stability and perspective. Popular mounts include helmet mounts, chest mounts, and handheld gimbals. Each offers unique perspectives, allowing you to capture different angles and enhance the storytelling of your skiing or snowboarding adventures.
Cold temperatures can drain your camera’s battery quickly. To extend battery life, keep your camera warm by storing it in an insulated case when not in use. Additionally, consider carrying spare batteries and using battery-saving modes to ensure you don’t miss capturing crucial moments on the slopes.
Audio quality can significantly enhance your videos. To capture the sounds of the slopes without unwanted wind noise, consider using an external microphone or enabling wind noise reduction features available on many action cameras. This can add a professional touch to your final edit.
Editing can elevate your raw footage into a polished final product. Basic editing techniques, such as cutting unnecessary scenes, adding transitions, and adjusting color grading, can help create engaging videos that showcase your skiing or snowboarding adventures. Software like Adobe Premiere Pro or Final Cut Pro can provide the tools needed for a professional finish.
Understanding common filming mistakes can help improve your footage quality. Avoid filming with a dirty lens, not checking battery levels, or forgetting to adjust settings based on lighting conditions. Being aware of these pitfalls ensures you capture the best moments while snowboarding or skiing.
What Are the Best Resolution Settings for Action Cameras?
When it comes to capturing stunning footage while snowboarding or skiing, resolution settings play a pivotal role. The choice of resolution directly impacts the quality of the video you produce, making it essential to understand the implications of your settings. Higher resolutions, such as 4K, offer remarkable clarity and detail, allowing viewers to appreciate the breathtaking landscapes and thrilling action on the slopes. However, this enhanced quality comes with trade-offs that you should consider.
One of the primary concerns with higher resolutions is the impact on storage space. Videos recorded in 4K take up significantly more memory than those shot in lower resolutions like 1080p. This means that if you’re planning a long day on the slopes, you may need to invest in higher-capacity memory cards to ensure you don’t run out of space. It’s advisable to carry multiple cards so that you can switch them out as needed.
Another critical factor to consider is battery life. Higher resolutions can drain your camera’s battery more quickly, especially if you’re also using features like image stabilization or Wi-Fi connectivity. To mitigate this issue, you might want to lower the resolution during less action-packed moments or when you’re simply capturing scenic views. This approach allows you to save battery life for the crucial moments when you need it most.
In addition to storage and battery considerations, the viewing platform also matters. If you plan to share your footage on social media or watch it on a smartphone, 1080p might suffice. However, if you’re aiming for a cinematic experience on a large screen, 4K is the way to go. Always consider your target audience and how they will be viewing your content.
Ultimately, the best resolution settings for your action camera will depend on your specific needs and the type of footage you wish to capture. A common recommendation is to shoot in 1080p for most situations, as it strikes a balance between quality and practicality. However, don’t hesitate to switch to 4K for those epic moments that deserve the highest quality.
In summary, selecting the right resolution is crucial for achieving high-quality footage while snowboarding or skiing. By weighing the benefits and drawbacks of higher resolutions against your storage and battery life, you can make informed decisions that enhance your overall filming experience. Always remember to tailor your settings to the specific conditions and your filming goals, ensuring that you capture every thrilling moment on the slopes.
How to Set Frame Rates for Smooth Action Shots?
When it comes to capturing breathtaking snow sports footage, understanding frame rates is essential. Frame rates, measured in frames per second (fps), play a crucial role in how fluid and dynamic your video appears. Selecting the right frame rate can significantly enhance the quality and smoothness of your videos, making them more enjoyable to watch.
For snowboarding and skiing, the most commonly recommended frame rates are 30 fps and 60 fps. While 30 fps is suitable for general action shots, 60 fps is ideal for capturing fast-paced movements, allowing for a smoother playback experience. This is particularly important when filming high-speed descents or tricks, where every detail matters.
Additionally, if you plan to create slow-motion effects in your videos, consider using a higher frame rate such as 120 fps or even 240 fps. Filming at these rates allows you to slow down the footage without losing quality, providing a dramatic effect that highlights the intricacies of your movements on the slopes.
However, it’s important to note that higher frame rates require more storage space and can drain your battery faster. Therefore, balancing the frame rate with your camera’s capabilities and your storage resources is essential. For instance, if you’re using a camera with limited battery life, you might opt for 60 fps instead of 120 fps to ensure you can capture more footage throughout the day.
In addition to frame rates, consider the resolution settings on your action camera. Higher resolutions, such as 4K, combined with optimal frame rates, can produce stunning visuals that showcase the beauty of the snowy landscapes. However, keep in mind that filming in 4K at 60 fps may require a significant amount of storage and battery power, so plan accordingly.
Another factor to consider is the lighting conditions. Snowy environments can be bright, often leading to overexposure in your footage. Adjusting your camera settings to accommodate these conditions while maintaining your chosen frame rate can help you achieve well-balanced shots. Utilizing features such as exposure compensation can assist in managing this issue effectively.
Ultimately, the key to achieving smooth action shots lies in understanding how frame rates interact with other camera settings. By experimenting with different frame rates and resolutions, you can find the perfect combination that suits your style and the specific snow sports you are filming. Remember to review your footage regularly to assess what works best for your needs.
In conclusion, mastering frame rates is vital for capturing high-quality snow sports footage. Whether you choose 30 fps for general action or 60 fps for more dynamic shots, understanding how to leverage these settings will enhance your video quality and provide a more engaging viewing experience. With practice and experimentation, you’ll be well on your way to creating stunning videos that showcase the thrill of snowboarding and skiing.
Why Is White Balance Important in Snowy Conditions?
When it comes to capturing breathtaking moments while snowboarding or skiing, one of the critical settings that can make or break your footage is white balance. In snowy conditions, the bright, reflective surfaces can trick your camera’s sensor, leading to inaccurate color representation. This is why understanding and properly adjusting your white balance settings is essential for achieving color accuracy in your videos.
Snowy landscapes can often create a challenge for cameras. The white snow can cause your footage to appear too blue or overly washout if the white balance is not correctly set. For instance, if your camera is set to automatic white balance, it may struggle to interpret the bright surroundings, resulting in footage that lacks the vibrant colors of your adventure. Instead of capturing the stunning contrast of your bright gear against the snow, you might end up with dull, lifeless images.
How to Adjust White Balance for Snow?
- Use Presets: Many action cameras offer white balance presets such as “Sunny,” “Cloudy,” or “Shade.” For snowy conditions, the “Sunny” setting is often the best choice, as it compensates for the cool tones of the snow.
- Manual Adjustment: If your camera allows for manual white balance settings, consider using a gray card or a piece of white paper to calibrate your camera in the snow. This method can yield more accurate results.
- Post-Production Correction: If you forget to adjust your white balance on the slopes, don’t worry! Most video editing software allows you to adjust the color temperature and tint after filming, helping you achieve the desired look.
Another crucial aspect to consider is the lighting conditions. In bright sunlight, the snow reflects a significant amount of light, which can lead to overexposed footage. To combat this, consider using a neutral density filter to reduce the amount of light entering your lens. This will not only help with exposure but also allow you to maintain proper white balance in challenging conditions.
It’s also worth noting that the time of day can affect how snow appears on camera. During the golden hour, the soft, warm light can enhance the colors in your footage, making it more visually appealing. However, the harsh midday sun can wash out colors, making proper white balance adjustments even more critical.
In summary, achieving the right white balance in snowy conditions is paramount for capturing vibrant and true-to-life footage. By utilizing presets, manual adjustments, and post-production techniques, you can ensure that your videos reflect the beauty of your snowboarding or skiing adventures. Remember, every detail counts when it comes to creating stunning visuals that you’ll cherish for years to come!
How to Utilize Image Stabilization Effectively?
Image stabilization is an essential feature for action cameras, especially when engaging in high-energy activities like snowboarding and skiing. The inherent vibrations and movements involved can lead to shaky footage, which detracts from the overall viewing experience. By effectively utilizing image stabilization, you can ensure that your recordings are not only smoother but also more enjoyable to watch.
To start, it’s important to understand the different types of image stabilization available in most action cameras. The two primary methods are optical image stabilization (OIS) and digital image stabilization (EIS). OIS uses physical adjustments in the camera’s lens to counteract movement, while EIS relies on software algorithms to stabilize the footage post-capture. Both have their advantages, but EIS is often more common in action cameras due to its effectiveness in dynamic conditions.
When configuring your camera for optimal image stabilization, consider the following tips:
- Enable the Stabilization Feature: Ensure that the image stabilization feature is activated in your camera settings. This is usually found in the video settings menu.
- Choose the Right Resolution: Higher resolutions may reduce the effectiveness of stabilization. For best results, consider using a resolution that balances quality and stabilization performance.
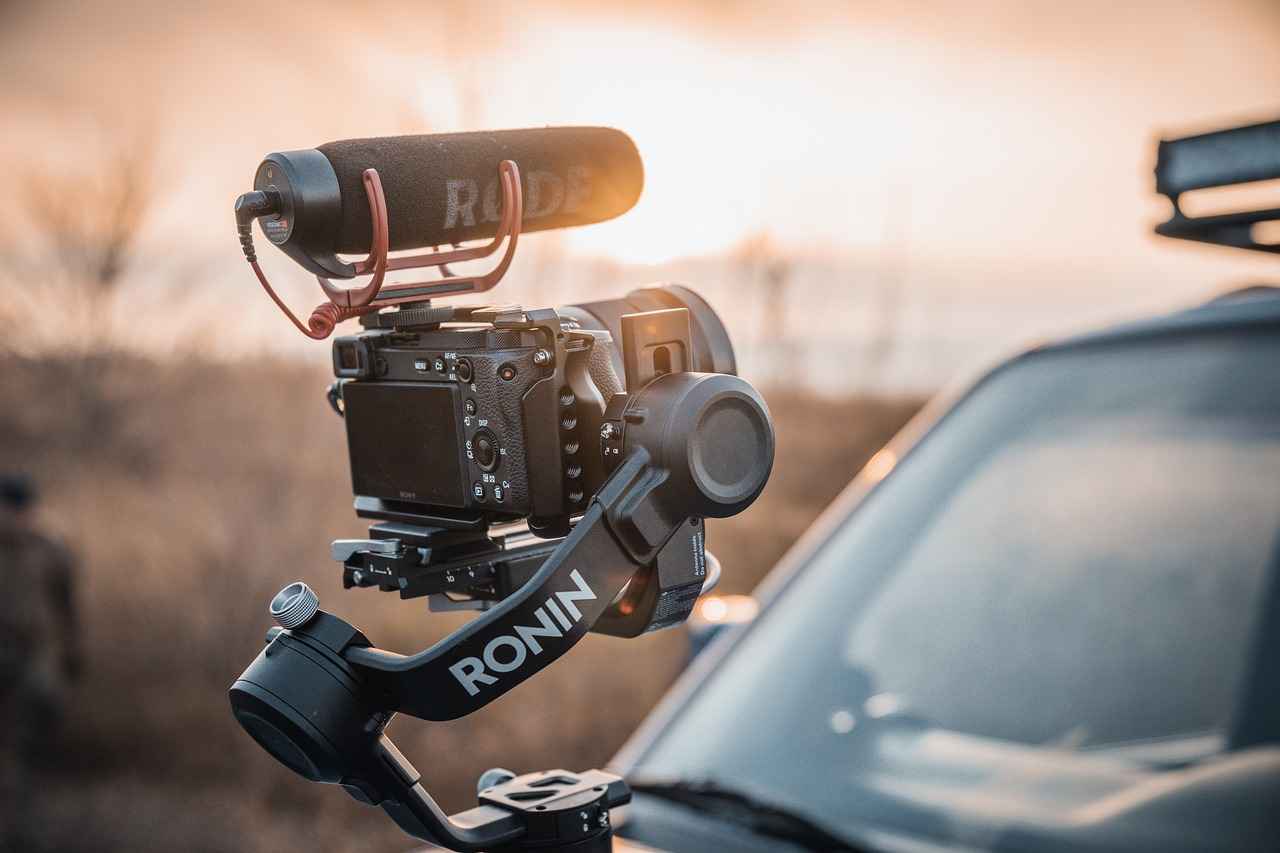
- Use a Gimbal or Stabilizer: For extreme activities, pairing your action camera with a gimbal can significantly enhance stability, especially in rugged terrains.
- Keep the Camera Steady: While image stabilization helps, keeping the camera as steady as possible during filming will yield the best results. Use both hands to grip the camera firmly when filming.
- Adjust Your Mounting Options: The way you mount your camera can affect stabilization. Consider using a chest mount or helmet mount to minimize vibrations caused by body movements.
Moreover, testing different settings in various conditions will help you find the best combination for your specific needs. For instance, if you are skiing on a smooth slope, you might find that a lower stabilization setting suffices, while rougher terrains may require maximum stabilization.
It’s also worth noting that while image stabilization can significantly improve footage quality, it is not a cure-all. Be mindful of other settings, such as frame rate and resolution, which also play crucial roles in the final output. A well-rounded approach to filming, incorporating image stabilization along with other settings, will yield the best results.
In summary, effectively utilizing image stabilization not only enhances the smoothness of your recordings but also elevates the overall quality of your snowboarding and skiing videos. By understanding the technology behind stabilization, adjusting settings appropriately, and employing additional equipment when necessary, you can capture stunning footage that showcases your adventures on the slopes.
What Exposure Settings Work Best for Snowboarding?
When it comes to filming snowboarding or skiing adventures, exposure settings play a critical role in how your videos turn out. In bright, snowy environments, the amount of light can vary greatly, making it essential to adjust your camera settings accordingly. This adjustment can help you avoid issues such as overexposure, where bright areas appear washed out, or underexposure, where darker areas lose detail.
To achieve the best results, consider the following key points regarding exposure settings:
- Shutter Speed: A faster shutter speed is recommended for capturing fast-moving action. This helps freeze the motion, preventing blurriness. Aim for a shutter speed that is at least double your frame rate. For instance, if you are shooting at 60 frames per second, set your shutter speed to 1/120 seconds.
- Aperture: The aperture controls how much light enters the camera. In snowy conditions, a smaller aperture (higher f-stop number) can help reduce the amount of light and maintain clarity. This is particularly useful in bright sunlight.
- ISO Settings: Keep your ISO as low as possible to minimize noise in your footage. In bright conditions, an ISO setting of 100 or 200 is typically sufficient. If you find yourself in shaded areas, you can increase the ISO, but be cautious of introducing graininess.
Furthermore, utilizing the camera’s histogram can provide valuable insight into exposure levels. Aim for a balanced histogram that does not clip on either end, indicating that you are capturing details in both highlights and shadows.
Another crucial aspect is to use exposure compensation. If your camera tends to overexpose in bright snow, you can dial down the exposure compensation to ensure that the whites remain crisp and clear rather than blown out.
Additionally, consider using manual mode if your camera allows it. This gives you full control over shutter speed, aperture, and ISO settings, enabling you to tailor your exposure settings to the specific lighting conditions you encounter on the slopes.
In summary, mastering exposure settings is vital for capturing stunning snowboarding and skiing footage. By adjusting shutter speed, aperture, ISO, and utilizing features like histograms and exposure compensation, you can significantly enhance the quality of your videos. This preparation will ensure that your adventures are documented beautifully, allowing you to relive those thrilling moments for years to come.
How to Choose the Right Field of View?
When it comes to capturing breathtaking footage of your snowboarding or skiing adventures, one of the most critical aspects to consider is the Field of View (FOV). The FOV determines how much of the scene is visible in your video, which can significantly influence the viewer’s experience. Selecting the appropriate FOV can not only enhance the visual appeal of your footage but also immerse your audience in the thrill of the sport.
There are generally three types of FOV settings available on most action cameras: narrow, medium, and wide. Each of these settings serves a different purpose and can dramatically alter the way your footage is perceived:
- Narrow FOV: This setting is ideal for capturing specific details, such as a close-up of your technique or gear. It reduces the peripheral view, allowing the audience to focus on the action.
- Medium FOV: A versatile option, medium FOV strikes a balance between detail and context. It captures a decent amount of the surrounding environment while keeping the main subject in focus.
- Wide FOV: Perfect for showcasing the vastness of the snowy landscape, wide FOV captures more of the scene. This setting is excellent for conveying the excitement of high-speed descents and the beauty of the terrain.
Choosing the right FOV can enhance the storytelling aspect of your videos. For instance, if you want to create an immersive experience that showcases the breathtaking slopes and the thrill of speed, opting for a wide FOV can be beneficial. It allows viewers to feel as if they are right there with you, experiencing the rush of the ride.
Conversely, if your goal is to highlight specific techniques or tricks, a narrow or medium FOV may be more appropriate. This choice allows you to capture intricate movements without the distraction of the surrounding landscape.
Moreover, consider the conditions in which you are filming. In bright, open environments, a wide FOV can enhance the visual experience. However, if you are navigating through trees or tight spaces, a narrower FOV may help to keep the focus on your movements and prevent distractions from the background.
It is also essential to note that the FOV can affect the perceived speed of your footage. A wide FOV can make you appear to be moving faster, while a narrow FOV can create a more controlled, precise look. Understanding this can help you craft the narrative you want to convey through your videos.
In summary, selecting the right Field of View is crucial for creating engaging snowboarding or skiing footage. By understanding the differences between narrow, medium, and wide FOV settings, you can tailor your filming approach to capture the essence of your experience on the slopes. Experimenting with different FOV settings during your sessions can help you discover what works best for your style and the story you want to tell.

Should You Use a Polarizing Filter?
When it comes to capturing breathtaking footage while snowboarding or skiing, the right equipment and settings can make all the difference. One such accessory that can significantly enhance your video quality is a polarizing filter. This article will delve into the benefits of using a polarizing filter, how it works, and the best practices for incorporating it into your action camera setup.
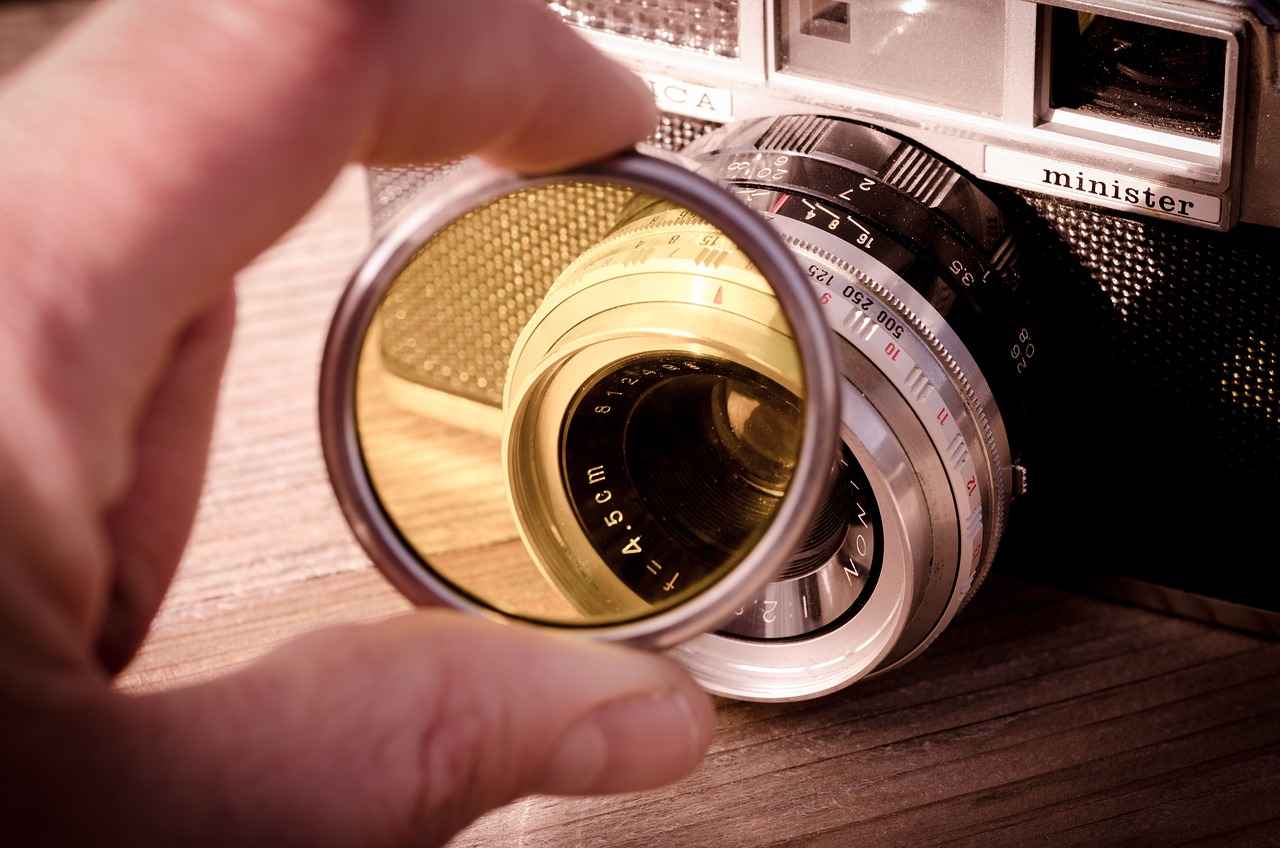
A polarizing filter is a special optical filter that can be attached to your camera lens. It works by reducing glare from reflective surfaces, such as snow or ice, allowing for clearer images and vibrant colors. By filtering out certain light waves, it helps to enhance the overall contrast and saturation of your footage.
- Reduction of Glare: Snow can produce a significant amount of glare, which can wash out colors and details in your footage. A polarizing filter minimizes this glare, resulting in clearer and more defined images.
- Enhanced Color Saturation: The filter increases the richness of colors, making blues appear deeper and whites more brilliant. This is particularly beneficial when shooting in bright, snowy environments.
- Improved Contrast: By reducing haze and glare, a polarizing filter can help achieve better contrast in your shots. This leads to a more dynamic range of colors and tones in your videos.
While polarizing filters can be incredibly beneficial, their use is most effective under certain conditions:
- Sunny Days: On bright, sunny days, the filter can help manage glare and improve color accuracy.
- Reflective Surfaces: When filming over snow or ice, the filter is especially useful for reducing reflections that can obscure details.
- Landscape Shots: If you’re capturing wide-angle shots of the snowy landscape, a polarizing filter can enhance the overall aesthetic of your footage.
To get the most out of your polarizing filter, consider the following tips:
- Adjust the Filter: Most polarizing filters can be rotated. Adjust the filter while looking through the viewfinder or screen to see the effect it has on glare and color saturation.
- Monitor Exposure: Using a polarizing filter can reduce the amount of light entering the lens, which may require adjustments to your camera’s exposure settings.
- Test Different Angles: The effectiveness of the filter can vary based on your shooting angle. Experiment with different positions to find the optimal setup for your conditions.
While the benefits are significant, there are a few downsides to keep in mind:
- Reduced Light: The filter can reduce light transmission by up to two stops, which may necessitate adjustments in your camera settings.
- Potential Vignetting: Depending on your camera and lens setup, using a polarizing filter can sometimes cause vignetting at the corners of your images.
In summary, a polarizing filter is a valuable tool for anyone looking to enhance their snowboarding or skiing footage. By reducing glare, improving color saturation, and increasing contrast, it can help you capture stunning visuals that truly reflect the beauty of your adventures on the slopes. With the right approach and understanding of how to use this filter effectively, you can elevate your action camera footage to a whole new level.
What Are the Best Mounting Options for Action Cameras?
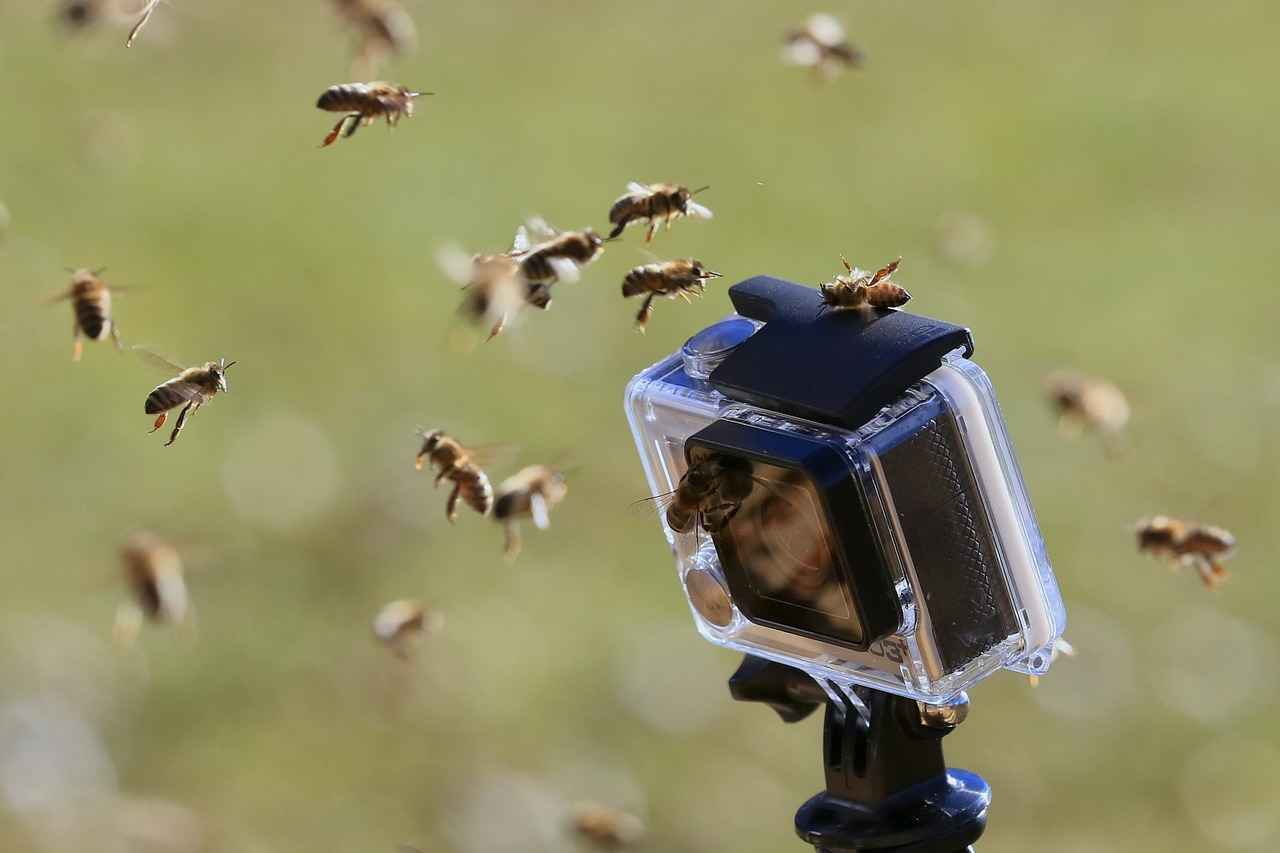
When it comes to capturing breathtaking footage while skiing or snowboarding, choosing the right mounting options is essential for achieving both stability and perspective. The way you mount your action camera can significantly influence the quality of your videos, allowing you to explore unique angles and perspectives that enhance your overall storytelling.
There are various mounting options available, each designed for specific scenarios and desired effects. Here are some of the best mounting options for action cameras:
- Helmet Mount: This is one of the most popular choices among action sports enthusiasts. A helmet mount allows you to capture the action from your point of view, giving viewers an immersive experience. Ensure it’s securely attached to avoid any shaky footage.
- Chest Mount: A chest mount provides a lower perspective, showcasing your movements and the terrain ahead. This angle is particularly effective for highlighting tricks and jumps, creating a more dynamic video.
- Wrist Mount: For those looking to capture a more personal view, a wrist mount can be a great choice. It allows for easy adjustments and can be used to film yourself while skiing or snowboarding, giving a unique angle to your footage.
- Selfie Stick: A selfie stick can extend your reach and provide a wider perspective. By holding the camera away from your body, you can capture more of the scenery and create a sense of depth in your videos.
- Board Mount: Attaching your camera to your snowboard or ski can yield stunning results. This mount captures the action directly from the board, presenting a unique view of your ride and the snow conditions.
Each of these mounts offers distinct advantages, and the choice ultimately depends on the type of footage you want to capture. Experimenting with different mounts can lead to discovering new angles and perspectives that resonate with your viewers.
In addition to selecting the right mount, it’s crucial to ensure that your camera is securely fastened. A loose mount can result in shaky footage or even damage to your camera. Always double-check the stability before hitting the slopes.
Moreover, consider the environmental conditions when choosing your mount. For instance, a helmet mount may be ideal in crowded areas, while a board mount can help capture the speed and excitement of a downhill run. Understanding how each mount interacts with your movement can enhance the storytelling aspect of your videos.
Lastly, don’t forget to review your footage after recording. Analyzing what worked and what didn’t can help you refine your approach for future sessions. By mastering the art of mounting your action camera, you can elevate your skiing or snowboarding videos to new heights, providing viewers with an exhilarating experience that captures the thrill of the slopes.
How to Manage Battery Life in Cold Weather?
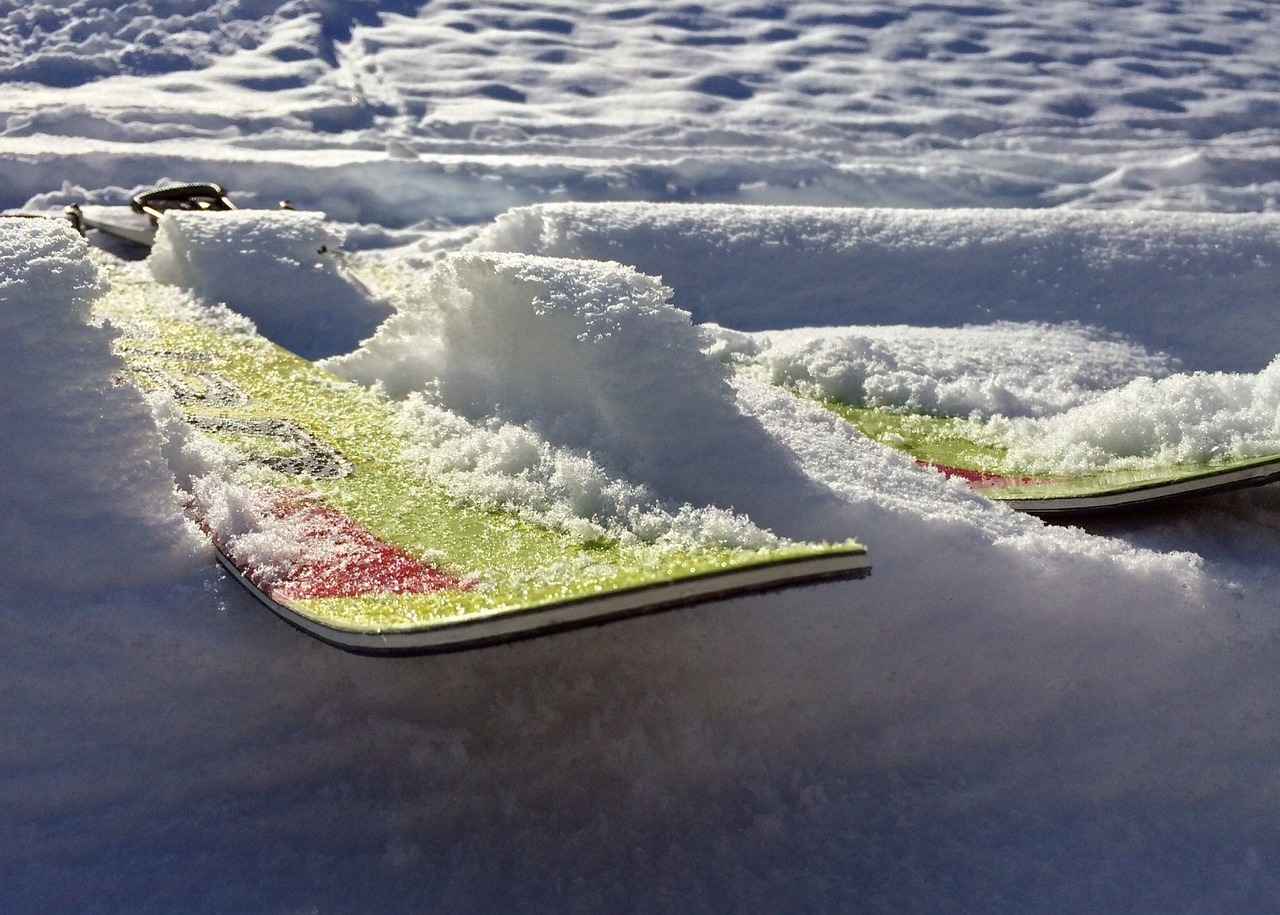
When you venture into the cold, your camera’s battery can be severely affected. Low temperatures can cause batteries to drain much quicker than in warmer conditions, potentially jeopardizing your ability to capture those unforgettable moments on the slopes. Here are some effective strategies to ensure your camera remains functional throughout your snowboarding or skiing adventure.
- Keep Your Battery Warm: One of the simplest methods to extend battery life in cold weather is to keep your battery warm. Store it close to your body when not in use. Using insulated pouches or pockets can help maintain its temperature.
- Use External Battery Packs: Consider investing in external battery packs designed for your camera model. These can provide additional power when your main battery starts to deplete.
- Limit Camera Usage: Try to limit the time your camera is powered on. Use it only when necessary to capture key moments, and turn it off during breaks.
- Adjust Settings Wisely: Lowering the resolution and frame rate can help conserve battery life. While you may want high-quality footage, balancing quality with battery conservation is essential in cold conditions.
- Monitor Battery Levels: Frequently check your battery levels to avoid unexpected shutdowns. Being aware of how much power you have left can help you manage your recording time more effectively.
- Warm-Up Before Use: If your camera has been sitting in the cold for a while, allow it to warm up slightly before use. This can help improve performance and reduce the chances of sudden shutdowns.
Implementing these strategies can make a significant difference in your filming experience. Remember, every moment counts when you’re on the slopes, and managing your camera’s battery life effectively ensures you won’t miss capturing any crucial action.
In addition, consider using camera models specifically designed for cold weather. Some action cameras have enhanced battery performance in low temperatures, which can be a worthwhile investment for avid winter sports enthusiasts.
Lastly, always carry a spare battery. This simple precaution can be a lifesaver when you’re deep into your adventure and your primary battery runs out. By planning ahead and applying these tips, you can focus on enjoying your time on the slopes rather than worrying about your camera’s performance.
What Audio Settings Should You Consider?
When it comes to capturing the exhilarating moments of snowboarding or skiing, audio quality plays a crucial role in enhancing the overall viewing experience. The sounds of the slopes, from the crunch of snow beneath your board to the wind rushing past, can add a layer of immersion that visuals alone cannot provide. However, without the right audio settings, your footage may be marred by unwanted wind noise and other distracting sounds.
To ensure you capture the best audio possible, consider the following key settings and tips:
- Microphone Sensitivity: Adjusting the microphone sensitivity can help you control how much sound is captured. If you’re filming in windy conditions, lowering the sensitivity can prevent the microphone from picking up excessive wind noise.
- Wind Noise Reduction: Many action cameras come equipped with wind noise reduction features. Enabling this setting can significantly enhance your audio quality by filtering out unwanted wind sounds, allowing the natural sounds of your environment to shine through.
- External Microphone: If your action camera supports it, consider using an external microphone. This can greatly improve audio capture, providing clearer sound quality and reducing background noise.
- Audio Levels: Monitoring and adjusting audio levels while recording can help you avoid distortion. Aim for levels that are not too high to prevent clipping, yet loud enough to capture the necessary details.
- Location Awareness: Be mindful of your surroundings. Recording in open areas can lead to more wind interference, while sheltered spots may provide clearer audio. Positioning yourself strategically can make a significant difference.
Furthermore, during the editing process, you can enhance your audio further. Use audio editing software to fine-tune levels, remove background noise, and even add sound effects or music to complement your footage. This step is vital for creating a polished final product that resonates with your audience.
In summary, understanding and adjusting your audio settings is essential for capturing high-quality sound while snowboarding or skiing. By implementing these tips and techniques, you can ensure that your videos not only look stunning but also sound incredible, providing a complete sensory experience for your viewers.
How to Edit Action Camera Footage for a Professional Look?
Editing is a crucial step in transforming your raw footage into a professional-looking video. With the right techniques, you can create engaging content that captures the thrill of your skiing and snowboarding adventures. Here, we will explore various editing strategies to elevate your footage.
Editing allows you to enhance your visual storytelling by refining the raw clips captured during your snowboarding or skiing sessions. Through editing, you can:
- Eliminate unnecessary footage: Cut out any dull moments to keep your audience engaged.
- Add transitions: Smooth transitions between clips can create a more polished flow.
- Incorporate music: Adding a fitting soundtrack can enhance the emotional impact of your video.
To get started, consider mastering these essential editing techniques:
- Trimming and Cutting: Learn how to trim clips to remove unwanted sections and focus on the highlights of your adventure.
- Color Correction: Adjust colors to ensure they accurately reflect the snowy environment, enhancing the visual appeal of your footage.
- Stabilization: Use software stabilization tools to smooth out shaky footage, giving your video a professional feel.
Adding effects can make your videos stand out. Consider the following:
- Slow Motion: Use slow-motion effects to emphasize exciting moments, such as jumps or tricks.
- Speed Ramping: Create dynamic sequences by varying the speed of your clips, making certain actions appear faster or slower.
Sound design is just as important as visuals. Pay attention to:
- Background Music: Choose tracks that match the energy of your footage.
- Sound Effects: Incorporate sound effects to enhance the realism of your video, such as the sound of skis on snow or wind rushing past.
- Voiceovers: Consider adding voiceovers to narrate your experience or share tips with your audience.
Choosing the right editing software can significantly impact your workflow. Some popular options include:
- Adobe Premiere Pro: A professional-grade software with advanced features for precise editing.
- Final Cut Pro: Ideal for Mac users, offering a user-friendly interface and powerful tools.
- iMovie: A great option for beginners, providing essential editing tools without overwhelming complexity.
Once your video is edited, sharing it effectively is key to reaching your audience. Consider these tips:
- Optimize for Platforms: Tailor your video format and resolution for platforms like YouTube, Instagram, or TikTok.
- Engaging Thumbnails: Create eye-catching thumbnails to attract viewers.
- Utilize SEO: Use relevant keywords in your video title and description to improve visibility.
In conclusion, editing your action camera footage can significantly enhance the quality and appeal of your videos. By mastering basic editing techniques, experimenting with effects, and focusing on sound design, you can produce engaging content that showcases your skiing and snowboarding adventures in a professional manner.
What Are Common Mistakes to Avoid When Filming?
When it comes to capturing the exhilarating moments of snowboarding and skiing, understanding common filming mistakes is crucial for enhancing your footage quality. By avoiding these pitfalls, you can ensure that you capture the most thrilling and memorable moments on the slopes. Here are some key mistakes to watch out for:
- Neglecting Proper Camera Settings: One of the most frequent errors is failing to adjust your camera settings according to the environment. In snowy conditions, it’s essential to set the correct white balance to avoid washed-out colors. A manual adjustment can help maintain color accuracy, making your footage more vibrant.
- Ignoring Frame Rates: Choosing the wrong frame rate can lead to choppy footage. For fast-paced activities like snowboarding, a higher frame rate (such as 60fps or more) is recommended for smoother action shots. This adjustment allows you to capture every twist and turn without losing clarity.
- Overlooking Image Stabilization: Shaky footage can ruin an otherwise great video. Many action cameras come equipped with image stabilization features. Failing to enable this function can result in jittery recordings, especially when navigating rough terrains.
- Improper Mounting Techniques: The way you mount your camera significantly impacts the perspective and stability of your shots. Avoid common mistakes like mounting the camera too loosely or in awkward positions. Experiment with different mounts to find the most effective angles that showcase your skills.
- Not Paying Attention to Battery Life: Cold weather can drastically reduce battery performance. A frequent oversight is not preparing for this by bringing extra batteries or using insulated battery cases. This ensures you don’t miss out on capturing key moments due to power failure.
- Failing to Capture Audio: While visuals are crucial, audio quality can enhance your storytelling. Many filmmakers neglect to check their audio settings, leading to recordings filled with wind noise. Consider using an external microphone or adjusting settings to capture the sounds of the slopes more effectively.
- Skipping the Editing Process: Many users think that raw footage is good enough, but editing is essential for a polished final product. Neglecting to edit can leave your videos looking unprofessional. Spend time learning basic editing techniques to enhance your footage and create engaging narratives.
- Not Reviewing Footage: After filming, it’s important to review your footage. This allows you to identify any mistakes and learn from them for future sessions. Skipping this step can lead to repeated errors and missed opportunities for improvement.
By being aware of these common filming mistakes, you can significantly improve the quality of your snowboarding and skiing footage. Each aspect, from camera settings to editing techniques, plays a vital role in creating stunning visuals that truly capture the thrill of your adventures on the slopes. Remember, preparation and attention to detail are key to achieving the best results!
Frequently Asked Questions
- What resolution should I use for snowboarding videos?
For the best quality, consider using 1080p or 4K resolution. Higher resolutions give you clearer footage but remember, they also consume more storage and battery life!
- How can I ensure smooth footage while skiing?
Set your camera to at least 60 frames per second (fps) for smooth action shots. This helps capture fast movements without blurring, making your videos look professional!
- Why does white balance matter in snowy conditions?
White balance is crucial for color accuracy. In bright snow, improper settings can make your footage look too blue or washed out, so adjust it to keep those colors vibrant!
- What’s the best way to stabilize my action camera footage?
Utilize the image stabilization feature on your camera. This minimizes shaky footage, especially when navigating rough terrains, ensuring you capture smooth and enjoyable videos.
- How do I extend my camera’s battery life in the cold?
Keep your camera warm in your jacket when not in use, and consider using external battery packs. Cold weather can drain batteries quickly, so these tips will help you keep filming!
