In the world of videography, achieving cinematic quality is a goal that many strive for, especially when using action cameras. One of the most effective tools for enhancing video quality is the Neutral Density (ND) filter. This article will delve into the essential techniques and benefits of employing ND filters on action cameras, providing valuable insights for creating stunning visuals in your video projects.
ND filters are optical devices that reduce the intensity of light entering your camera lens without altering the color of the scene. By limiting the light, they allow for greater control over exposure settings, enabling you to achieve desirable motion blur and depth of field. Understanding how ND filters function is crucial for capturing cinematic effects that elevate your footage.
Action cameras are often used in bright environments, which can lead to overexposed footage. ND filters help mitigate this issue by allowing you to use slower shutter speeds, essential for capturing smooth motion. This is particularly important in dynamic scenes where you want to convey a sense of speed and fluidity.
When selecting an ND filter, consider factors such as lighting conditions, the specific action camera model, and the intended look of your footage. ND filters come in various strengths, typically measured in stops, and understanding these differences will enhance your shooting experience.
Proper attachment of ND filters is key to achieving optimal performance. Most action cameras have a thread or clip system for mounting filters. Ensure the filter is securely attached to prevent any light leaks that could affect your footage quality.
- Experiment with Different Filters: Try various ND strengths to see how they affect your footage.
- Check Your Settings: Always adjust your camera settings according to the filter you are using.
- Monitor Lighting Conditions: Be aware of changing light conditions and adjust your ND filter accordingly.
Understanding the relationship between shutter speed and ND filters is vital. The 180-degree shutter rule suggests that your shutter speed should be double your frame rate. For instance, if you are shooting at 30 fps, your shutter speed should be 1/60 seconds. This rule helps maintain natural motion blur in your footage.
While ND filters are excellent for controlling light, they can also impact the color and contrast of your footage. It’s essential to manage these effects during shooting and in post-production to maintain the overall integrity of your visuals.
Many filmmakers encounter pitfalls when using ND filters. Common mistakes include:
- Using the wrong strength of ND filter for the lighting conditions.
- Neglecting to adjust the shutter speed accordingly.
- Failing to check for vignetting, which can occur with certain filters.
In post-production, you can enhance footage shot with ND filters through color grading and contrast adjustments. Use editing software to fine-tune exposure and ensure that the final product reflects the cinematic quality you aimed for during shooting.
Not all ND filters are created equal. You can choose between fixed ND filters, which offer a specific light reduction, and variable ND filters, which allow for adjustable light control. Understanding the pros and cons of each type will help you make informed decisions based on your shooting needs.
Examining successful projects that utilized ND filters can provide inspiration and insight into their transformative effect on footage. Many filmmakers report a significant improvement in their visual storytelling when ND filters are properly used.
When looking to purchase ND filters, consider reputable retailers and online platforms that specialize in camera accessories. Quality is essential, so opt for brands known for their optical excellence to ensure the best results in your projects.
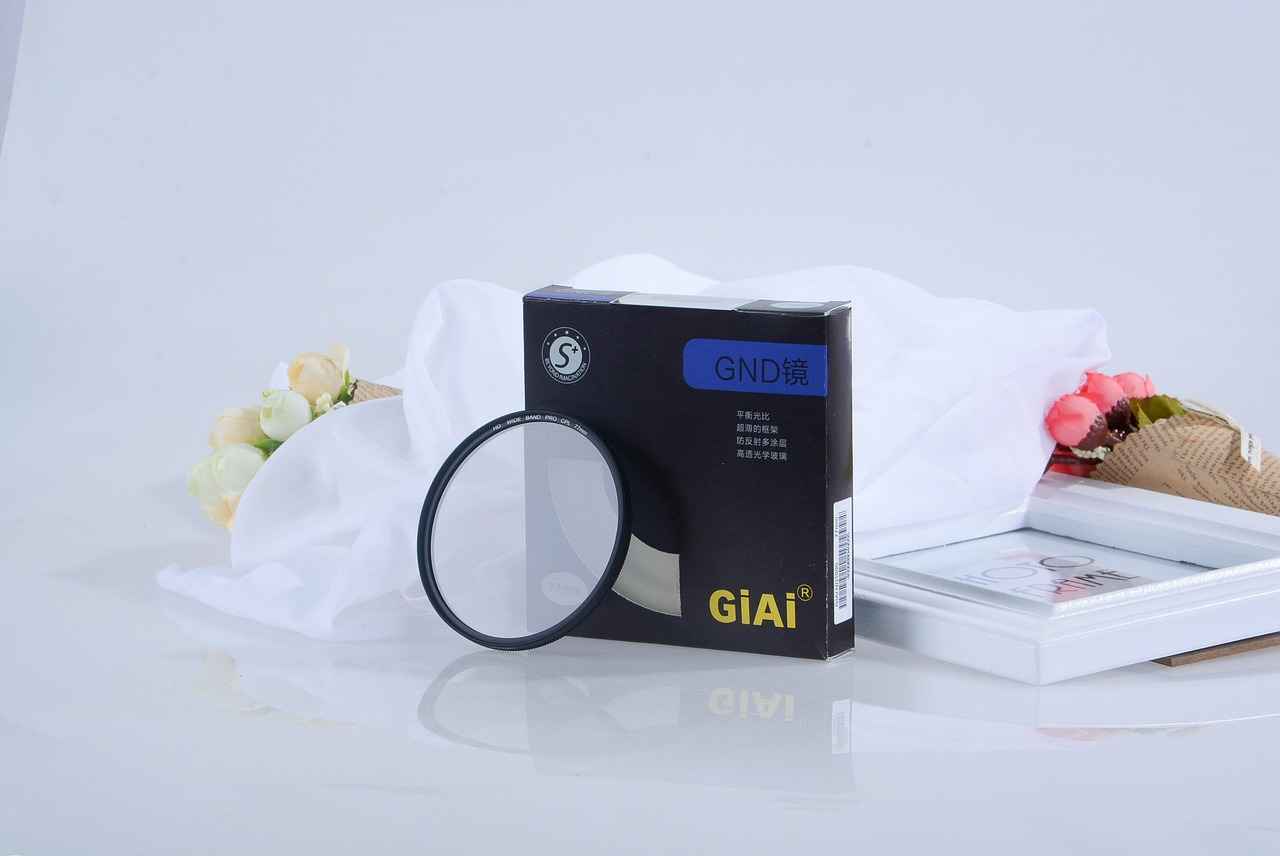
What Are ND Filters and How Do They Work?
When it comes to capturing stunning visuals with your action camera, understanding the tools at your disposal is essential. One such tool is the Neutral Density (ND) filter. But what exactly are ND filters, and how do they work?
ND filters are optical devices that reduce the intensity of light entering the camera lens without affecting the color of the scene. This is crucial in situations where you want to maintain a specific exposure while still achieving the desired creative effects. By using an ND filter, you can effectively lower the amount of light hitting the sensor, which allows for slower shutter speeds and wider apertures.
To illustrate, consider a bright sunny day. Without an ND filter, your action camera may automatically adjust the shutter speed to a very fast setting to prevent overexposure. This fast shutter speed can result in choppy, unnatural motion in your video. However, by attaching an ND filter, you can slow down the shutter speed, which introduces a natural motion blur that is often associated with high-quality cinematic footage.
| Benefit | Description |
|---|---|
| Control Over Exposure | ND filters allow for precise control of exposure settings, enabling more creative freedom in bright conditions. |
| Smoother Motion Blur | Slower shutter speeds create a more cinematic motion blur, enhancing the overall quality of the footage. |
| Wider Apertures | Using ND filters lets you open up the aperture in bright conditions, achieving a shallow depth of field. |
Understanding how ND filters function is not just about technical specifications; it’s about enhancing your storytelling through visuals. By controlling the exposure, you can create a more engaging narrative, whether you’re shooting action sports or tranquil landscapes. The ability to manipulate light allows filmmakers to set the mood and tone of their projects, making ND filters an invaluable asset in any videographer’s toolkit.
In summary, ND filters are essential for anyone looking to elevate their action camera footage. By reducing light, they provide greater control over exposure and motion blur, which are crucial for achieving that cinematic look. As you continue to explore the world of videography, mastering the use of ND filters will undoubtedly enhance your creative capabilities.
Why Use ND Filters on Action Cameras?
When it comes to capturing stunning visuals with action cameras, the use of Neutral Density (ND) filters has become increasingly popular among videographers and enthusiasts alike. ND filters are essential tools that can significantly enhance the quality of your footage, especially in challenging lighting conditions. In this section, we will delve into the reasons why utilizing ND filters on action cameras is a game-changer for achieving professional-grade results.
One of the primary advantages of using ND filters on action cameras is their ability to reduce light intake. This is particularly beneficial when shooting in bright environments, such as sunny outdoor settings or reflective surfaces. By limiting the amount of light hitting the sensor, ND filters allow you to maintain optimal exposure without sacrificing the quality of your footage.
- Enhanced Motion Blur: ND filters enable you to use slower shutter speeds, which is crucial for capturing smoother motion. When filming fast-moving subjects, such as athletes in action or vehicles in motion, a slower shutter speed creates a natural motion blur that adds a cinematic quality to your videos.
- Reduced Overexposure: In bright conditions, achieving the right exposure can be challenging. ND filters help prevent overexposure, ensuring that your highlights remain intact while still capturing the details in the shadows. This balance is essential for creating visually appealing shots.
- Improved Color Saturation: By controlling the amount of light entering the lens, ND filters can enhance color saturation and contrast. This results in more vibrant colors and a richer overall look, making your footage more engaging and visually striking.
Using ND filters also opens up creative possibilities. For instance, filmmakers can achieve a shallow depth of field in bright conditions by using wider apertures without overexposing the image. This effect is often sought after for its ability to isolate subjects and create a more immersive viewing experience.
Moreover, ND filters are invaluable for time-lapse photography. When shooting time-lapse sequences in bright sunlight, ND filters allow for longer exposure times, resulting in smoother transitions and a more polished final product. This technique is particularly effective for capturing the movement of clouds or bustling cityscapes.
In summary, incorporating ND filters into your action camera setup is a powerful way to enhance video quality. By enabling slower shutter speeds, reducing overexposure, and improving color saturation, ND filters help you achieve that coveted cinematic look. Whether you’re a hobbyist or a professional, understanding the benefits of ND filters is essential for elevating your video projects.
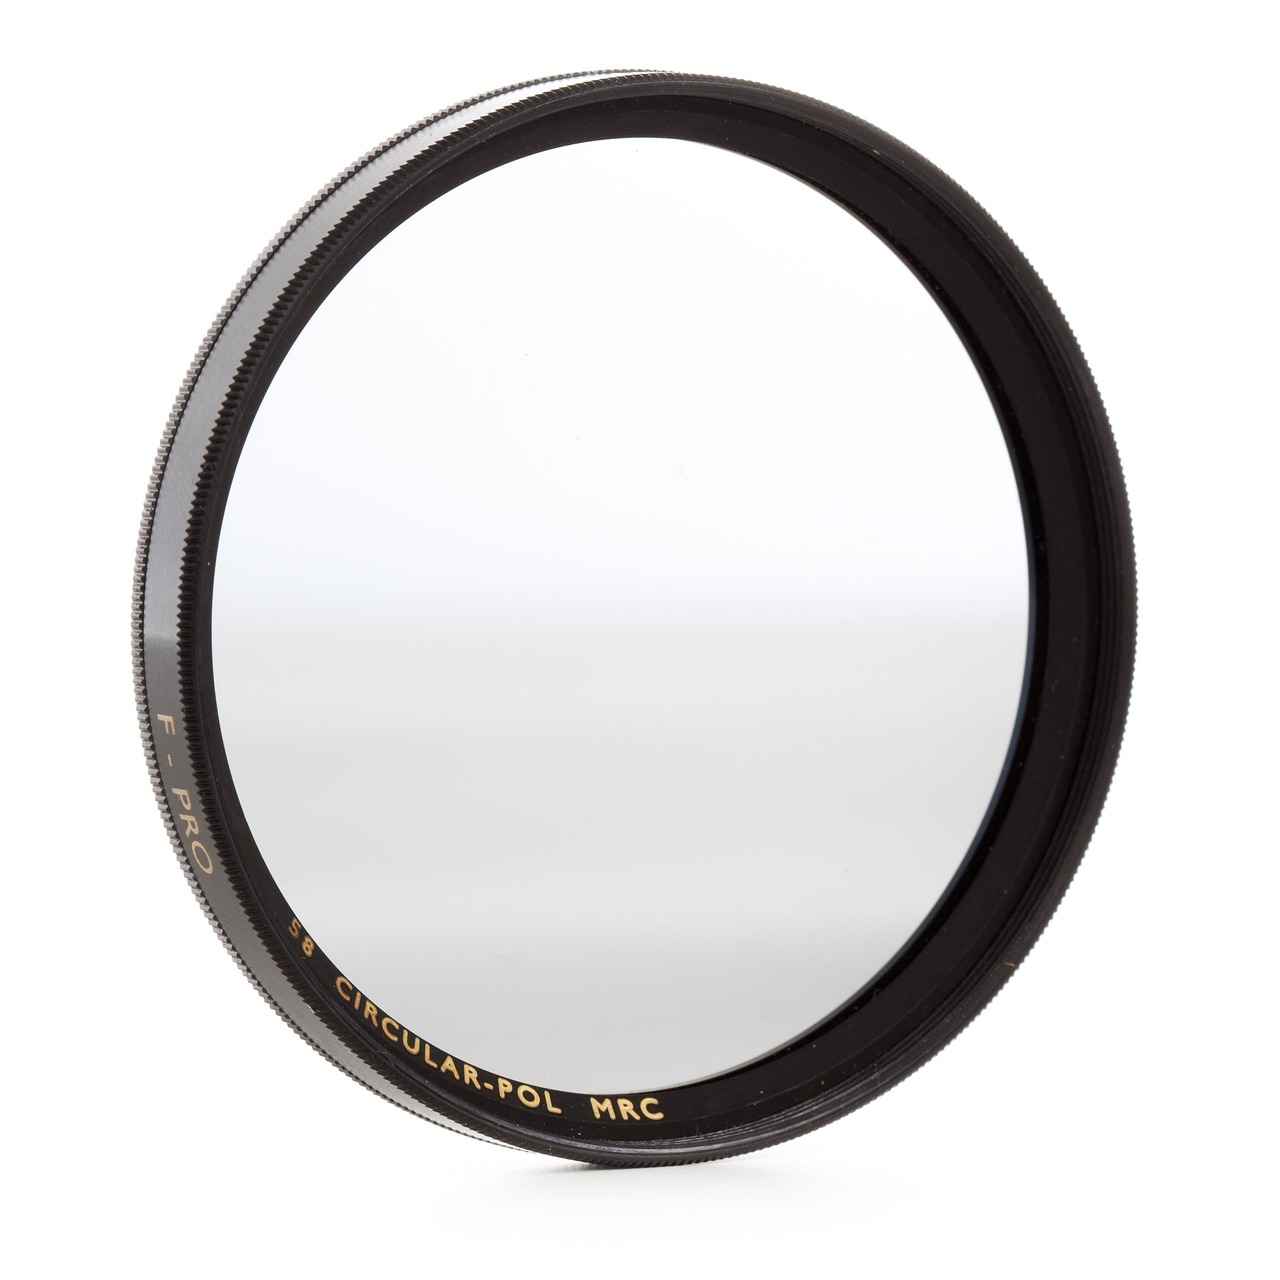
Choosing the Right ND Filter for Your Action Camera
When it comes to capturing stunning visuals with your action camera, selecting the right ND filter is crucial. The appropriate filter can significantly enhance your shooting experience by allowing for greater control over exposure and motion blur. This guide will help you navigate the various factors to consider when choosing an ND filter, ensuring that your footage stands out.
- Lighting Conditions: The intensity of light in your shooting environment is the primary factor. In bright sunlight, a stronger ND filter (like ND16 or ND32) is often necessary, while in moderate lighting, a lighter filter (like ND4) may suffice.
- Desired Effects: Think about the specific effects you want to achieve. For example, if you aim to create a dreamy, soft motion blur in fast-moving scenes, a higher ND filter will help slow down the shutter speed.
- Camera Settings: Understand how your camera settings interact with ND filters. The shutter speed, aperture, and ISO settings will influence the effectiveness of the filter you choose.
- Type of ND Filter: There are fixed ND filters that provide a set level of light reduction and variable ND filters that allow you to adjust the light intake. Depending on your shooting style, one may be more beneficial than the other.
To determine the right strength of ND filter, consider the reciprocal relationship between shutter speed and aperture. A common guideline is the 180-degree shutter rule, which suggests that your shutter speed should be double your frame rate for natural motion blur. For example, if you’re shooting at 30 frames per second, aim for a shutter speed of 1/60 seconds. In bright conditions, an ND filter will help you achieve this without overexposing your footage.
- Test Different Filters: Experiment with various ND filters to see how they affect your specific camera and shooting style. This hands-on approach will help you understand the nuances of each filter.
- Read Reviews: Look for user reviews and expert opinions on ND filters that suit your camera model. This can provide insights into performance and reliability.
- Consider Filter Quality: High-quality filters minimize color distortion and maintain image clarity. Investing in reputable brands can make a significant difference in your footage.
Once you know what to look for, finding the right ND filter is easier. Many reputable retailers, both online and in physical stores, offer a range of options. Websites like Amazon, B&H Photo Video, and Adorama are excellent places to start your search. Make sure to check compatibility with your specific action camera model.
In conclusion, selecting the appropriate ND filter is a blend of understanding your shooting conditions, desired effects, and the specific capabilities of your action camera. By considering these factors carefully, you can enhance your shooting experience and achieve breathtaking cinematic results.

How to Attach ND Filters to Your Action Camera
Attaching ND filters correctly is essential for optimal performance. This section outlines the steps to securely mount filters on different action camera models. Proper attachment not only enhances your shooting experience but also ensures that your footage captures the intended cinematic quality.
To begin, it is important to identify the type of action camera you are using. Different models, such as GoPro, DJI Osmo Action, and Insta360, may have unique mounting mechanisms. Here’s a step-by-step guide to help you securely attach ND filters:
- Step 1: Gather Your Equipment
- Ensure you have the appropriate ND filter for your camera model.
- Have a microfiber cloth on hand to clean the lens before attachment.
- Step 2: Clean the Lens
Before attaching the ND filter, use the microfiber cloth to gently wipe the camera lens. This step is crucial as any dust or smudges can affect the quality of your footage.
- Step 3: Align the Filter
Carefully align the ND filter with the camera lens. Most filters are designed to fit snugly onto the lens, so make sure to check for any alignment indicators.
- Step 4: Secure the Filter
Once aligned, press the filter gently onto the lens until you hear a click or feel it lock into place. Ensure that it is firmly attached to prevent any accidental detachment while filming.
- Step 5: Test the Setup
After securing the ND filter, it’s advisable to check your camera settings and perform a test shot. This will help you confirm that the filter is correctly mounted and functioning as intended.
In addition to these steps, it’s important to note a few best practices when attaching ND filters:
- Use Caution: Avoid applying excessive force when attaching or removing the filter to prevent damage to the lens or filter.
- Check Compatibility: Always ensure that the ND filter is compatible with your specific camera model to avoid issues with fitting.
- Store Properly: When not in use, store your filters in a protective case to prevent scratches or damage.
By following these guidelines, you can ensure that your ND filters are securely attached, allowing you to focus on capturing breathtaking cinematic shots. Remember, the right attachment technique can significantly enhance the quality of your video projects, making it a vital aspect of your shooting process.
Best Practices for Shooting with ND Filters
When it comes to achieving stunning visuals in your video projects, implementing best practices while shooting with ND filters can significantly enhance your footage quality. These filters are invaluable tools for videographers, particularly when using action cameras. This section will outline essential tips and techniques for effective usage of ND filters, ensuring you get the most out of your shooting experience.
- Understand the Basics: Before diving into shooting, familiarize yourself with how ND filters work. They reduce the amount of light entering the lens without affecting color, allowing you to maintain optimal exposure settings while achieving the desired motion blur.
- Choose the Right ND Filter: Selecting the appropriate ND filter is crucial. Consider factors such as lighting conditions and the specific effect you want to achieve. For bright environments, a stronger ND filter (like ND8 or ND16) may be necessary, while lighter filters (ND4) can be suitable for overcast days.
- Check Your Camera Settings: Always adjust your camera settings before you start shooting. Set your shutter speed according to the 180-degree rule, which typically means a shutter speed that is double your frame rate. For instance, if shooting at 30 frames per second, aim for a shutter speed of 1/60 seconds.
- Use a Tripod or Stabilizer: ND filters can make your footage look smoother, but they can also introduce camera shake if not stabilized. Using a tripod or a gimbal can help maintain steady shots, especially in dynamic shooting conditions.
- Monitor Your Exposure: Always keep an eye on your camera’s histogram or exposure meter. ND filters can make it tricky to judge exposure visually, so using these tools will help ensure your footage isn’t overexposed or underexposed.
- Experiment with Different Filters: Don’t hesitate to try various ND filters to see how they affect your footage. Each filter can provide a different look and feel, enhancing your creative options.
- Be Aware of Vignetting: Some ND filters can cause vignetting, especially at wider angles. Test your setup before a shoot to identify any potential issues and adjust your framing accordingly.
- Post-Production Considerations: Remember that footage shot with ND filters may require specific adjustments in post-production. Be prepared to tweak color grading and contrast to achieve the best results.
Incorporating these best practices while shooting with ND filters will not only improve the technical quality of your footage but also enhance your overall storytelling capabilities. By mastering the use of ND filters, you can create cinematic visuals that captivate your audience and elevate your video projects to new heights.
What Shutter Speed Should You Use with ND Filters?
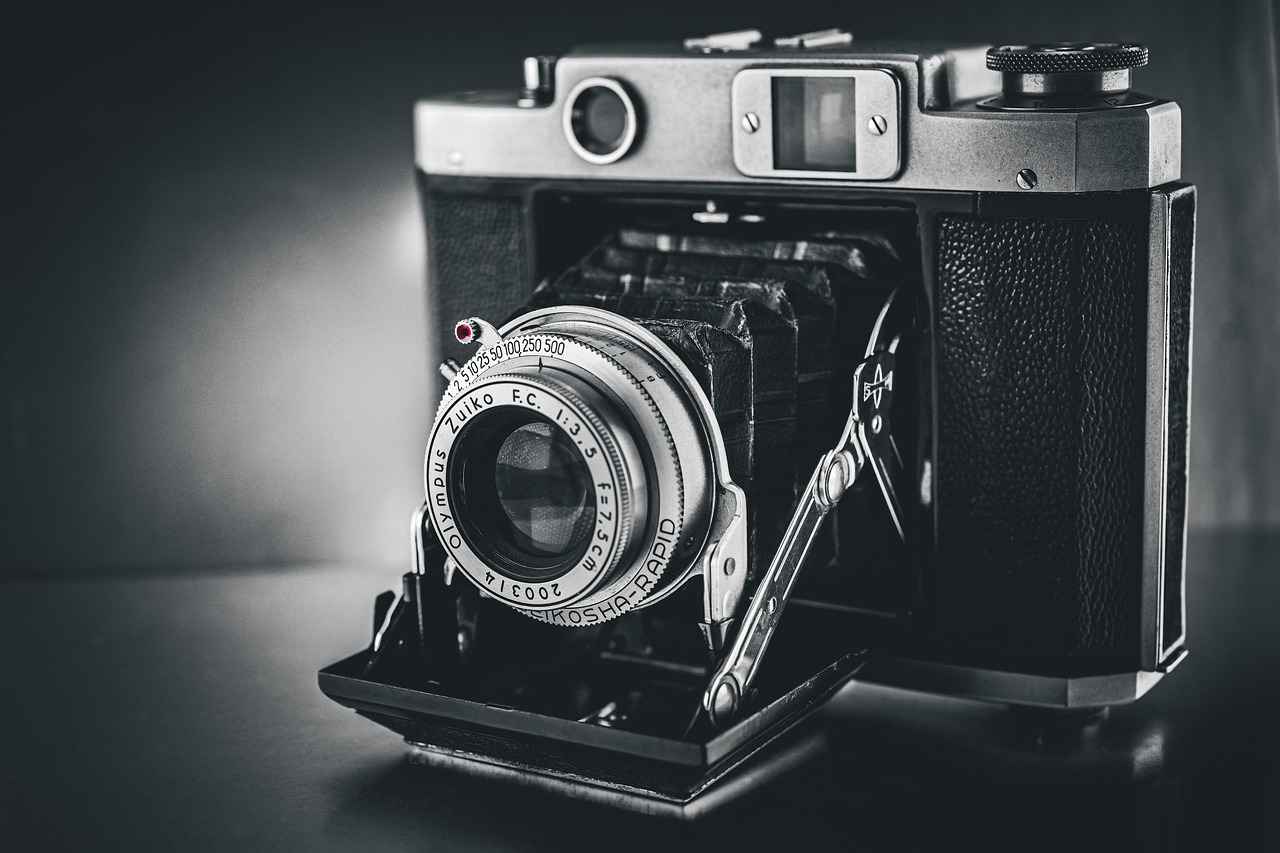
When it comes to capturing stunning visuals with action cameras, understanding shutter speed in relation to ND filters is essential. The interaction between these two elements plays a significant role in achieving the desired motion blur and overall cinematic effect. In this section, we will delve into the 180-degree shutter rule, its importance, and how to effectively apply it when using ND filters.
The 180-degree shutter rule is a guideline that suggests setting your shutter speed at double the frame rate of your video. For instance, if you are shooting at 24 frames per second (fps), your shutter speed should ideally be set at 1/48th of a second. This rule helps create a natural motion blur that mimics what the human eye perceives, resulting in more immersive footage.
However, in bright conditions, achieving the correct shutter speed can be challenging without ND filters. ND filters reduce the amount of light entering the lens, allowing you to maintain the desired shutter speed without overexposing your footage. This is particularly important for action cameras, which often operate in bright outdoor environments.
To illustrate, consider a scenario where you’re filming a fast-paced action scene in bright sunlight. Without an ND filter, adhering to the 180-degree shutter rule may force you to use a shutter speed that is too fast, resulting in harsh, staccato motion. By incorporating an ND filter, you can lower the amount of light hitting the sensor, enabling you to slow down your shutter speed to achieve that smooth, cinematic motion blur.
When selecting an ND filter, it’s important to choose one that matches your shooting conditions. For example, a ND8 filter reduces light by three stops, making it suitable for moderately bright conditions, while a ND64 filter can be used in extremely bright environments. Understanding the relationship between your chosen ND filter and the shutter speed will allow you to maintain the integrity of the 180-degree shutter rule.
Additionally, it’s crucial to experiment with different shutter speeds and ND filters to see how they impact your footage. Take the time to review your shots and adjust accordingly, as every scene is unique. Remember, the goal is to achieve a natural look that enhances the storytelling aspect of your videos.
In summary, mastering the use of shutter speed in conjunction with ND filters is vital for achieving the cinematic quality you desire in your action camera footage. By adhering to the 180-degree shutter rule and understanding how ND filters influence exposure, you can create visually stunning videos that resonate with your audience.

How ND Filters Affect Color and Contrast
Neutral Density (ND) filters are essential tools for filmmakers and photographers alike, particularly when it comes to managing light and exposure. However, their impact on color and contrast is often overlooked. Understanding these effects is crucial for maintaining the integrity of your visuals and achieving the desired aesthetic in your footage.
When you attach an ND filter to your action camera, it reduces the amount of light entering the lens. While this is beneficial for controlling exposure, it can also lead to subtle changes in color rendition and contrast. This section will explore how to manage these effects effectively.
- Color Shift: ND filters can introduce a color cast in your footage. This is particularly noticeable with cheaper filters, which may not have the same optical quality as higher-end options. To mitigate this, consider investing in high-quality ND filters that offer better color fidelity.
- Contrast Alteration: The use of ND filters can sometimes reduce the contrast in your images. This is due to the way light interacts with the filter material. To counteract this, you may need to adjust your camera settings or enhance contrast during post-production.
- Light Loss: While ND filters are designed to reduce light, they can also affect the overall dynamic range of your footage. This means that highlights and shadows may not be as pronounced. Employing a higher-quality ND filter can help preserve dynamic range.
To maintain the integrity of your visuals when using ND filters, consider the following techniques:
1. Conduct tests with different ND filters to see how they affect your specific camera setup.2. Utilize color correction tools in your editing software to adjust any color shifts.3. Experiment with contrast settings during post-production to enhance the visual quality.4. Always shoot in the highest quality format available to retain as much detail as possible for editing.
In addition, it’s important to monitor your footage closely while shooting. Use your camera’s histogram and waveform monitors to ensure that you are not losing important details in the highlights or shadows. Adjusting your exposure settings can help to achieve a balanced image, even with an ND filter in place.
In conclusion, while ND filters are invaluable for controlling exposure and achieving cinematic effects, they can also impact color and contrast. By understanding these effects and employing effective management techniques, you can ensure that your footage maintains its visual integrity and aesthetic appeal.

Common Mistakes When Using ND Filters
When utilizing ND filters for your action camera, avoiding common mistakes is crucial for achieving the best possible results. Many enthusiasts, both novice and experienced, may encounter pitfalls that can compromise the quality of their footage. This section will explore these frequent errors and provide actionable solutions to help you enhance your shooting experience.
- Neglecting Proper Exposure Settings: One of the most common mistakes is failing to adjust the camera’s exposure settings after attaching an ND filter. ND filters reduce the amount of light entering the lens, which means that without adjusting the ISO or aperture, your footage may be underexposed. Always check your exposure settings and make necessary adjustments to achieve a well-balanced image.
- Using the Wrong ND Filter Strength: Another frequent error is selecting an ND filter that is either too strong or too weak for the shooting conditions. It’s essential to understand the lighting environment and choose an ND filter that matches it. For bright sunny days, a stronger ND filter (like ND16 or ND32) may be necessary, while overcast conditions might only require a weaker filter (like ND4).
- Ignoring the 180-Degree Shutter Rule: Failing to apply the 180-degree shutter rule is a common oversight. This rule states that your shutter speed should be double your frame rate to maintain natural motion blur. For instance, if you’re shooting at 30fps, your shutter speed should be 1/60s. Using ND filters can help you achieve this shutter speed in bright conditions without overexposing your footage.
- Forgetting to Clean the Filter: Dust, fingerprints, and smudges on your ND filter can lead to unwanted artifacts in your footage. Always ensure that your filter is clean before shooting. Use a microfiber cloth to gently wipe the surface, ensuring clarity and sharpness in your images.
- Not Considering Color Shift: ND filters can sometimes introduce a color cast to your footage, particularly with lower-quality filters. Pay attention to the color balance while shooting and consider using color correction in post-production to rectify any shifts. Investing in higher-quality filters can also minimize this issue.
- Overlooking Composition and Framing: When using ND filters, the focus on exposure can sometimes lead to neglecting composition. It’s essential to maintain a keen eye on framing and composition, even when adjusting for exposure. Take the time to set up your shots carefully.
By recognizing these common mistakes and implementing the suggested solutions, you can significantly improve the quality of your footage when using ND filters. The ability to control exposure and achieve cinematic effects is a powerful tool in your action camera arsenal. Always remember that practice and experimentation are key to mastering the use of ND filters. With time, you will develop a keen sense of how to utilize these filters effectively, leading to stunning cinematic results in your video projects.

Editing Tips for Footage Shot with ND Filters
When it comes to enhancing your footage shot with ND filters, post-production techniques play a crucial role. These filters help achieve that cinematic look by managing exposure and motion blur, but the real magic often happens in the editing room. Here are some essential tips to maximize the quality of your cinematic shots:
- Color Correction: ND filters can sometimes alter the color balance of your footage. Use color grading tools to adjust hues and saturation, ensuring your visuals maintain their intended look.
- Adjusting Contrast: ND filters can reduce contrast, particularly in bright conditions. Utilize contrast adjustment tools to bring back depth and richness to your images.
- Sharpening Details: Sometimes, footage may appear slightly soft due to the filter. Apply subtle sharpening to enhance details without introducing artifacts.
- Using LUTs: Look-Up Tables (LUTs) can help achieve a specific look or mood. Experiment with different LUTs to see how they complement your footage shot with ND filters.
- Stabilization: If you shot handheld, consider applying stabilization effects to smooth out any unwanted shakes. This is especially important for action shots that need to convey fluid motion.
- Dynamic Range Enhancement: Use tools that enhance the dynamic range of your footage. This can help recover details in shadows and highlights that might have been lost during shooting.
- Frame Rate Adjustments: If you shot at a high frame rate, ensure your editing software matches this when rendering. This maintains the smoothness of motion that ND filters help achieve.
Incorporating these editing techniques can significantly improve the final output of your footage. Remember, the goal is to enhance the cinematic quality while preserving the essence of the shots captured with ND filters. Experimentation is key—don’t hesitate to try different combinations of adjustments to find what works best for your specific project.
Additionally, consider the context of your footage. Different scenes may require unique editing approaches. For instance, action sequences may benefit from a more dynamic color grading, while serene landscapes might call for softer tones and gentle transitions.
By effectively applying these editing tips, you can transform your ND-filtered footage into stunning cinematic visuals that captivate your audience. Always keep in mind the importance of maintaining the natural look of your footage while enhancing its overall quality.
Comparing Different Types of ND Filters
When it comes to ND filters, not all options are the same. Understanding the differences between various types of ND filters is essential for making informed choices that suit your shooting style and needs. This section will delve into the primary types of ND filters, namely fixed ND filters and variable ND filters, highlighting their unique features, advantages, and potential drawbacks.
What Are Fixed ND Filters?
Fixed ND filters have a specific light reduction value, measured in stops. They are designed to reduce light consistently, which makes them ideal for specific lighting conditions. For example, a ND8 filter reduces light by three stops, allowing for longer exposure times without overexposing your footage. These filters are often preferred for their simplicity and reliability.
- Advantages of Fixed ND Filters:
- Consistent light reduction for predictable results.
- Less complex, making them easy to use.
- Generally more affordable than variable options.
- Drawbacks of Fixed ND Filters:
- Limited flexibility; you must change filters to adapt to varying lighting conditions.
- May require carrying multiple filters for different scenarios.
What Are Variable ND Filters?
Variable ND filters, on the other hand, offer a range of light reduction values in a single filter. By rotating the filter, you can adjust the amount of light entering the camera, which allows for greater versatility. This feature is particularly beneficial for filmmakers who frequently change shooting environments.
- Advantages of Variable ND Filters:
- Flexibility to adjust light reduction on-the-fly.
- Reduced need for multiple filters, making them convenient for travel.
- Ideal for dynamic shooting conditions.
- Drawbacks of Variable ND Filters:
- Can introduce color casts if not of high quality.
- May cause vignetting at certain angles or on wide-angle lenses.
How to Choose the Right ND Filter?
When selecting an ND filter, consider the following factors:
- Lighting Conditions: Assess the environment in which you will be shooting. Bright conditions may require a stronger ND filter.
- Desired Effects: Think about the creative effects you want to achieve, such as motion blur or depth of field.
- Budget: Determine how much you are willing to invest. While higher-quality filters may be more expensive, they often yield better results.
In summary, understanding the differences between fixed and variable ND filters is crucial for any filmmaker or photographer looking to enhance their work. By weighing the advantages and disadvantages of each type, you can make an informed decision that aligns with your creative vision and technical requirements.

Real-Life Examples of ND Filter Usage
illustrate the profound impact these filters can have on the quality and aesthetic of video projects. By examining various successful projects, we can see how ND filters have transformed ordinary footage into cinematic masterpieces.
One notable example is the documentary “Chasing Ice,” which chronicles the effects of climate change through stunning visuals of melting glaciers. The filmmakers utilized ND filters to manage the intense light reflecting off the ice, allowing them to capture rich colors and details without overexposure. This technique not only enhanced the visual appeal but also ensured that the intricate textures of the ice were preserved, resulting in a more engaging viewing experience.
Another project worth mentioning is the acclaimed short film “The Silent City.” In this film, the director employed ND filters to achieve a specific look during the golden hour. By reducing the light entering the lens, the filmmakers could use slower shutter speeds, creating a beautiful motion blur that added a dreamlike quality to the scenes. This effect was particularly effective in establishing the film’s atmosphere, drawing viewers into its narrative.
Furthermore, in the realm of travel vlogs, many creators have turned to ND filters to elevate their content. For instance, popular YouTuber Casey Neistat often showcases his adventures using ND filters on his action camera. By implementing these filters, he is able to capture breathtaking landscapes without the harsh glare of sunlight, resulting in smoother transitions and more cinematic footage. This technique not only enhances the visual storytelling but also allows for greater flexibility in post-production editing.
In addition, the use of ND filters has become increasingly popular in commercial advertising. Brands like GoPro have highlighted the effectiveness of ND filters in their promotional videos. By utilizing these filters, advertisers can create visually striking content that stands out in a crowded marketplace. The ability to control exposure while maintaining a high frame rate allows for dynamic shots that capture the essence of the product being promoted.
Moreover, filmmakers in the action sports genre have found ND filters to be indispensable. For example, in action-packed films featuring extreme sports, such as surfing or snowboarding, ND filters help maintain the right balance between motion blur and sharpness. By enabling filmmakers to shoot at lower shutter speeds, they can capture the exhilarating movements of athletes while keeping the footage visually appealing.
Overall, these real-life examples underscore the versatility and transformative power of ND filters in various filmmaking contexts. Whether in documentaries, short films, vlogs, or advertisements, the ability to control light and exposure enhances the storytelling process, resulting in more compelling and visually stunning content. As more filmmakers recognize the benefits of ND filters, their usage will likely continue to grow, further enriching the cinematic landscape.

Where to Buy ND Filters for Action Cameras
When it comes to capturing stunning visuals with your action camera, ND filters are an essential piece of equipment. However, finding the right place to purchase these filters is equally important to ensure you are getting quality gear. In this section, we will explore reliable retailers and online platforms where you can acquire ND filters for your action camera.
Purchasing ND filters from reputable sources guarantees that you receive authentic products that perform as expected. Counterfeit or low-quality filters can lead to disappointing results, affecting your overall shooting experience. Here are some trusted options:
- Specialty Camera Stores: Local camera shops often carry a selection of ND filters. They can provide expert advice and allow you to physically inspect the products before purchasing.
- Online Retailers: Websites like Amazon and B&H Photo Video offer a wide range of ND filters. Make sure to check user reviews and ratings to determine the quality of the filters.
- Manufacturer Websites: Brands like PolarPro and Tiffen sell filters directly. Buying from the manufacturer ensures you get the latest products and warranty support.
Before making a purchase, consider the following factors:
- Filter Type: Decide between fixed and variable ND filters based on your shooting needs.
- Size: Ensure the filter size matches your action camera lens. Many cameras have specific filter thread sizes.
- Price Range: Quality ND filters can vary in price. Set a budget but remember that investing in a good filter can significantly enhance your footage.
Yes, many local electronics and photography stores carry ND filters. Visiting a store allows you to ask questions and get personalized recommendations from knowledgeable staff.
While many online platforms provide great deals, be cautious of unknown websites that offer filters at prices significantly lower than competitors. These may be signs of counterfeit products.
To ensure a smooth buying experience, always:
- Read customer reviews to gauge product performance.
- Check return policies in case the filter does not meet your expectations.
- Look for warranties or guarantees that protect your purchase.
By considering these factors and exploring the recommended retailers, you can confidently purchase ND filters that will elevate your action camera footage to new heights. Remember, the right filter can make a significant difference in achieving those cinematic shots you desire!
Frequently Asked Questions
- What is the purpose of using ND filters on action cameras?
ND filters help control the amount of light entering your camera, allowing you to achieve better exposure and motion blur. This is especially important for creating cinematic shots that look smooth and professional.
- How do I choose the right ND filter for my action camera?
Selecting the right ND filter depends on lighting conditions and the specific effects you want to achieve. It’s like picking the right sunglasses for a bright day—too dark, and you miss details; too light, and you squint!
- Can I use ND filters in low light conditions?
While ND filters are primarily designed for bright conditions, they can be used in low light, but with caution. Just remember, it’s all about finding the right balance to avoid overly dark footage!
- What shutter speed should I use with ND filters?
The 180-degree shutter rule is a good guideline: aim for a shutter speed that’s double your frame rate. So, if you’re shooting at 24fps, set your shutter speed to 1/50s for that buttery smooth motion.
- Do ND filters affect color and contrast in my footage?
Yes, ND filters can slightly alter color and contrast. It’s important to adjust your settings in post-production to ensure your visuals remain vibrant and true to life!
