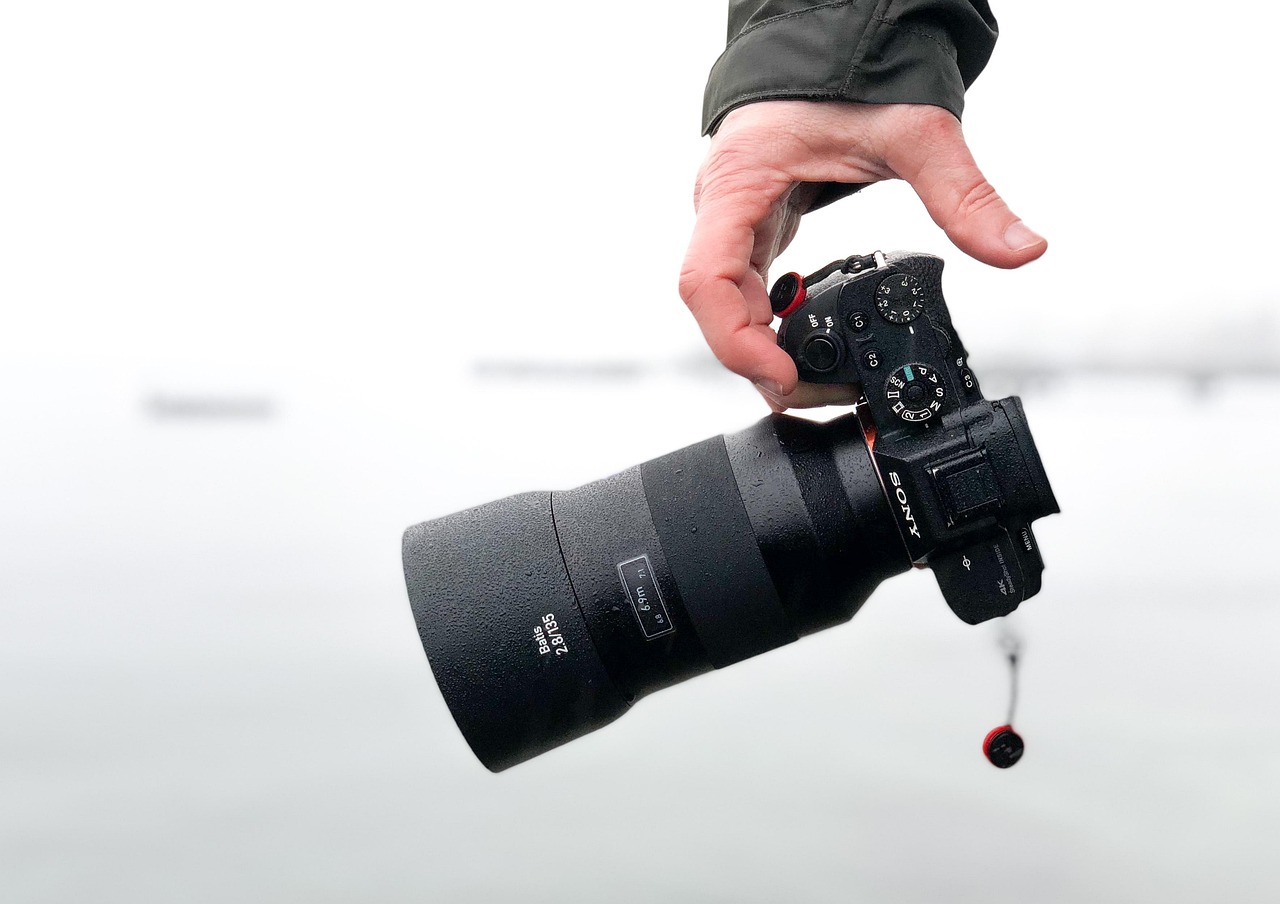
When it comes to capturing breathtaking moments during your adventures, having a well-calibrated action camera is essential. This article delves into effective methods and techniques to ensure your action camera performs at its peak, delivering high-quality footage that truly captures the essence of your experiences.
Calibrating your action camera is vital for achieving the best possible image quality and accuracy. Proper calibration aligns your camera settings with the environment, enhancing overall performance. Without calibration, you might encounter issues such as distorted colors, shaky footage, or poorly exposed images.
- Resolution: This setting determines the clarity of your footage.
- Frame Rate: Essential for smooth motion in your videos.
- Field of View (FOV): Affects how much of the scene is captured.
Resolution is a fundamental aspect of video quality. Higher resolutions, such as 4K, provide greater detail but require more storage space. Therefore, it’s important to find a balance that suits your needs and the capabilities of your device. For instance, if you’re shooting a long event, you might opt for 1080p to save space while still achieving good quality.
Frame rates significantly influence the smoothness of your footage. For fast-paced activities like skiing or biking, using a frame rate of 60fps or higher is recommended. Conversely, if you are capturing slow-motion shots, setting your camera to 120fps or even 240fps can create stunning effects.
The field of view determines how much of the scene is captured in your frame. A wide FOV is great for immersive shots, especially in action-packed scenarios, while a narrow FOV can focus on specific subjects. Adjusting this setting can significantly enhance the overall experience of your footage.
White balance settings are crucial for maintaining color accuracy in different lighting conditions. For example, in bright sunlight, a cooler white balance can prevent overexposure, while in low light, a warmer setting can enhance the richness of colors. Understanding how to adjust these settings can greatly improve your video quality.
Calibrating color settings is essential for ensuring that your footage reflects true-to-life colors. This is particularly important in outdoor activities where lighting can vary dramatically. Most cameras allow you to adjust saturation, contrast, and sharpness, allowing you to customize the look of your videos.
Image stabilization is critical for reducing shaky footage, especially in dynamic environments. Properly calibrating this feature can enhance the viewing experience, making your videos look more professional. Many action cameras offer built-in stabilization options that can be adjusted according to the intensity of your activity.
Many modern action cameras come with built-in calibration tools or companion apps designed to streamline the calibration process. Utilizing these tools can help ensure that your settings are accurate and optimized for your specific shooting conditions.
Avoiding common calibration mistakes can save you time and improve your footage quality. Some typical pitfalls include neglecting to adjust settings based on lighting changes or forgetting to test your settings before a shoot. Familiarizing yourself with your camera’s features can help you avoid these issues.
Regular calibration is essential for maintaining optimal performance. It’s advisable to recalibrate your camera every few months or whenever you change shooting environments. This practice not only prolongs the life of your camera but also ensures that you consistently capture high-quality footage.
Finding expert resources can provide deeper insights into advanced calibration techniques. Online forums, tutorials, and manufacturer guidelines are excellent places to start. Engaging with fellow enthusiasts can also help you learn new tips and tricks for maximizing your camera’s potential.
Why is Calibrating Your Action Camera Important?
Calibrating your action camera is an essential step for anyone looking to capture stunning visuals and ensure the accuracy of their recordings. Why is this process so vital? When your camera is properly calibrated, it aligns its settings with the specific conditions of your shooting environment, which directly influences the quality of your footage.
One of the primary benefits of calibration is the enhancement of image quality. Action cameras are often used in dynamic environments, from mountain biking to surfing, where lighting and angles can vary dramatically. By calibrating your camera, you can optimize settings such as exposure, white balance, and color profiles, ensuring that the colors captured are true-to-life and that the details in your images are sharp and clear.
Moreover, calibration aids in achieving accurate color representation. Different lighting conditions can lead to color casts that distort the final image. For instance, shooting in bright sunlight versus overcast conditions requires different white balance settings. Proper calibration helps mitigate these issues, allowing for a more consistent look across your footage.
Another crucial aspect is the field of view (FOV). Depending on the type of action you’re documenting, adjusting the FOV can create a more immersive experience for viewers. A wider field of view captures more of the scene, while a narrower view can focus on specific subjects, enhancing storytelling in your videos.
Calibration also plays a significant role in image stabilization. Many action cameras come equipped with stabilization features that smooth out shaky footage. However, if these settings are not calibrated correctly, you might end up with footage that still appears jittery or unstable. By fine-tuning these settings, you can significantly improve the viewing experience, especially during high-motion activities.
Additionally, understanding the frame rates suitable for various activities is essential for optimal performance. Different scenarios, such as fast-paced sports or slow-motion captures, require specific frame rates to deliver the best results. Calibration allows you to set these parameters accurately, ensuring that your footage maintains a professional quality.
Lastly, calibrating your action camera regularly is crucial for maintaining its performance over time. As conditions change—whether due to different environments or wear and tear on the camera—revisiting the calibration process ensures that you are consistently capturing high-quality footage. This practice not only improves your current recordings but can also extend the life of your camera.
In conclusion, the importance of calibrating your action camera cannot be overstated. From enhancing image quality to ensuring accurate color representation and optimal frame rates, proper calibration is key to achieving professional-grade footage. By investing time in this process, you can elevate your video content and ensure that every adventure is captured in the best possible light.

What Are the Key Calibration Settings?
When it comes to optimizing your action camera for various shooting scenarios, understanding the key calibration settings is essential. These settings can significantly influence the overall performance and quality of your footage. This section delves into the fundamental calibration settings that every action camera user should be familiar with.
Calibration settings are the backbone of your camera’s functionality. By adjusting these settings, you can tailor your camera to capture the best possible images and videos. The primary calibration settings include:
- Resolution: This setting determines the clarity and detail of your footage. Higher resolutions, such as 4K, provide stunning detail but require more storage and processing power. For less demanding activities, 1080p may suffice.
- Frame Rate: The frame rate affects how smooth your video appears. Standard frame rates include 30fps for regular shooting and 60fps or higher for fast-paced activities like sports. For slow-motion effects, consider using frame rates of 120fps or more.
- Field of View (FOV): This setting dictates how much of the scene is captured in your frame. A wide FOV captures more of the environment, making it ideal for action shots, while a narrow FOV focuses on specific subjects.
Each of these settings plays a crucial role in determining the final output of your footage. Understanding how to adjust them based on your shooting conditions can lead to remarkable improvements in video quality.
When selecting a resolution, consider your intended use. For instance, if you’re planning to edit your footage or display it on large screens, opting for a higher resolution like 4K is advisable. However, keep in mind that higher resolutions consume more storage space and battery life. Balancing quality with practicality is key to effective calibration.
Choosing the right frame rate is crucial for achieving smooth and professional-looking videos. For general use, 30fps is standard, but for action-packed scenes, a higher frame rate such as 60fps or 120fps can create a more dynamic viewing experience. Additionally, using a higher frame rate allows for slow-motion playback, which can add a dramatic effect to your footage.
The field of view is an essential setting that can dramatically change how your footage feels. A wide FOV is perfect for capturing expansive landscapes or action scenes, while a narrow FOV can help concentrate on specific subjects. Experimenting with these settings can help you find the best fit for your shooting style.
White balance settings are vital for maintaining accurate colors in your videos. Different lighting conditions require different adjustments; for instance, shooting outdoors on a sunny day may necessitate a different white balance setting than shooting indoors under artificial lights. Familiarizing yourself with how to adjust these settings can significantly enhance the color quality of your footage.
Calibrating color settings ensures that your videos reflect true-to-life colors. This is particularly important in outdoor settings where lighting can change rapidly. Adjusting saturation, contrast, and brightness can help achieve the desired look and feel of your footage.
Image stabilization is crucial for minimizing shaky footage, especially during high-motion activities. Properly calibrating this feature can enhance the viewing experience and make your videos look more professional. Many cameras offer different stabilization modes, so it’s worth experimenting to find the best one for your needs.
Many modern action cameras come equipped with built-in calibration tools or companion apps that simplify the calibration process. These tools can guide you through adjusting settings based on your specific shooting conditions, ensuring optimal results every time.
To maximize your camera’s performance, it’s essential to avoid common calibration mistakes. These include neglecting to adjust settings based on lighting conditions, using inappropriate frame rates for the activity, and failing to regularly check and recalibrate your camera. Being mindful of these pitfalls can lead to consistently high-quality footage.
Regular calibration is vital for maintaining your camera’s performance. It’s advisable to recalibrate your camera before significant shoots or after changing environments. This practice not only prolongs the life of your camera but also helps in achieving the best possible results.
To deepen your understanding of advanced calibration techniques, seek out expert resources. Online forums, video tutorials, and manufacturer guidelines are excellent starting points for learning more about optimizing your action camera’s performance.

How to Adjust the Resolution for Optimal Quality?
When it comes to capturing stunning visuals with your action camera, adjusting the resolution is one of the most critical steps you can take. The resolution of your footage directly influences the clarity, detail, and overall quality of your images. Understanding how to adjust this setting effectively can enhance your filming experience, particularly in dynamic environments.
The resolution determines how many pixels are used to create your image. Higher resolutions, such as 4K or 1080p, provide greater detail and sharpness, making them ideal for capturing those breathtaking moments during your adventures. However, it’s essential to recognize that higher resolutions also demand more storage space and processing power. Therefore, finding the right balance based on your specific needs is crucial.
- 4K Resolution: This offers the highest quality and is perfect for professional-grade video. It captures intricate details, making it suitable for large screens.
- 1080p Resolution: A popular choice for most action cameras, providing excellent quality without excessive storage requirements.
- 720p Resolution: While lower in quality, this option is beneficial for saving storage space and is adequate for casual filming.
When deciding which resolution to use, consider the following factors:
- Purpose of the Footage: If you’re creating content for social media, 1080p may suffice. For cinematic projects, opt for 4K.
- Storage Availability: Higher resolutions will consume more memory. Ensure you have enough storage, especially for extended shoots.
- Editing Flexibility: Higher resolution footage allows for more cropping and adjustments during the editing process without losing quality.
Adjusting the resolution on your action camera is typically straightforward. Here’s how to do it:
1. Turn on your action camera.2. Navigate to the settings menu.3. Look for the resolution option.4. Select your desired resolution (4K, 1080p, 720p).5. Save your settings and exit the menu.
While higher resolutions enhance image quality, they come with trade-offs:
- Increased File Size: Higher resolutions generate larger files, which can fill up storage quickly.
- Battery Drain: Recording in 4K can consume more battery power, potentially limiting your shooting time.
- Processing Power: Higher resolutions require more powerful hardware for editing, which may not be feasible for everyone.
In summary, adjusting the resolution of your action camera is fundamental for capturing high-quality images. By understanding the various options available and their implications, you can tailor your settings to fit your filming needs. Whether you’re aiming for the highest detail or seeking to conserve storage, making informed decisions about resolution will enhance your overall filming experience.

What Frame Rates Should You Use for Different Activities?
When it comes to capturing stunning footage with your action camera, frame rates are an essential factor that can significantly influence the quality and fluidity of your videos. Understanding how to select the right frame rate for various activities can enhance your viewing experience and ensure that your footage meets your expectations.
Frame rates refer to the number of frames captured per second (fps) in your video. The choice of frame rate can affect the smoothness of motion in your footage, making it a critical element for different types of activities. For instance, fast-paced sports require higher frame rates to capture rapid movements without blurring, while slower activities may benefit from lower frame rates.
- Sports and Action Shots: For high-energy activities like skiing, surfing, or basketball, a frame rate of 60 fps or higher is recommended. This allows for smooth playback and the ability to slow down footage for dramatic effects without losing clarity.
- Slow-Motion Shots: If you’re aiming for that cinematic slow-motion effect, consider using frame rates of 120 fps or even 240 fps. These higher rates provide more frames to work with, making the slow-motion playback incredibly smooth and visually appealing.
- Standard Video: For general footage such as vlogs or casual outings, a frame rate of 30 fps is typically sufficient. This rate balances quality and file size, making it ideal for most casual applications.
- Documentaries and Interviews: When filming interviews or documentary-style footage, a frame rate of 24 fps is often preferred. This frame rate gives a more cinematic feel and is commonly used in film production.
The choice of frame rate not only impacts the smoothness of your footage but also its overall aesthetic. Higher frame rates can create a hyper-realistic effect, while lower frame rates can lend a more artistic, dreamlike quality to your videos. Understanding the emotional impact of frame rates can help you make more informed decisions during filming.
When deciding on the frame rate, consider the following tips:
- Know Your Subject: Different activities demand different frame rates. Always tailor your settings to the type of action you are filming.
- Test Different Settings: Experiment with various frame rates to see how they affect your footage. This hands-on approach can help you discover what works best for your style.
- Consider Your Editing: If you plan to edit your footage, ensure that your chosen frame rate aligns with your editing software capabilities and the final output format.
In summary, selecting the appropriate frame rate is crucial for capturing high-quality footage that meets your needs. By understanding the requirements for different activities and experimenting with various settings, you can elevate your video production and create stunning visuals that resonate with your audience.
How to Set the Field of View (FOV) Correctly?
Setting the field of view (FOV) correctly is crucial for capturing stunning footage with your action camera. The FOV determines how much of the scene is visible in your frame, and adjusting it can significantly influence the overall viewing experience. A well-calibrated FOV can enhance the immersive quality of your videos, particularly in dynamic environments.
When considering how to set the FOV, it’s important to understand the different options available. Most action cameras offer multiple FOV settings, such as:
- Wide: This setting captures a broader view, making it ideal for landscapes and group activities. It allows viewers to feel as though they are part of the action.
- Medium: A balanced option that provides a good compromise between wide and narrow views. This setting is versatile for various activities.
- Narrow: This setting focuses on a specific subject, perfect for capturing details in fast-paced scenarios or when you want to emphasize a particular action.
Adjusting the FOV can greatly enhance the storytelling aspect of your footage. For instance, in action-packed scenarios like mountain biking or skiing, a wide FOV can create a sense of speed and excitement, immersing viewers in the experience. Conversely, a narrow FOV can be used to draw attention to specific actions, such as a trick or maneuver.
Another important factor to consider when setting your FOV is the distortion that can occur, particularly at wider settings. While a wide FOV is visually appealing, it can also introduce fisheye effects at the edges of the frame. This can be distracting and may require post-production correction if not managed properly during filming.
To achieve the best results, experiment with different FOV settings based on your shooting environment and the type of action you are capturing. For example, if you are filming a scenic hike, a wide FOV can showcase the breathtaking views, whereas a narrow FOV might be more suitable for capturing close-up interactions with your surroundings.
Additionally, consider the aspect ratio of your footage when setting the FOV. Different aspect ratios can affect how much of the scene is captured, and aligning your FOV with the desired output can enhance the overall quality of your video.
In conclusion, setting the field of view correctly is a vital aspect of action camera calibration. By understanding the various FOV options and their implications on your footage, you can create more engaging and immersive videos that capture the essence of your adventures. Whether you choose a wide, medium, or narrow FOV, always remember to consider the nature of the activity and the story you wish to tell through your lens.
What White Balance Settings Are Best for Various Environments?
When it comes to capturing stunning footage with your action camera, white balance settings play a pivotal role in achieving accurate color representation. Different lighting conditions can dramatically affect how colors appear in your videos, making it essential to understand how to adjust these settings effectively.
White balance ensures that colors in your footage stay true to life, regardless of the lighting conditions. Without proper adjustment, you may end up with videos that appear too warm (yellow-orange) or too cool (blue). This can distract viewers and detract from the overall quality of your content.
- Natural Light: During the day, sunlight provides a balanced spectrum of light. However, as the sun sets, the light shifts to warmer tones, requiring a cooler white balance setting.
- Indoor Lighting: Incandescent bulbs emit a warm light, often necessitating a cooler white balance adjustment to counteract the yellow hues.
- Fluorescent Lighting: This type of lighting can cast a greenish tint, making it essential to set the white balance to a warmer tone to neutralize the effect.
- Cloudy Days: Overcast conditions can create a cooler light, so adjusting the white balance to a warmer setting can help maintain color accuracy.
Most action cameras offer several preset white balance options, typically including:
- Auto: The camera automatically adjusts the white balance based on the detected lighting conditions.
- Sunny: Ideal for bright, sunny days to maintain warm colors.
- Cloudy: Warmer tones for overcast days.
- Tungsten: Adjusts for indoor lighting, counteracting the warm tones.
- Fluorescent: Corrects the greenish tint from fluorescent lights.
For those looking to take full control, manual white balance settings can be adjusted based on Kelvin (K) temperature. Lower Kelvin values (around 2500K) yield warmer tones, while higher values (up to 6500K) provide cooler tones. This allows for precise adjustments tailored to the specific lighting conditions you encounter.
Correctly calibrating your white balance results in:
- Enhanced Color Accuracy: True-to-life colors that represent the scene as seen by the human eye.
- Improved Viewer Engagement: Visually appealing content keeps viewers interested and enhances the overall experience.
- Reduced Post-Production Work: Proper white balance during shooting minimizes the need for extensive color correction in editing.
1. Use a gray card or white balance tool for precise calibration.2. Test different settings before starting your shoot to see what works best.3. Adjust your white balance when moving between different lighting environments.4. Review your footage regularly to ensure color accuracy throughout your project.
By understanding and effectively utilizing white balance settings, you can significantly enhance the quality of your action camera footage. Whether you’re shooting under the bright sun or inside a dimly lit room, mastering these settings will ensure your videos remain vibrant and true to life.
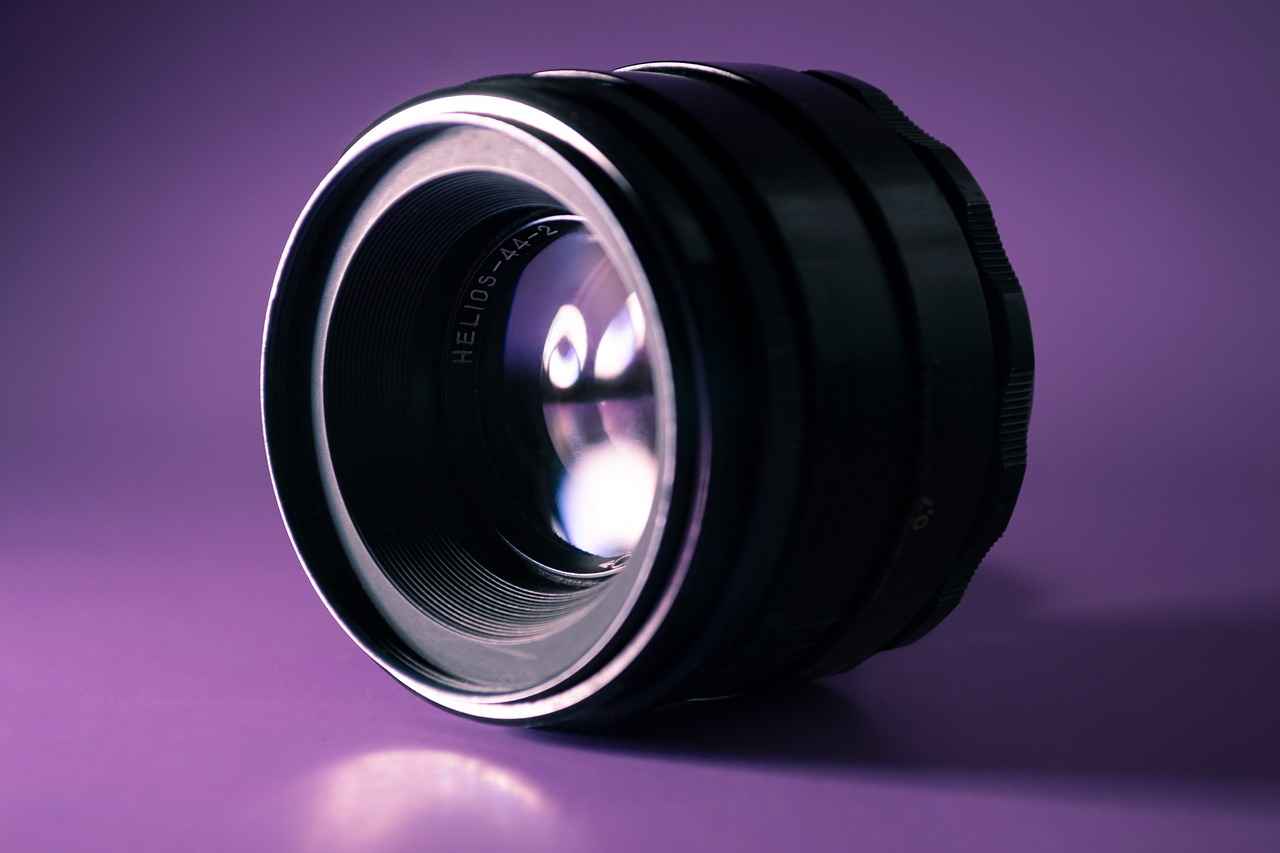
How to Calibrate Your Camera’s Color Settings?
Calibrating your action camera’s color settings is an essential step in ensuring that your footage accurately represents the vibrant hues and subtle tones of the real world. This process is particularly vital when filming in outdoor environments, where lighting conditions can fluctuate significantly throughout the day. Without proper calibration, you may end up with footage that appears washed out or overly saturated, failing to capture the true essence of your adventures.
To begin with, it’s important to understand the impact of various lighting conditions on color perception. For instance, shooting during the golden hour—shortly after sunrise or before sunset—can create warm, inviting tones. Conversely, shooting in harsh midday sunlight can lead to stark contrasts and overly bright highlights. Therefore, adjusting your color settings accordingly is crucial for achieving the most natural-looking footage.
One of the primary tools for calibrating color settings is the white balance. This setting helps to ensure that whites appear white and colors are rendered accurately. Many cameras offer presets for different lighting conditions, such as daylight, cloudy, and tungsten. However, for the most precise results, consider using a custom white balance setting, especially when shooting in mixed lighting scenarios.
In addition to white balance, you should also be aware of the color profile your camera uses. Different profiles can dramatically alter the look of your footage. For instance, a flat color profile may provide more dynamic range and flexibility in post-production, while a vibrant profile will give you more saturated colors straight out of the camera. Evaluate your shooting style and choose a profile that aligns with your creative vision.
Furthermore, utilizing color calibration cards can greatly enhance the accuracy of your color settings. These cards can be placed in the scene during filming, allowing you to reference them in post-production to ensure that colors are consistent and true to life. This technique is especially useful when shooting in environments with complex lighting.
Another aspect to consider is the exposure settings. Proper exposure not only affects brightness but also influences color accuracy. Overexposed footage can lead to loss of detail in bright areas, while underexposed footage may appear muddy and dark. Using tools like histograms or zebra patterns can help you achieve the right exposure, which in turn will support better color reproduction.
Finally, don’t overlook the importance of monitoring your footage as you shoot. If your camera supports live view with color monitoring, use it to make real-time adjustments. This can save you from having to correct significant color issues in post-production, which can be time-consuming and sometimes impossible to fix completely.
In summary, calibrating your camera’s color settings is a multifaceted process that involves understanding various elements such as white balance, color profiles, and exposure. By taking the time to adjust these settings, you can ensure that your footage not only looks stunning but also reflects the true colors of the environments you are capturing. With the right approach, your action camera can deliver breathtaking visuals that do justice to your adventures.
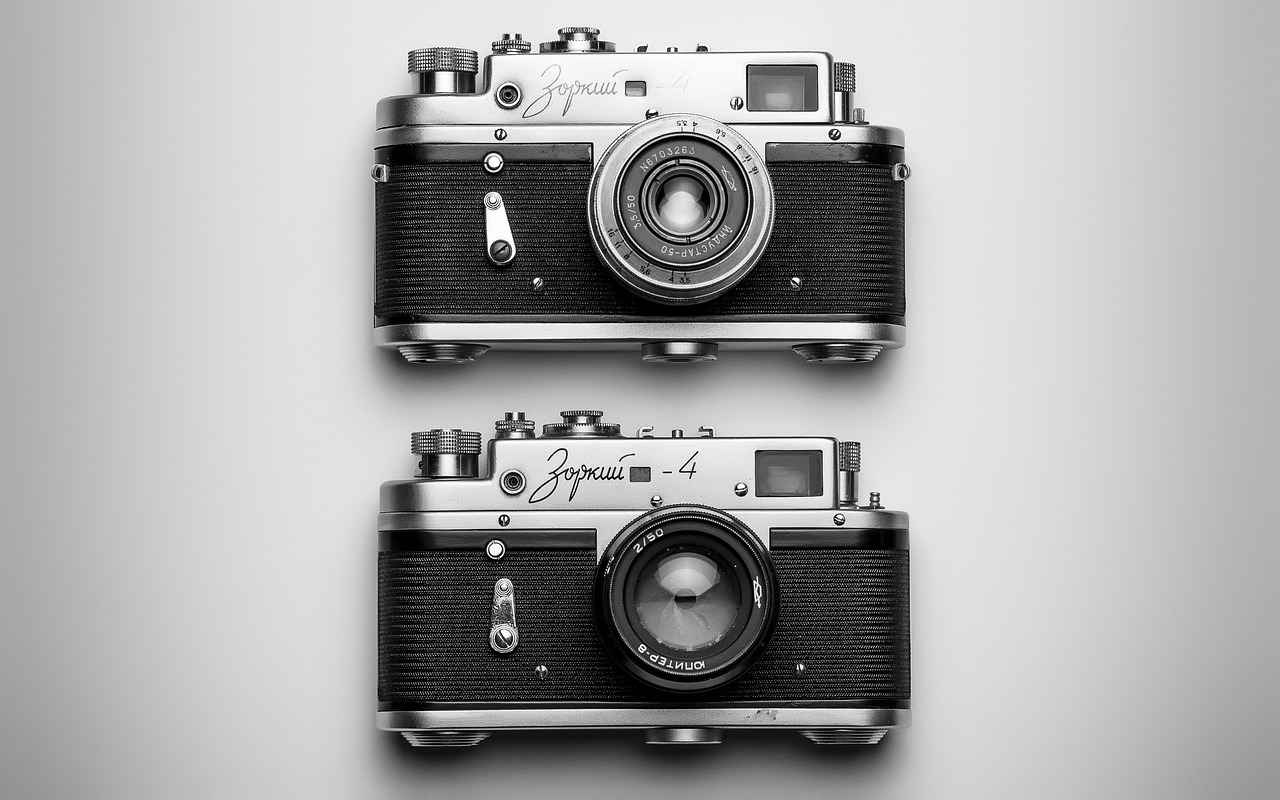
What Is the Role of Image Stabilization in Calibration?
Image stabilization is an essential feature in modern action cameras, playing a pivotal role in ensuring that your footage remains smooth and professional-looking, especially during dynamic activities. Whether you’re skiing down a mountain or biking through rugged terrain, shaky footage can detract from the viewing experience. Let’s explore the significance of image stabilization and how proper calibration can enhance your recordings.
When filming in high-motion scenarios, the camera is subjected to various vibrations and movements. Without effective image stabilization, the result can be a jarring visual experience, making it difficult for viewers to focus on the content. This is where calibration comes into play. Properly calibrating your camera’s image stabilization feature can significantly reduce unwanted motion blur and shake, resulting in clear and stable footage.
Why Is Image Stabilization Important?
- Enhances Viewing Experience: Smooth footage allows viewers to immerse themselves in the action without distractions from shaky visuals.
- Improves Professional Quality: For content creators, stable footage is a hallmark of quality, which can elevate the perceived professionalism of the video.
- Reduces Post-Production Work: Stable footage minimizes the need for extensive editing to correct shake, saving time and effort in post-production.
To achieve effective image stabilization, it’s crucial to understand the different types available in action cameras. Most cameras utilize either optical stabilization or digital stabilization. Optical stabilization uses physical components within the lens to counteract motion, while digital stabilization relies on software algorithms to smooth out the footage. Each method has its advantages, and understanding these can help you choose the right settings for your shooting environment.
How to Calibrate Image Stabilization Settings?
1. Access your camera's settings menu.2. Locate the image stabilization option.3. Choose the appropriate stabilization mode based on your activity (e.g., sports, casual).4. Test the settings by recording a short clip in your intended shooting environment.5. Review the footage and make adjustments as necessary.
Calibration is not a one-time task; it should be revisited regularly, especially when changing shooting conditions. For instance, if you’re transitioning from a stable environment to a high-motion activity, recalibrating your image stabilization settings is advisable. This ensures that your camera adapts to the new conditions, maintaining optimal performance.
Moreover, many action cameras come equipped with companion apps that provide advanced calibration tools. These applications often include features like real-time stabilization previews, allowing you to visualize the impact of different settings before you begin filming. Utilizing these tools can greatly enhance the effectiveness of your calibration efforts.
Common Mistakes to Avoid in Image Stabilization Calibration
- Neglecting to test settings in real scenarios can lead to ineffective stabilization.
- Over-relying on digital stabilization can result in a loss of detail in high-resolution footage.
- Failing to update firmware can lead to suboptimal performance of stabilization features.
In conclusion, image stabilization is not just a convenient feature; it’s a critical component that can drastically improve the quality of your action camera footage. By understanding its role and properly calibrating your settings, you can ensure that your recordings are smooth, professional, and enjoyable to watch. Remember, the key to great footage lies in the details, and proper calibration is a significant step towards achieving the best results.
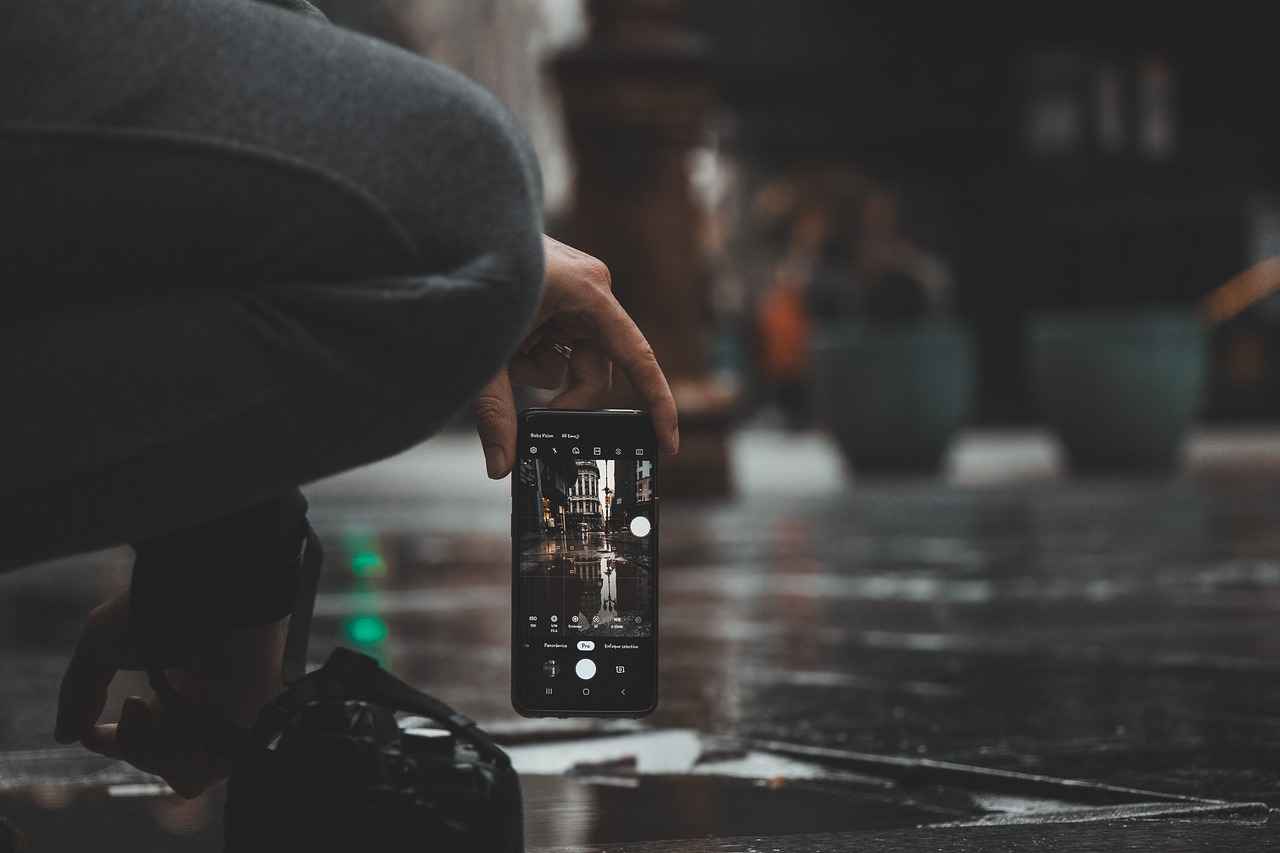
How to Use Calibration Tools and Apps?
When it comes to optimizing your action camera’s performance, calibration tools and companion apps play a pivotal role. Many modern action cameras come equipped with these features, making the calibration process not only easier but also more precise. In this section, we will explore how to effectively use these tools and apps to enhance your shooting experience.
Calibration tools are built-in functionalities within your action camera that allow you to adjust various settings for optimal performance. Companion apps, on the other hand, are mobile applications that connect to your camera, providing additional features and settings management. Both are designed to streamline the calibration process and ensure accuracy in capturing high-quality footage.
Using calibration tools can significantly improve the accuracy of your camera settings. These tools often include features like:
- Gyroscope Calibration: Ensures that the camera’s orientation is correct, which is essential for stabilizing footage.
- Lens Distortion Correction: Compensates for any distortion caused by the camera lens, providing a more realistic image.
- Color Calibration: Adjusts color settings to match the lighting conditions, ensuring true-to-life colors.
By utilizing these tools, you can achieve a level of precision that manual adjustments alone might not provide.
Companion apps offer a user-friendly interface to manage your camera settings more effectively. Here’s how to leverage these apps:
- Remote Control: Use the app to control your camera remotely, making it easier to adjust settings without physically accessing the camera.
- Live Preview: View a live feed from your camera, allowing you to make real-time adjustments to framing and settings.
- Firmware Updates: Keep your camera’s software up to date, ensuring you have access to the latest features and improvements.
These functionalities empower users to make informed adjustments, enhancing the overall shooting experience.
When using calibration tools and apps, focus on the following settings for optimal results:
- Resolution: Set the resolution according to your project needs. Higher resolutions provide better quality but require more storage.
- Frame Rate: Choose a frame rate that suits the action you are capturing. For fast-paced sports, higher frame rates are preferable.
- Field of View (FOV): Adjust the FOV to capture the desired amount of the scene, enhancing the immersive experience.
Regularly using calibration tools and apps ensures that your camera remains in peak condition. Benefits include:
- Consistent Quality: Regular calibration helps maintain consistent video and image quality across different shooting conditions.
- Improved Performance: Keeping your camera settings optimized can enhance performance, especially during critical shoots.
- Extended Lifespan: Proper calibration can reduce wear and tear on your camera, prolonging its lifespan.
In conclusion, utilizing built-in calibration tools and companion apps is essential for any action camera user aiming for high-quality footage. By understanding and applying these tools effectively, you can significantly enhance your shooting experience and ensure that every adventure is captured with the utmost clarity and precision.
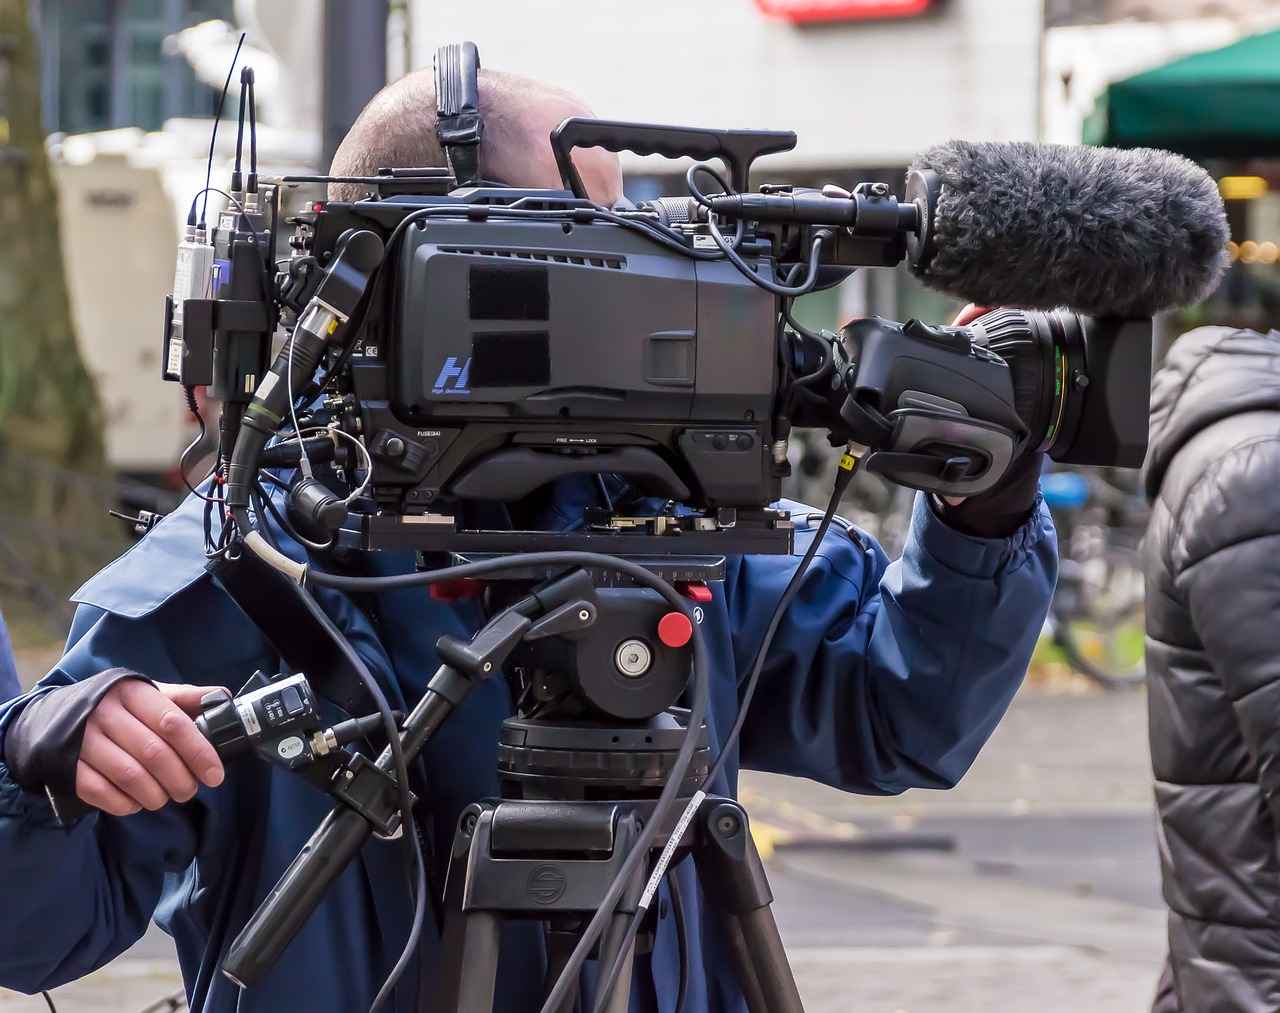
What Are Common Calibration Mistakes to Avoid?
When it comes to capturing stunning footage with your action camera, calibration is a vital step that shouldn’t be overlooked. Many users, however, make common mistakes during this process that can lead to subpar results. By understanding these pitfalls, you can enhance your shooting experience and ensure your videos are of the highest quality. Here, we will explore some of the most frequent calibration mistakes and how to avoid them.
One of the most significant errors is neglecting to adjust your camera settings before shooting. Each environment demands specific settings, such as resolution, frame rate, and field of view. Failing to customize these can result in poor image quality. Always take a moment to assess your surroundings and adjust accordingly.
Another common mistake is not setting the white balance correctly. This setting is crucial for color accuracy, especially in varying lighting conditions. For instance, shooting in bright sunlight versus indoors requires different white balance settings. Always ensure you adjust this feature to match your environment, or consider using the auto white balance setting if unsure.
Many users either forget to enable image stabilization or do not understand how it works. This feature is essential for reducing shaky footage, particularly in action-packed scenarios. Always check that your stabilization settings are activated before filming to ensure smooth and professional-looking videos.
Choosing the wrong frame rate for your activity can significantly affect the quality of your footage. For example, if you’re filming fast-paced sports, a higher frame rate is necessary to capture smooth motion. Conversely, for slow-motion shots, you’ll need to set a higher frame rate to achieve the desired effect. Always match your frame rate to the action you are capturing.
It’s easy to get caught up in the excitement of filming and forget to check your battery life. Running out of battery mid-shoot can lead to missed moments. Always ensure your camera is fully charged and consider carrying a spare battery, especially for longer shoots.
Many action cameras come with built-in calibration tools or companion apps that can simplify the calibration process. Neglecting to utilize these resources can lead to inaccuracies. Familiarize yourself with these tools to streamline your setup and enhance performance.
Calibration is not a one-time task. Regularly recalibrating your camera is essential for maintaining optimal performance. Environmental changes, such as lighting and temperature, can affect your settings. Make it a habit to check and adjust your calibration before significant shoots.
Each action camera model may have specific calibration requirements and recommendations. Ignoring the manufacturer’s guidelines can lead to improper settings and poor results. Always consult the user manual for detailed instructions tailored to your model.
By avoiding these common calibration mistakes, you can significantly improve the quality of your footage. Taking the time to properly calibrate your action camera will not only save you precious time during editing but will also enhance the overall viewing experience for your audience. Remember, a well-calibrated camera is key to capturing those unforgettable moments in high quality.
How Often Should You Calibrate Your Action Camera?
Regular calibration of your action camera is essential for maintaining optimal performance and ensuring that you capture the best quality footage during your adventures. But how often should you perform this crucial maintenance task? In this section, we will explore various factors that influence the frequency of calibration, practical guidelines, and the benefits of keeping your camera in top shape.
First and foremost, the environment in which you use your action camera plays a significant role in determining calibration frequency. If you frequently shoot in extreme conditions—such as high altitudes, underwater, or in rapidly changing light—consider calibrating your camera more often. These environments can affect the camera’s sensors and settings, leading to potential inaccuracies in your footage.
Another important factor is the type of content you are producing. For instance, if you’re a professional content creator or an avid sports enthusiast who relies on high-quality footage, you should aim to recalibrate your camera before major shoots or events. This ensures that your settings are perfectly aligned with the specific conditions of your shoot, enhancing the overall quality of your videos.
As a general rule, it is advisable to perform a calibration check:
- Every time you change a significant setting, such as resolution or frame rate.
- After any physical impact or drop to the camera.
- Once a month if you are a frequent user.
- Every few months for casual users.
In addition, many modern action cameras come equipped with automatic calibration features or companion apps that can help streamline the process. Utilizing these tools can make it easier to maintain your camera’s settings without the need for constant manual adjustments.
Moreover, it’s essential to keep an eye on your camera’s performance metrics. If you notice a decline in image quality, color accuracy, or stabilization, it may be time to recalibrate, regardless of how long it has been since your last calibration. Listening to your camera and being responsive to its performance can significantly extend its lifespan.
In summary, while there is no one-size-fits-all answer to how often you should calibrate your action camera, being proactive and attentive to your shooting conditions, usage frequency, and performance can guide you in making the right decision. Regular calibration not only prolongs the life of your camera but also enhances the quality of your footage, ensuring that your adventures are captured in the best possible light.
Where to Find Expert Resources for Advanced Calibration?
When it comes to calibrating your action camera, having access to expert resources can significantly enhance your understanding and execution of advanced techniques. These resources not only offer valuable insights but also guide you through the intricacies of calibration that can elevate your photography and videography skills.
Online Forums: A Treasure Trove of Knowledge
Online forums dedicated to photography and videography are excellent starting points for finding expert advice. Websites like Reddit’s Action Cameras subreddit and specialized forums such as DPReview provide platforms where enthusiasts and professionals alike share their experiences. Here, you can ask specific questions, seek recommendations, and even read about others’ calibration setups.
Tutorials and Video Guides: Visual Learning
For those who prefer a more hands-on approach, tutorials and video guides can be invaluable. Platforms like YouTube host countless videos that walk you through calibration processes step-by-step. Look for channels that focus on action cameras, as they often provide detailed insights into the latest calibration techniques and settings. Watching these tutorials can help you visualize the process and understand the nuances of each adjustment.
Manufacturer Guidelines: The Ultimate Reference
Don’t overlook the importance of manufacturer guidelines. Most action camera manufacturers provide detailed manuals and online resources that outline the calibration process specific to their models. These guidelines often include recommended settings for various environments, ensuring that you get the most out of your camera. Check the official website of your camera’s manufacturer for downloadable resources and updates.
Workshops and Webinars: Hands-On Experience
Participating in workshops and webinars can also be a fantastic way to gain expert knowledge. Many photography schools and online platforms offer courses that cover not only basic calibration but also advanced techniques. Engaging in these interactive sessions allows you to ask questions in real-time and receive immediate feedback from professionals.
Social Media Groups: Networking and Support
Social media platforms like Facebook and Instagram host numerous groups and communities centered around action cameras. Joining these groups can provide you with a network of fellow enthusiasts and experts who are willing to share tips and tricks. Engaging in discussions can lead to discovering advanced calibration techniques that may not be widely known.
Books and eBooks: In-Depth Knowledge
If you prefer a more traditional approach, consider reading books or eBooks focused on photography and videography. Many authors delve deep into the subject of camera calibration, providing comprehensive insights that can help you understand the technical aspects better. Look for titles that are well-reviewed and recommended by professionals in the field.
Community Events and Meetups: Real-World Learning
Finally, attending community events or local meetups can be beneficial for practical learning. These gatherings often feature experienced photographers and videographers who share their knowledge and experiences. Networking with others can lead to discovering new techniques and resources that can help you in your calibration journey.
In summary, finding expert resources for advanced calibration techniques is essential for optimizing your action camera’s performance. Utilizing online forums, tutorials, manufacturer guidelines, workshops, social media groups, books, and community events can provide you with the comprehensive knowledge needed to enhance your shooting experience.
Frequently Asked Questions
- Why should I calibrate my action camera?
Calibrating your action camera is essential for achieving the best image quality and accuracy. It helps align your settings with the shooting environment, ensuring you capture stunning footage every time.
- What are the key settings I need to adjust?
The key calibration settings include resolution, frame rate, and field of view. Each of these settings plays a significant role in how your footage turns out, so getting them right is crucial!
- How do I choose the right frame rate for my activity?
Different activities require different frame rates. For example, if you’re filming fast-paced sports, a higher frame rate will keep your footage smooth. Conversely, for slow-motion shots, you’ll want to adjust accordingly.
- What is the best way to set the white balance?
Setting the white balance correctly is vital for maintaining color accuracy in various lighting conditions. Adjusting it based on your environment can dramatically improve the quality of your videos.
- How often should I calibrate my action camera?
Regular calibration is key to maintaining optimal performance. It’s a good idea to recalibrate whenever you change shooting conditions or after significant use to keep your camera in top shape.
